
A guitar jack cable is the vital, often overlooked link between your instrument and your amplifier. For beginners setting up their first electric guitar or ukulele, shopping for cables can quickly become overwhelming when faced with technical jargon like capacitance, shielding percentages, and conductor materials. Fortunately, you do not need a degree in electrical engineering to find a reliable cable that preserves your tone.
By focusing on three core specifications—length, connector type, and shielding—you can easily identify a high-quality cable that suits your playing environment. Understanding these basics helps you avoid overpaying for unnecessary features while ensuring your signal remains clean, strong, and free from annoying background noise.
Choosing the Right Cable Length for Your Setup
When selecting a guitar jack cable, length is the first practical decision you must make. While it might be tempting to buy the longest cable available to give yourself maximum freedom to move around, excessive length can actually degrade your sound. Guitar cables carry an analog, high-impedance signal that is highly sensitive to the physical distance it must travel.
Products mentioned in this guide
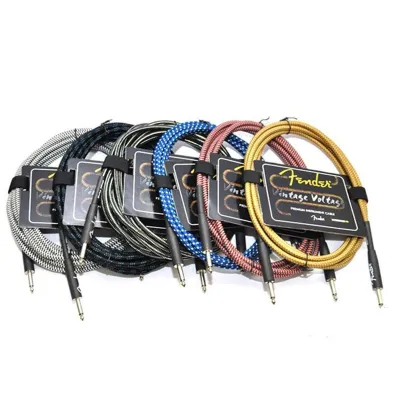
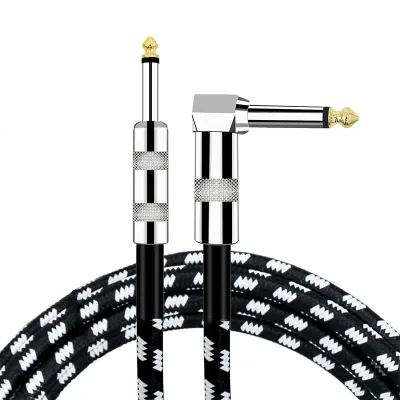
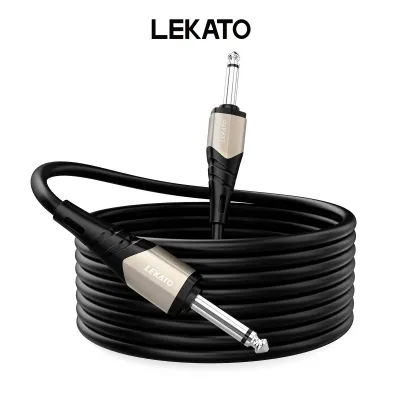
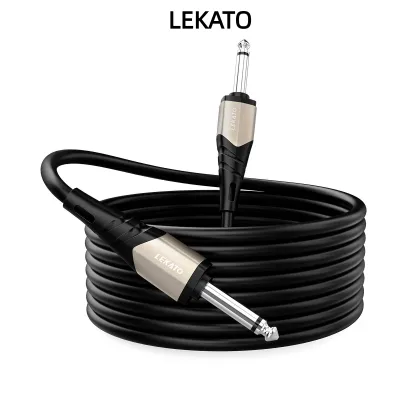
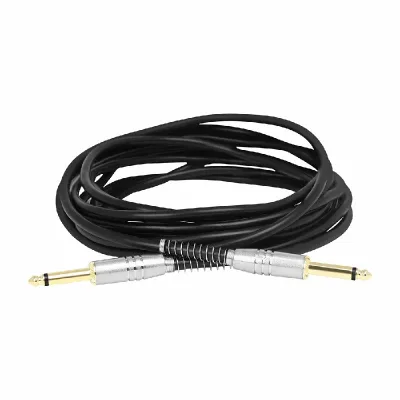
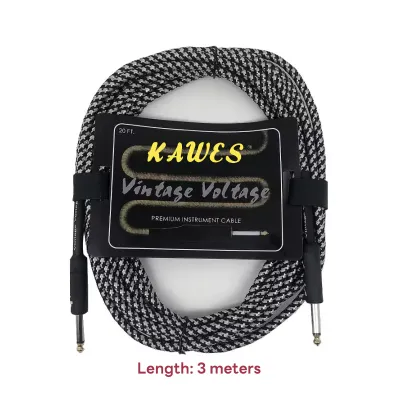
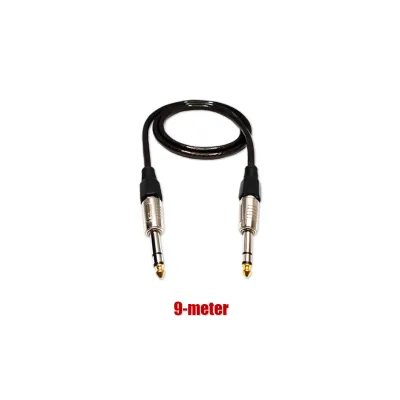
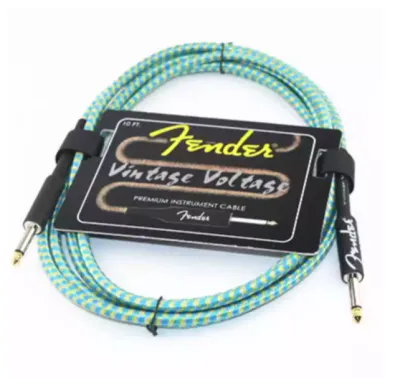
Prices are valid at publication and may change. Please refer to the product page for the latest price.
As a cable grows longer, it naturally acts like a capacitor, which gradually filters out the high-frequency treble frequencies of your guitar. This electrical phenomenon, known as high-frequency roll-off, can leave your tone sounding muddy, dull, and lacking in clarity. To preserve your instrument’s natural brightness, you should choose the shortest cable that comfortably fits your playing space.
For bedroom practice or desktop recording setups, a cable measuring 3 meters (approximately 10 feet) is generally ideal. This length provides enough slack to move around your chair without creating a tangled mess on the floor. If you are practicing with a band or performing on a small stage, a 6-meter (20-foot) cable offers a better balance of mobility and signal preservation.
Conversely, you must avoid cables that are too short for your environment. A cable stretched to its absolute limit puts constant physical tension on both the guitar’s output jack and the amplifier’s input. This strain can damage the internal solder joints of your equipment over time, leading to costly repairs. In the warm, humid climate of the Philippines, managing cable length also makes storage easier, as shorter cables are less prone to tangling and gathering dust in storage bags.
Understanding Connector Types: Straight vs. Angled Plugs
Guitar jack cables typically come with two main connector shapes: straight plugs and right-angle (angled) plugs. Choosing the right combination depends entirely on the physical design of your guitar’s output jack. Standard electric guitars and ukuleles use a 1/4-inch (6.35mm) TS (Tip-Sleeve) mono connector, but where that connector plugs into the instrument varies by model.

If your guitar features a side-mounted jack on the edge of the body, or a flat jack on the face of the instrument, a right-angle plug is usually the preferred choice. An angled plug allows the cable to profile closely along the body of the guitar, making it less likely to get bumped or bent if you accidentally lean against a wall or stand. You can easily loop an angled cable through your guitar strap to provide excellent physical strain relief.
For guitars with deeply recessed or top-mounted jacks, such as those found on traditional double-cutaway electric guitars, a straight plug is necessary. An angled plug often cannot insert fully into a recessed jack cup, resulting in an incomplete connection or no sound at all. Before purchasing, inspect your instrument’s jack placement to determine if a straight-to-straight or a straight-to-angle configuration is most appropriate.
Regardless of the shape, pay close attention to the strain relief boot where the cable meets the metal plug. High-quality connectors feature a heavy-duty rubber or metal spring collar that prevents the cable from bending at sharp, damaging angles. This reinforcement protects the delicate internal copper wires from snapping during repeated plugging and unplugging.
How Shielding Protects Your Signal from Noise
Because guitar cables carry weak electrical signals, they act like antennas that can easily attract unwanted electromagnetic interference (EMI) and radio frequency interference (RFI). This interference manifests as a persistent hum, buzz, or hiss coming from your amplifier. Shielding is the protective barrier wrapped around the inner conductor wire designed to block this external noise.
Most entry-level and mid-range cables use either spiral shielding or braided shielding. Spiral shielding consists of flat copper strands wrapped in a single direction around the center wire. This design makes the cable highly flexible and easy to coil, though repeated flexing over time can cause the strands to separate slightly, creating tiny gaps where interference can seep in.
Braided shielding weaves copper strands together into a tight mesh, offering superior physical durability and excellent coverage against noise. While braided cables are slightly stiffer and harder to coil, they hold up exceptionally well to the physical demands of regular transport and live performances. For home practice, either type will suffice, but braided shielding is the more robust choice if you plan to travel with your gear.
In tropical environments where humidity levels are consistently high, the outer jacket of the cable plays a crucial role in protecting the shielding underneath. Look for a thick, durable PVC or woven fabric outer jacket. A resilient outer layer prevents moisture from penetrating the cable and oxidizing the copper shielding, which can permanently degrade the cable’s performance and flexibility.
Specs You Can Ignore as a Beginner
As you browse different cable options, you will likely encounter flashy marketing terms designed to justify premium price tags. For a beginner setup, many of these high-end specifications offer no noticeable improvement in sound quality. Recognizing which specs to ignore can save you from spending money that would be better invested in lessons or accessories.
Ultra-low capacitance claims are a prime example of a specification you can generally overlook for home use. While low capacitance is important for long cable runs on massive concert stages, the difference in tone is virtually imperceptible in standard 3-meter or 6-meter cables plugged directly into a beginner practice amplifier. Standard copper conductors perform beautifully at these shorter distances.
Similarly, exotic conductor materials, such as silver-plated copper or ultra-pure oxygen-free copper variants, are rarely worth the extra cost for beginners. While they sound impressive on a spec sheet, the subtle tonal differences they introduce are lost on standard entry-level amplifiers and instruments. Standard oxygen-free copper (OFC) is the industry norm and provides more than enough clarity for any learning environment.
Instead of chasing premium electrical specs, focus your budget on physical build quality. Look for solid metal connector casings that can be unscrewed for easy repair, robust strain relief boots, and a flexible outer jacket. A physically durable cable with a reliable manufacturer warranty will serve you far better than an overpriced cable with hyper-technical specifications.
Frequently Asked Questions (FAQ)
Do I need a special cable for an acoustic-electric guitar?
For most acoustic-electric guitars equipped with standard active preamps, a standard 1/4-inch TS mono guitar jack cable works perfectly. The onboard preamp boosts the acoustic pickup’s signal so it can travel safely through a standard instrument cable to your amplifier. However, if your specific acoustic-electric guitar features a balanced output or if you are connecting directly to a professional mixing console, you may occasionally need a TRS (Tip-Ring-Sleeve) balanced cable. Always consult your instrument’s user manual to verify its output specifications before buying.
How do I know if my guitar cable is broken?
Common signs of a failing or broken guitar cable include loud crackling noises when you move, sudden signal dropouts, or a dramatic increase in background hum. To diagnose the issue, try swapping the suspected cable with a known-working one to see if the noise disappears. If your cable has removable metal connector barrels, you can unscrew them to inspect the internal solder joints. If you see a loose, disconnected, or frayed wire inside the connector, the cable has suffered physical damage and must be resoldered or replaced.

Community discussion
Share your experience or ask a question. Comments are reviewed before publication.