
Choosing the right visual aids for your 88-key keyboard is a balancing act between accelerating your learning curve and protecting your instrument. While labels can help beginners identify notes quickly, the wrong adhesive can leave a stubborn, sticky residue or even permanently damage the key surfaces. Deciding between removable and permanent piano stickers depends on your keyboard’s material, your long-term musical goals, and whether you plan to upgrade or resell your instrument in the future.
In warm, humid climates like the Philippines, this decision requires extra care. High relative humidity and ambient heat can accelerate the breakdown of low-quality adhesives, turning a helpful learning aid into a sliding, sticky mess that attracts dust and finger oils. Understanding how different sticker materials and adhesives interact with your specific keyboard is the first step toward a safe and effective practice setup.
Assessing Your Keyboard Surface and Adhesive Compatibility
Before purchasing any keyboard stickers, you must evaluate the material and finish of your keys. Keyboard manufacturers use a variety of plastics and synthetic materials, each reacting differently to adhesives. Glossy keys, typical of entry-level keyboards and digital pianos, are generally easier to clean but can show scratches easily if stickers are scraped off. Matte or textured keys, designed to mimic the feel of natural ivory or ebony on premium digital pianos, feature microscopic pores and ridges that require a gentler touch.
Products mentioned in this guide
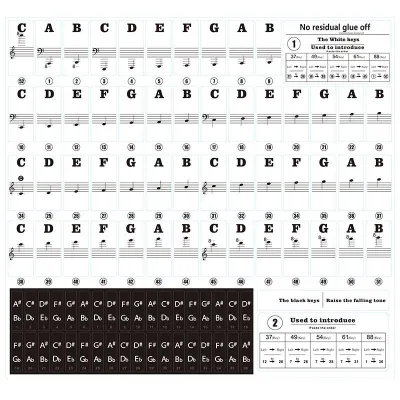
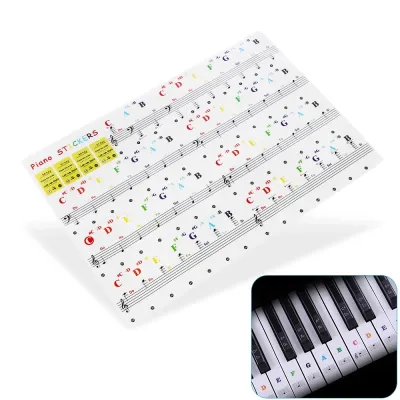
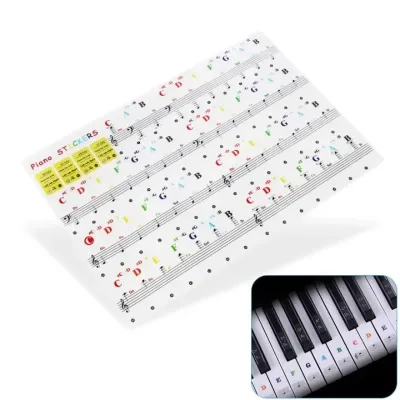
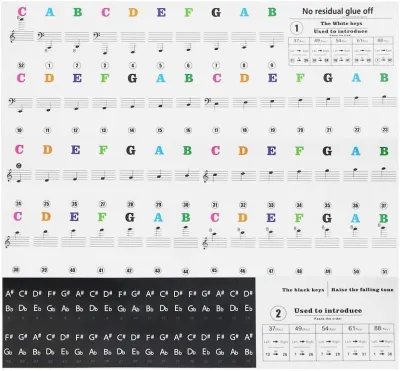

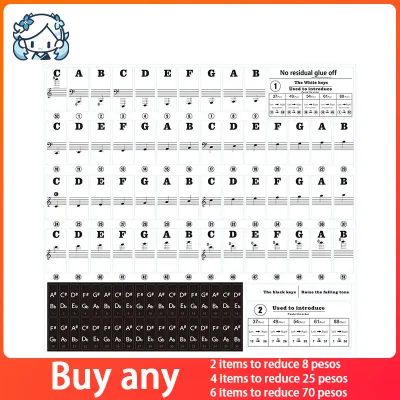
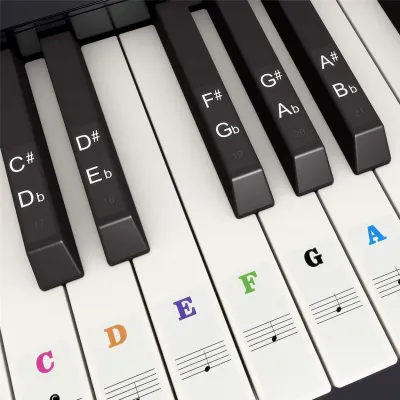

Prices are valid at publication and may change. Please refer to the product page for the latest price.
Always check your keyboard manufacturer’s care guidelines before applying any adhesive product. The user manual often contains specific warnings regarding what materials can be safely applied to the keys and which cleaning solvents to avoid. Applying a high-tack permanent sticker to textured keys can trap adhesive deep within the grain, making complete removal nearly impossible without stripping the specialized finish.
To prevent widespread damage, plan a hidden spot test before committing to a full 88-key application. Apply a single sticker or a small piece of the adhesive backing to an inconspicuous area, such as the side of the lowest bass key (A0) or the highest treble key (C8). Leave it in place for a few days under normal room conditions, then peel it off to observe how the adhesive behaves. If it leaves a gummy residue or alters the texture of the key, look for a milder, adhesive-free alternative.
Aligning Sticker Types With Your Learning Goals
Your choice of keyboard labels should directly reflect your learning trajectory and how long you expect to need visual assistance. For absolute beginners, children, or casual hobbyists, the primary goal is often to build muscle memory and learn basic note recognition quickly. In these scenarios, stickers serve as temporary training wheels. Because the ultimate objective is to play fluidly without looking down at labels, temporary visual aids are highly recommended so you can easily peel them off in stages as your confidence grows.

Conversely, some players require long-term or permanent visual cues to support their musical journey. This includes players with specific accessibility needs, visual impairments, or those utilizing specialized color-coded learning systems that they intend to use indefinitely. If you are certain that the stickers will remain on the keyboard for its entire lifespan, a more durable, permanent option may be suitable, provided the key material can handle the adhesive.
Finally, consider your future equipment plans. If you have invested in a high-quality digital piano worth ₱40,000 or more, you may eventually want to resell it or trade it in when upgrading to an acoustic piano. Pristine, unmarked keys are a major selling point in the secondhand market. Using permanent stickers, or even low-tack stickers that degrade and discolor the keys over time, can significantly reduce the resale value of your instrument.
Comparing Removable and Permanent 88-Key Stickers
To make an informed purchase, it helps to understand the physical and chemical differences between the various sticker types available on online marketplaces. Traditional permanent stickers rely on high-tack acrylic adhesives designed to bond strongly to plastic surfaces. These labels are highly durable and resistant to lifting, but they are incredibly difficult to remove cleanly and can cure over time, making the bond even stronger after months of exposure to finger pressure and ambient heat.
Removable stickers generally fall into two categories: low-tack adhesive labels and adhesive-free options. Low-tack stickers use a mild, pressure-sensitive glue that allows them to be peeled off without tearing, though they can still leave a light residue if left on for years in humid conditions. Adhesive-free options, such as silicone keyboard note strips, represent a modern alternative. These strips do not rely on glue; instead, they lay flat across the top of the keys and are held in place by gravity or wedged gently behind the fallboard, making them completely residue-free and exceptionally easy to install or remove in seconds.
Durability and physical feel also vary widely across these categories. Permanent and high-quality low-tack stickers are usually made of ultra-thin polyester or vinyl, which minimizes the physical ridge you feel under your fingertips while playing. Silicone strips, while incredibly safe for the keys, are thicker and sit slightly proud of the key surface, which some players find distracting during rapid finger movements. Additionally, transparent vinyl stickers offer excellent print clarity and blend seamlessly into the keys, whereas thicker, opaque labels can alter the aesthetic of a classic black-and-white keyboard.
Safe Application and Removal Practices
Proper application is key to ensuring your stickers stay aligned and do not interfere with your playing. Before applying any label, thorough surface preparation is essential. Dust, skin oils, and ambient moisture can prevent proper adhesion, causing the corners of the stickers to curl up prematurely. Begin by wiping down each key with a clean, dry microfiber cloth. If the keys have visible grime, use a slightly damp cloth with a mild, highly diluted soap solution, ensuring no moisture seeps between the keys, and let the keyboard dry completely before proceeding.
When applying an 88-key set, consistency is crucial for both aesthetics and learning. Start by identifying Middle C (C4) and work your way outward to ensure the notes align correctly with the musical staff printed on the stickers. Use a small tool, like a plastic card or the edge of a ruler, to smooth out air bubbles as you press each sticker down from the center to the edges. Ensure the stickers are placed high enough on the keys so they do not rub against adjacent keys, which can cause friction, squeaking, or premature peeling.
If the time comes to remove adhesive stickers, proceed with extreme caution to avoid scratching or warping the keys. Never use sharp metal blades or harsh chemical solvents like acetone, which can permanently melt plastic keytops. For stubborn adhesives, applying gentle, indirect warmth from a hairdryer on its lowest, coolest setting can help soften the glue. Slowly peel the sticker back at a sharp angle. If any sticky residue remains, apply a tiny amount of a manufacturer-approved, plastic-safe adhesive remover to a microfiber cloth—never directly to the keys—and gently buff the area clean.
Frequently Asked Questions (FAQ)
Can I use permanent stickers on a digital piano with matte keys?
It is highly discouraged to use permanent, high-tack stickers on digital pianos with matte or textured key finishes. Matte keys feature microscopic ridges designed to mimic the texture of natural wood or ivory, and these tiny crevices can trap strong adhesives. Over time, the glue bonds deeply into these textures, making complete removal nearly impossible without sanding down or chemically damaging the specialized keytops. Always consult your digital piano’s user manual for specific warnings regarding adhesives, and opt for adhesive-free silicone note strips if your keyboard has textured keys.
Do transparent stickers affect the touch or feel of the keys?
Yes, any physical addition to the key surface can alter the playing experience, though the degree depends on the sticker’s material and thickness. Ultra-thin transparent vinyl stickers have a very low profile, but you may still feel a slight ridge at the edges of the labels during lateral finger movements. Thicker options, such as silicone note strips, do not stick to the keys but sit on top of them, which can noticeably change the key clearance and tactile feedback. Before purchasing, check the product specifications for material thickness to ensure it aligns with your playing preferences.

Community discussion
Share your experience or ask a question. Comments are reviewed before publication.