
Selecting your first pair of drumsticks is one of the most important decisions you will make when starting drum lessons. The drumstick acts as a direct extension of your hands, translating your physical movements into sound. For beginners, choosing the right pair of Yamaha drumsticks is not just about finding a recognizable brand; it is about selecting a tool that matches your physical build, playing style, and practice environment. In the Philippines, where high tropical humidity can affect both the moisture content of the wood and the grip of your hands, making an informed choice is essential for building proper technique and avoiding early physical fatigue.
A common mistake among new drum students is picking up the first pair of sticks they see without considering how the weight, length, and diameter will affect their learning curve. The wrong stick can lead to bad habits, such as gripping too tightly to compensate for a stick that is too heavy or slipping out of wet hands. By understanding the standard sizing systems, matching stick dimensions to your physical needs, and knowing what material features to verify before purchase, you can set yourself up for a successful and comfortable drumming journey.
Understanding Yamaha Drumstick Sizing and Weight Standards
To navigate the world of drumsticks, you must first decode the alphanumeric codes printed on the shaft of almost every stick. These codes, such as 7A, 5A, and 5B, are industry-standard designations that tell you about the stick’s physical characteristics. The number in the code generally indicates the diameter or thickness of the stick. Interestingly, this scale operates in reverse: a higher number represents a thinner stick, while a lower number represents a thicker stick. Therefore, a 7A stick is noticeably thinner than a 5A stick, which in turn is thinner than a 2B stick.
Products mentioned in this guide
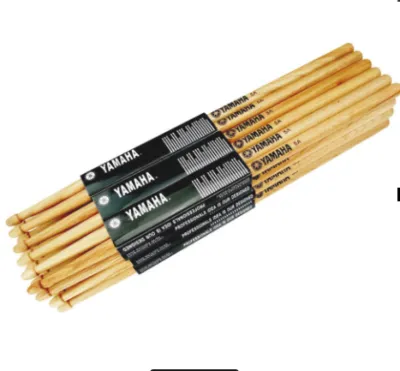
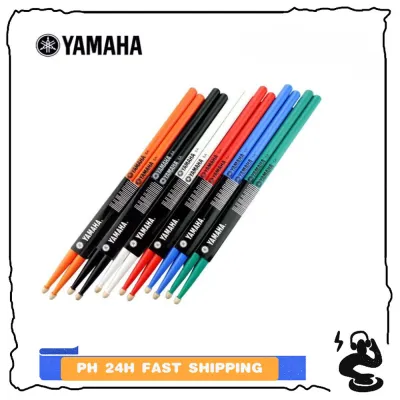

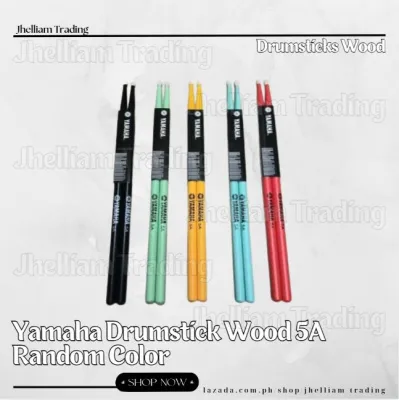
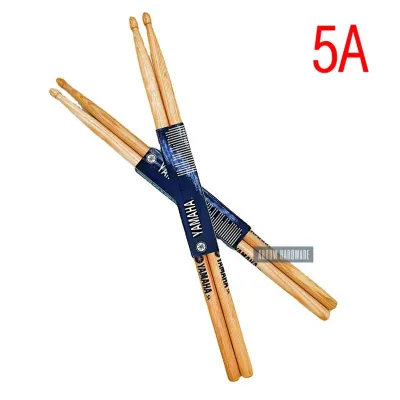
Prices are valid at publication and may change. Please refer to the product page for the latest price.
The letter in the code historically referred to the intended application of the stick. For example, ‘A’ stood for orchestra (often used for jazz, light rock, and acoustic playing today), ‘B’ stood for band (designed for concert bands and brass bands, requiring a slightly thicker profile), and ‘S’ stood for street (designed for marching bands, offering maximum thickness and durability). While modern manufacturing has evolved beyond these strict historical definitions, the letters still serve as a reliable guide to the overall weight and taper of the stick.
Among these options, the 5A stick is widely recognized as the universal standard starting point for general drumming. It offers a balanced middle ground in terms of length, diameter, and weight, making it versatile enough to handle everything from light jazz patterns to heavy rock beats. Starting your drum lessons with a 5A stick allows you to develop a neutral grip and learn foundational techniques without the stick itself dictating your playing style.
However, it is important to note that exact dimensions can vary slightly between different manufacturers. A 5A stick from one brand may feel slightly longer, heavier, or have a different taper than a Yamaha 5A stick. Because of these subtle variations, you should always consult specific Yamaha specification charts rather than relying solely on the generic size code. Checking the exact length and diameter measurements in millimeters will help you understand precisely what you are holding and ensure consistency as you practice.
Matching Stick Dimensions to Hand Size and Lesson Goals
Selecting the right drumstick size is not a one-size-fits-all decision; it requires matching the stick’s physical dimensions to your hand size and lesson goals. For younger students or individuals with smaller hands, starting with a standard 5A stick can sometimes feel cumbersome. In these cases, a thinner and lighter stick like the 7A is highly beneficial. The reduced diameter of a 7A stick allows smaller fingers to wrap comfortably around the shaft, facilitating the development of a proper matched or traditional grip. This comfort is crucial during the early stages of drum lessons, as it prevents the student from over-compensating with excessive hand tension, which can lead to rapid fatigue and poor muscle memory.

For students with average hand sizes, the standard 5A stick remains the most appropriate choice. It provides enough surface area for a secure grip while maintaining a weight that allows for natural rebound control. During your initial lessons, you will practice on various components of the drum kit, including the snare drum, tom-toms, and cymbals. A 5A stick offers the versatility needed to transition smoothly between these different surfaces, allowing you to explore different dynamics and tones without needing to switch sticks mid-session.
On the other end of the spectrum are heavier, thicker sticks like the 5B. While these sticks are excellent for louder acoustic styles, such as rock or heavy metal, they are generally not recommended for absolute beginners unless the student has exceptionally large hands. The added weight of a 5B stick requires more wrist strength to control, which can hinder technique development for a beginner who has not yet mastered the physics of stick rebound. Using a stick that is too heavy too soon can cause unnecessary strain on the wrists and forearms, potentially leading to repetitive strain injuries.
In the tropical climate of the Philippines, hand size and stick weight interact closely with environmental factors. High humidity can cause hands to sweat more quickly during practice, making a heavy stick even more difficult to control. If you find yourself struggling to maintain a relaxed grip because the stick feels too heavy or slippery, dropping down a size to a lighter model can immediately improve your control and allow you to focus on your instructor’s guidance.
Key Material and Design Features to Verify Before Purchase
Before finalizing your purchase, it is essential to verify the physical materials and design features of the drumsticks, as these attributes directly impact durability, sound, and comfort. The most critical material to consider is the wood type. Hickory is the industry standard for drumsticks, and for good reason. It offers an exceptional balance of strength, weight, and shock absorption. When you strike a drum, the impact creates vibrations that travel up the stick and into your hands. Hickory’s natural elasticity helps absorb these shocks, protecting your joints from fatigue. When shopping, always verify the wood type on the product packaging or specification sheet to ensure you are getting genuine hickory rather than a softer, less durable wood.
Another key design feature is the tip shape, which determines the tone and articulation produced on cymbals and drumheads. Common tip shapes include acorn, oval, teardrop, and round. Round tips produce a very consistent, bright sound regardless of the angle at which the stick strikes the surface, making them highly forgiving for beginners. Oval and teardrop tips offer a broader range of tonal variation, allowing you to produce different sounds by subtly changing your hand angle. Additionally, you must choose between wood tips and nylon tips. Wood tips deliver a warm, traditional sound but can chip over time, while nylon tips produce a much brighter, sharper sound and are highly durable. For beginners, wood tips are generally recommended as they encourage a natural feel and sound development.
The surface finish of the drumstick is another factor that warrants careful inspection. Most drumsticks are finished with a clear lacquer coating, which protects the wood from environmental moisture and dirt. However, in warm and humid conditions, lacquer can become slippery when your hands sweat. If you anticipate practicing in non-air-conditioned spaces, you may want to look for sticks with a natural wood finish or specialized grip coatings. These finishes provide a more textured, slip-resistant surface, helping you maintain a secure hold without needing to squeeze the stick too tightly.
Finalizing Your Shortlist and Pre-Purchase Inspection
Once you have narrowed down your choices based on size, material, and design, it is time to finalize your shortlist and perform a pre-purchase inspection. If you are shopping at a physical music store, you have the advantage of being able to test the sticks in person. Start by rolling each stick on a flat surface, such as a glass counter. A perfectly straight stick will roll smoothly, while a warped stick will wobble. Warped sticks can severely affect your playing accuracy and rebound consistency, so always reject any pair that does not roll flat.
Next, check the balance and weight of the sticks by holding them in your playing grip. Tap them gently against a practice pad or a hard surface near your ear to check their pitch. A matched pair of drumsticks should produce a very similar pitch when tapped, indicating that they have consistent density and weight. Playing with a mismatched pair can feel awkward, as one hand will experience a different rebound and weight than the other, hindering your ability to develop symmetrical hand technique.
If you are purchasing your Yamaha drumsticks online, physical testing is not possible, making it crucial to buy from authorized distributors and carefully review the product specifications. Look for detailed dimension charts to confirm the exact measurements, and read the seller’s return policy to ensure you can exchange the sticks if they arrive warped or damaged.
Regardless of where you buy, it is highly recommended to budget for multiple pairs of your chosen model. Beginners are prone to breaking, chipping, or losing sticks as they learn to control their striking angles and accidentally hit the metal rims of the drums. Having two or three identical pairs on hand ensures that your practice sessions are never interrupted by a broken stick. In the Philippines, where quality drumsticks typically fit within a beginner’s budget of around ₱500 to ₱800 per pair, investing in a few reliable pairs is a practical way to support your learning journey.
Frequently Asked Questions (FAQ)
How often should a beginner replace their drumsticks?
A beginner should replace their drumsticks as soon as they show clear signs of structural wear that affect playability or safety. Look for deep grooves or indentations along the neck of the stick, which are often caused by hitting cymbal edges or drum rims. Other warning signs include chipped or flattened tips, splintering wood along the shaft, or visible warping. Playing with damaged sticks can alter the balance and rebound, making it harder to practice proper technique, and chipped tips can easily puncture or ruin expensive drumheads. The frequency of replacement depends entirely on your practice hours, striking force, and technique accuracy rather than a fixed calendar schedule.
Can beginners use the same drumsticks for electronic and acoustic kits?
Yes, standard wooden drumsticks can be used on both acoustic and electronic drum kits, but there are important wear considerations to keep in mind. While wooden sticks perform well on rubber pads and mesh heads, any splintering or chipping on the stick’s tip can quickly tear the delicate mesh material of an electronic kit. If you plan to use the same pair of sticks for both setups, ensure the tips remain perfectly smooth and free of splinters. Additionally, always check your electronic drum manufacturer’s guidelines, as some brands may recommend specific stick weights or nylon tips to protect their cymbal pad sensors and drumheads from excessive wear.
Should beginners use practice pads with their new drumsticks?
Using a practice pad is highly recommended for beginners starting drum lessons. Practice pads provide a realistic rebound surface that helps you build wrist strength, finger control, and proper stick technique without the high volume of an acoustic drum kit. This makes them ideal for quiet home practice sessions. However, practicing extensively on textured rubber pads can cause different wear patterns on your stick tips compared to playing on coated acoustic drumheads. This wear is a normal part of the learning process, and the benefits of using a practice pad for technique development far outweigh the minor wear on your drumsticks.

Community discussion
Share your experience or ask a question. Comments are reviewed before publication.