
Setting up your first electric guitar is an exciting milestone, but many beginners overlook the single component that connects their instrument to the amplifier. The guitar cord, technically known as an unbalanced instrument cable, is responsible for carrying the delicate electrical signal generated by your guitar pickups. Choosing the wrong cable can result in unwanted hum, a loss of high-end clarity, or a connection that fails after only a few weeks of practice.
In tropical environments like the Philippines, high humidity can accelerate the wear on metal connectors and internal wiring. Selecting a durable, well-shielded cable ensures your guitar sounds exactly as it should while protecting your equipment from sudden signal drops. By understanding a few key specifications, you can easily find a reliable cable that fits your budget and playing space.
Understand How a Guitar Cord Affects Your Signal
To choose the right cable, it helps to understand what happens when you pluck a string. Electric guitars produce a high-impedance, low-voltage signal that is highly sensitive to external electrical interference. Unlike low-impedance microphone signals, your guitar’s signal travels along a single hot wire surrounded by a ground shield, making it vulnerable to noise from household appliances, mobile phones, and power lines.
Products mentioned in this guide
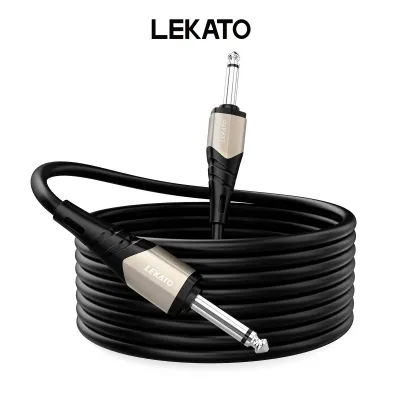
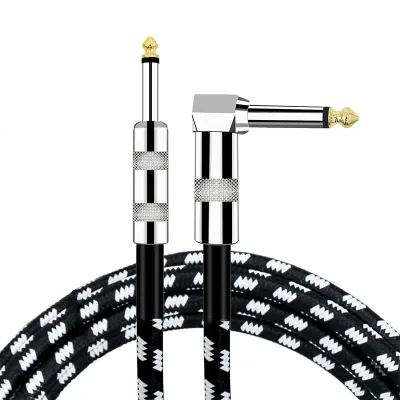
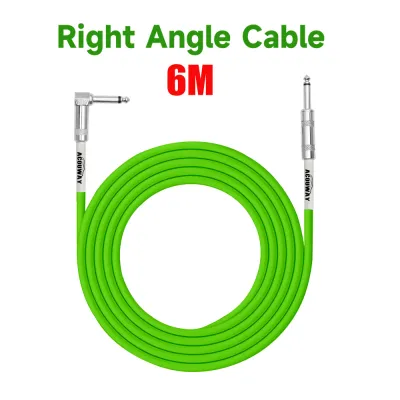
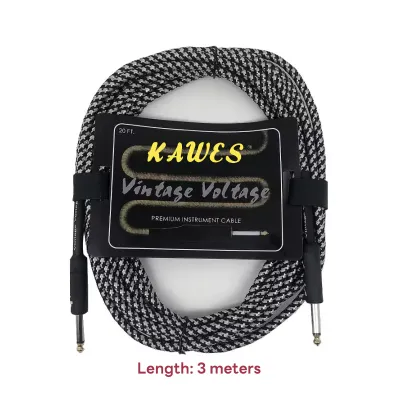
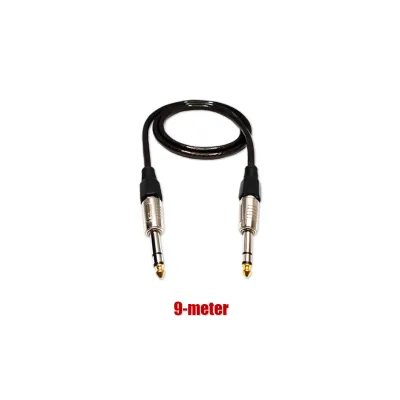
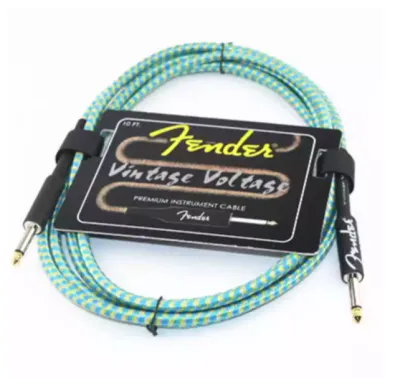
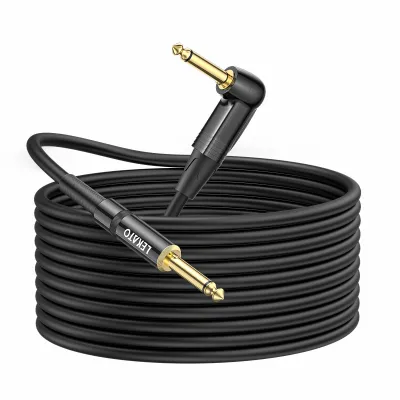
Prices are valid at publication and may change. Please refer to the product page for the latest price.
As this signal travels down the cable, the physical construction of the cord introduces natural electrical capacitance. This capacitance acts as a subtle low-pass filter, gradually rolling off the high-frequency treble response of your tone. The longer the cable, the more capacitance is introduced, which can make your guitar sound muddy or lacking in bite.
To combat this signal degradation and block external noise, instrument cables utilize a protective layer called shielding. This shield wraps around the inner conductor, intercepting electromagnetic interference (EMI) and radio frequency interference (RFI) before they can reach your amplifier. A well-shielded cable preserves your guitar’s natural brightness while keeping background hiss to an absolute minimum.
Determine the Ideal Cable Length for Your Setup
When selecting your first guitar cord, finding the right balance between physical mobility and signal preservation is essential. You must assess the actual layout of your practice space, taking into account the distance between your guitar, any effects pedals, and your amplifier. While it might be tempting to buy the longest cable available to give yourself room to move, extra length directly impacts your tone.

Because cable capacitance increases with every foot of wire, a shorter cable will always deliver a brighter, more immediate signal. For a typical bedroom practice setup, a cable measuring 10 feet (about 3 meters) is usually the ideal choice. This length provides enough slack to move around your chair or stand up without putting tension on the jacks, while keeping high-frequency loss imperceptible.
If you plan to play on small stages or in larger jam spaces, a 15-foot to 20-foot (about 4.5 to 6 meters) cable offers the necessary mobility. However, using cables longer than 20 feet for a direct guitar-to-amp connection is generally discouraged for beginners, as the treble loss becomes noticeable.
Additionally, managing excess slack is crucial for safety. A long, coiled-up cable lying on the floor creates a significant trip hazard, and stepping on a live cable can damage the internal copper strands. Choose a length that matches your immediate playing area with just enough slack to drape comfortably on the floor.
Match Connector Styles to Your Guitar and Amp
The physical connectors on either end of your guitar cord must match the design of your instrument and amplifier to ensure a reliable connection and prevent physical strain. Instrument cables typically come with two main plug configurations: straight plugs and right-angle plugs. Choosing the right combination depends entirely on where the input jack is located on your guitar body.
If your guitar has a side-mounted jack, such as those found on Les Paul or Telecaster style guitars, a right-angle plug is highly recommended for the instrument end. The right-angle design allows the cable to profile closely against the guitar body, reducing the leverage applied to the jack if the cable is accidentally tugged. For guitars with recessed, top-mounted jacks like a Stratocaster, a straight plug is necessary, as a right-angle plug will not fit into the angled cavity.
Beyond the shape, you must evaluate the strain relief boot where the cable meets the metal plug. This boot is a flexible rubber or plastic sleeve that prevents the cable from bending at sharp, damaging angles near the solder joints. A robust, heavy-duty strain relief boot significantly extends the lifespan of the cable by absorbing the physical stress of constant movement.
When shopping, look for cables that feature secure, metal plug housings that can be unscrewed. Avoid molded plastic connectors that are permanently sealed. Unscrewing the housing allows you to inspect the internal solder joints if the cable ever stops working, making it possible to repair a loose wire with a simple soldering iron rather than throwing the entire cable away.
Evaluate Internal Build Quality for Noise Reduction
The internal construction of a guitar cord determines how well it resists physical wear and how quiet it remains during use. When comparing options, look at the product specifications on the packaging or online listings. Manufacturers often list the capacitance rating per foot or meter; a lower capacitance rating indicates that the cable will preserve more of your guitar’s high-end clarity.
The type of shielding used inside the cable is another critical factor for noise reduction. Braided shielding consists of woven copper strands wrapped tightly around the inner insulation, offering excellent coverage and durability, though it makes the cable stiffer. Spiral shielding uses copper strands wrapped in a single direction, which makes the cable highly flexible and easier to coil, but the strands can separate over time with heavy use, creating gaps where noise can enter.
You will also frequently see the term Oxygen-Free Copper (OFC) in standard cable descriptions. OFC conductors are processed to minimize oxygen impurities, which improves conductivity and resistance to corrosion—a particularly valuable feature in humid, tropical climates where moisture can degrade standard copper over time.
Keep in mind that even the highest-quality cable cannot eliminate all noise if you are playing in a high-interference environment. If you practice near fluorescent lights, computer monitors, or large electric fans, some electromagnetic hum is inevitable, especially when using high-gain distortion channels. A well-built cable simply ensures that the cable itself does not add to that noise.
Execute Your Purchase: A Step-by-Step Selection Checklist
To make your purchase straightforward, follow this step-by-step checklist to ensure you get the right cable for your specific setup.
First, inspect the input jack orientations on your gear. Look at your guitar’s jack to decide if you need a straight or right-angle plug, and check your amplifier’s input panel to ensure there is clear clearance for your chosen connector style.
Second, measure the physical distance of your playing area. Determine where you will sit or stand relative to your amplifier, measure that distance, and add a few feet of margin to allow for comfortable movement without pulling the cable taut.
Third, select the connector styles and verify the shielding specifications. Choose a cable with a durable outer jacket, robust strain relief boots, and a shielding type that matches your budget and flexibility preferences.
Fourth, test the physical connection once your cable arrives. Plug it into your guitar and amplifier, ensuring you hear and feel a firm, positive click. Gently wiggle the connector to verify there is no loose play or crackling sound, which indicates a secure mechanical fit.
Maintain and Store Your Cables to Prevent Damage
Taking proper care of your guitar cord will save you money and prevent frustrating signal failures during practice sessions. The most common cause of cable failure is improper coiling, which twists the internal copper conductors and eventually breaks them. To avoid this, always use the “over-under” coiling method, which alternates the direction of each loop to neutralize torsional tension and allow the cable to lie flat without kinks.
Never wrap your cable tightly around your hand and elbow, as this creates severe internal stress on the wires. Similarly, avoid wrapping the cable tightly around your guitar’s headstock or amplifier handle when storing your gear. When playing, make sure you do not step on the cable with heavy shoes or roll office chair wheels over it, as crushing forces can damage the internal shielding and insulation.
Perform routine visual checks on your cables every few weeks. Inspect the outer jacket for deep cuts, kinks, or exposed wiring, and check that the metal connector housings remain tightly screwed onto the plugs.
If your cable begins to produce a crackling sound when you move, or if the signal cuts out intermittently, stop using it immediately. A failing cable can send loud, damaging electrical pops to your amplifier speaker. Inspect the solder joints inside the plug or seek professional repair, and replace the cable if the internal damage is extensive.
Frequently Asked Questions (FAQ)
Can I use a speaker cable instead of a guitar cord?
No, you should never use a speaker cable as a guitar cord. While they look identical from the outside because they both use 1/4-inch plugs, their internal construction is completely different. Speaker cables are unshielded and designed to carry high-voltage, high-current signals from an amplifier to a speaker cabinet. If you use an unshielded speaker cable for your guitar, it will act as an antenna, introducing massive amounts of loud hum and interference into your signal chain. Conversely, never use an instrument cable to connect an amplifier head to a speaker cabinet, as the thin wire gauge of an instrument cable cannot handle the high power and can overheat, potentially damaging your amplifier.
Do I need an expensive boutique cable for my first electric guitar?
For your first electric guitar setup, you do not need to spend a fortune on an expensive boutique cable. There is a sharp point of diminishing returns in cable pricing, especially when using entry-level or mid-tier guitars and amplifiers. A reliable, mid-range cable from a reputable manufacturer offers excellent shielding, durable connectors, and a solid warranty at a fraction of the cost of a boutique option. For a beginner, a durable cable in the range of ₱500 to ₱1,500 provides the ideal balance of performance and longevity without overspending. You will only notice the subtle tonal benefits of a premium, ultra-low-capacitance cable if you are using high-end vintage-style pickups, running a very long signal chain with multiple pedals, or recording in a professional studio environment.
Why does my guitar cord keep crackling when I move?
A crackling sound when you move is usually caused by a poor physical or electrical connection. To isolate the issue, try testing the cable with a different guitar and amplifier if possible. Often, the problem is not the cable itself, but a loose input jack on your guitar or amplifier that prevents the plug from making solid contact. If the jacks are tight, the crackling is likely due to an internal break in the cable wire right next to the connector, where the cable bends the most. You can often fix this by unscrewing the connector housing and resoldering the broken wire, or by replacing the cable if it has molded, non-repairable plugs.

Community discussion
Share your experience or ask a question. Comments are reviewed before publication.