
Finding the right stickers for a 54-key keyboard requires checking key width compatibility, adhesive safety, and visual clarity. Because portable 54-key keyboards often differ in physical dimensions from standard 88-key pianos, verifying these specifications ensures a proper fit and protects your instrument’s surface. Taking the time to measure your keys and evaluate the sticker material will save you from the frustration of overlapping edges, peeling corners, or sticky residue that can ruin your practice sessions.
In tropical climates like the Philippines, high humidity and warm temperatures can significantly affect how adhesives behave on plastic surfaces. Cheap or low-quality glues may slide, melt, or leave a stubborn, gummy residue when exposed to moisture and sweat from daily practice. By focusing on durable, residue-free materials and a layout that matches your learning goals, you can turn your 54-key keyboard into an effective, clean, and highly encouraging learning tool.
Check Your 54-Key Keyboard's Dimensions and Layout
Before browsing online marketplaces for accessories, you must understand the physical layout of your specific instrument. Portable 54-key electronic keyboards are highly popular for beginners and space-saving setups, but they do not follow a single, universal manufacturing standard. Many of these models are designed with narrower keys—often referred to as “slim” or “mini” keys—to make the instrument more accessible to younger players or to keep the overall chassis compact.
Products mentioned in this guide
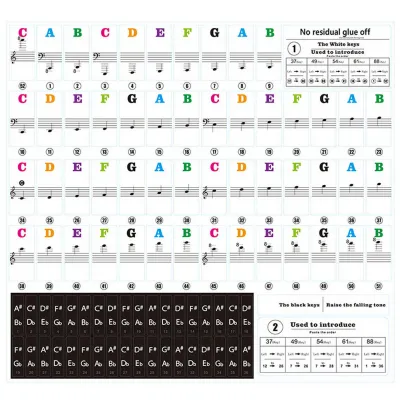

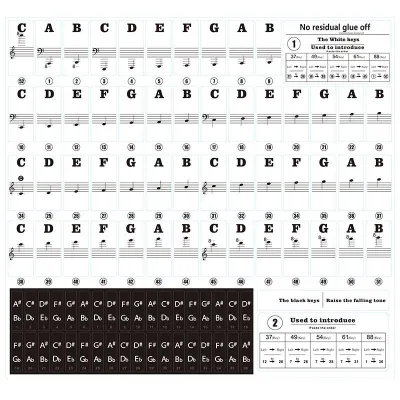
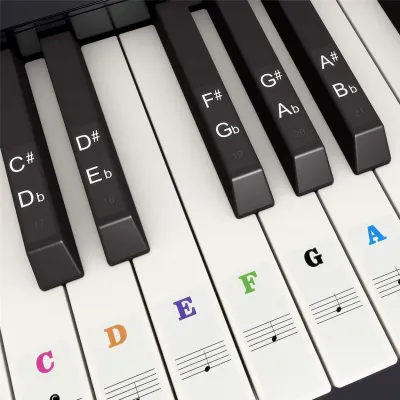
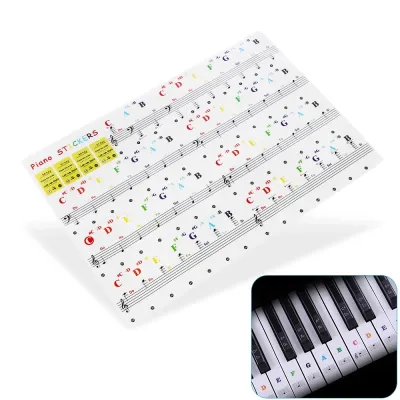
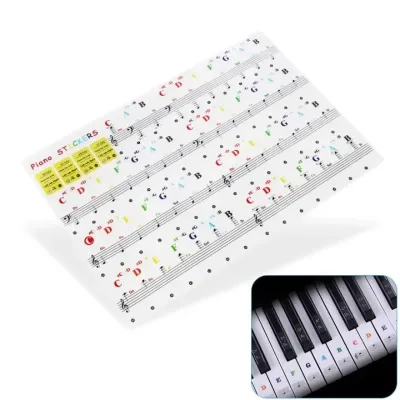

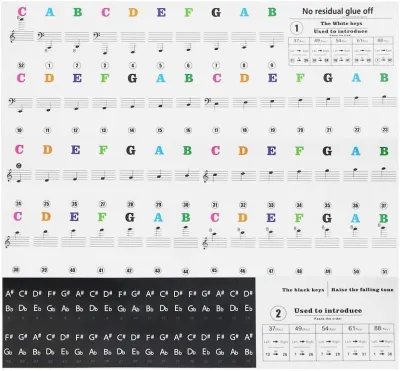
Prices are valid at publication and may change. Please refer to the product page for the latest price.
To ensure a perfect fit, check the manufacturer’s specifications in your user manual or on the official brand website. Look specifically for the width of the individual white keys. Standard piano keys are approximately 22 millimeters wide, but portable 54-key keyboards frequently feature keys that are only 18 to 20 millimeters wide. Applying standard-sized stickers to these narrower keys will cause the edges to overhang, leading to rapid peeling and a sticky buildup along the sides of the keys.
Next, count the exact number of white and black keys on your keyboard. A standard 54-key layout typically consists of 32 white keys and 22 black keys, spanning four and a half octaves. When looking at sticker sheets, verify that the package contains enough individual labels to cover this exact configuration. Some universal sticker sheets are designed for 88-key pianos but include cut lines or guide marks showing you which specific stickers to use for a 54-key setup.
Finally, examine the surface texture of your keyboard’s keys. Most entry-level electronic keyboards feature smooth, glossy plastic keys, while some mid-range models attempt to replicate the feel of acoustic pianos with a textured, matte finish. Glossy keys provide a highly receptive surface for static-cling or low-tack adhesives, but they also show air bubbles and dust particles more clearly. Matte keys require a slightly more compliant adhesive backing to ensure the edges do not lift over time, especially in humid environments.
Evaluate Material Durability and Adhesive Safety
The material of the stickers directly impacts both the playability of your keyboard and how long the labels remain legible. Look for transparent or matte-finish vinyl materials rather than thick, glossy paper. Transparent stickers are highly preferred because they allow the natural color of the plastic keys to show through, keeping your instrument looking neat and uncluttered. Matte-finish overlays are excellent for reducing glare from overhead room lights or desk lamps, ensuring you can read the notes clearly from any playing angle.

Adhesive safety is paramount when applying anything to an electronic instrument. Always verify that the product description explicitly labels the stickers as “residue-free,” “removable,” or “reusable.” High-quality stickers use a low-tack acrylic adhesive or a static-cling silicone backing. These technologies allow the sticker to grip the plastic securely during intense practice sessions while ensuring they can be peeled off cleanly when you no longer need them.
Avoid overly thick vinyl or heavy plastic laminated stickers. If a sticker is too thick, your fingers will feel a noticeable bump every time you slide between keys, which can disrupt your playing technique and muscle memory. Furthermore, thick stickers can rub against the sides of adjacent keys when pressed, causing the keys to stick down or return slowly. Lightweight, ultra-thin film stickers are the best choice for maintaining the natural key action and tactile response of your keyboard.
In warm, humid conditions, sweat and friction from your fingertips can quickly wear away printed ink. Look for stickers that feature a protective top layer or double-layer printing, where the musical notation is printed beneath a clear protective film. This design prevents the letters and staff lines from fading or smudging after a few weeks of consistent practice, saving you from having to replace the stickers prematurely.
Choose the Right Visual Design for Your Learning Style
Piano stickers come in a wide variety of visual styles, and choosing the right one depends heavily on your personal learning goals and educational background. The most common designs feature standard letter names (C, D, E, F, G, A, B). This system is ideal for self-taught players who are learning through modern chord charts, online video tutorials, or popular music sheets that rely primarily on English alphabet notation.
If you are taking formal music lessons in the Philippines, your instructor or school curriculum may emphasize the solfège system (Do, Re, Mi, Fa, Sol, La, Si). In this case, look for sticker sets that display both the standard letter names and the solfège syllables. Having both notation styles printed on the same sticker helps you bridge the gap between different instructional methods, making it easier to translate school lessons to your home practice sessions.
Color-coded designs are another popular option, especially for younger children or visual learners. These stickers assign a specific color to each note of the octave (for example, all C notes might be red, while all G notes are blue). This visual association helps beginners identify patterns across the keyboard quickly. However, if your long-term goal is to transition to reading traditional black-and-white sheet music, you may want to opt for simple black-and-white stickers to avoid relying too heavily on color cues.
Ensure the font size and contrast on the stickers are highly legible. The text should be sharp, clear, and large enough to read comfortably from a normal sitting posture without requiring you to lean forward. Additionally, check if the design includes helpful navigational aids, such as middle-C indicators, octave numbers, or miniature musical staff lines. On a 54-key keyboard, these markers are incredibly useful for helping you find your bearings and understanding how the keys correspond to the lines and spaces on a sheet of music.
Verify Sizing and Compatibility Before Buying
To avoid the hassle of returning a product that does not fit, you should treat the buying process with a high level of precision. Start by measuring the exact width and length of a single white key on your keyboard using a standard ruler or a pair of calipers. Write down these measurements in millimeters. Do the same for a black key, as some sticker sets include separate, smaller labels designed specifically for the raised black keys.
Once you have your physical measurements, compare them directly against the detailed product dimensions listed by the seller on e-commerce platforms. Do not rely solely on generic compatibility claims like “fits all keyboards.” Look for a diagram or a specification table in the product images that shows the exact millimeter width and height of the individual stickers. If the stickers are 20 millimeters wide and your keyboard keys are only 18 millimeters wide, you will know beforehand that the set is incompatible.
Reading user reviews is an invaluable step when shopping on online marketplaces. Search the review section specifically for keywords like “54-key,” “portable,” “slim keys,” or “electronic keyboard.” Other buyers often share photos of the stickers applied to their instruments, which can give you a realistic idea of the fit, alignment, and overall quality. If multiple reviews mention that the stickers had to be manually trimmed with scissors to fit a portable keyboard, you may want to look for a different set designed specifically for smaller keys.
Keep in mind that some universal sticker sets are designed to be versatile, meaning they contain enough stickers for an 88-key piano but include instructions on how to apply them to smaller layouts. For a 54-key keyboard, these instructions will guide you on which octave to start on (usually starting from the key of F or C, depending on your keyboard’s specific layout) and which stickers to discard. Ensure the product listing includes these application guides so you do not accidentally apply the wrong notes to your keys.
Prepare for Safe Installation and Future Removal
Proper preparation is the secret to a clean, long-lasting sticker application. Before you begin applying the stickers, clean your keyboard keys thoroughly to remove any built-up dust, skin oils, or sweat. Dampen a lint-free microfiber cloth slightly with clean water—never use dripping wet cloths, as excess moisture can seep between the keys and damage the internal electronic contacts. Wipe each key gently and allow the keyboard to dry completely in a well-ventilated room.
When applying the stickers, use the small wooden or plastic application tool that is often included in the package. If your set does not come with one, a pair of tweezers works perfectly. Avoid touching the adhesive backing with your bare fingers, as the natural oils on your skin can weaken the glue and cause the corners of the stickers to lift later on. Align the sticker carefully starting from the bottom edge of the key, then press upward slowly to smooth out any trapped air bubbles.
Eventually, as your playing skills improve and you develop muscle memory, you will want to remove the stickers. To do this safely, start by gently lifting one corner of the sticker with your fingernail or a soft plastic edge. Peel the sticker back slowly at a flat, 180-degree angle rather than pulling straight up, which minimizes stress on the plastic key. If you encounter significant resistance or feel the key lifting, stop immediately and consult your keyboard’s user manual for approved cleaning and maintenance instructions.
If any adhesive residue remains on the keys after removal, resist the temptation to use harsh chemical solvents like acetone, nail polish remover, or alcohol-based industrial cleaners. These chemicals can permanently dissolve, cloud, or discolor the plastic keys of an electronic keyboard. Instead, use a tiny drop of mild dishwashing soap on a damp microfiber cloth to gently buff away the residue, then wipe the area clean with a dry cloth. Always follow the manufacturer’s recommended guidelines to keep your instrument in pristine condition.
Final Pre-Purchase Checklist for Online Orders
Before you click the checkout button on your preferred online marketplace, run through this quick checklist to ensure a successful purchase. First, double-check that the total sticker count matches or exceeds the physical key count of your instrument. For a 54-key keyboard, you want to make sure you have at least 32 white key stickers, or a universal sheet that clearly outlines how to adapt the set for a 54-key layout.
Second, verify the seller’s return and exchange policies. Because physical dimensions can vary slightly between different electronic keyboard brands, having a flexible return policy provides peace of mind in case the stickers do not align perfectly with your keys. Look for sellers who offer hassle-free returns or guarantees on product dimensions.
Finally, ensure the product listing explicitly mentions compatibility with portable electronic keyboards or digital keyboards. Avoid listings that only showcase acoustic grand pianos, as those instruments almost always feature wider, standard-sized keys. By taking these careful steps, you can confidently choose a set of piano key stickers that will protect your instrument, fit perfectly, and serve as a reliable guide on your musical journey.
Frequently Asked Questions (FAQ)
Can I use standard 88-key piano stickers on a 54-key keyboard?
You can use standard 88-key piano stickers on a 54-key keyboard only if the individual sticker dimensions match the physical width of your keyboard’s keys. Standard 88-key digital and acoustic pianos feature standardized key widths of about 22 millimeters. However, portable 54-key electronic keyboards are often designed with narrower, slim keys to accommodate beginners or to maintain a compact design. If you apply standard-sized stickers to these narrower keys, the stickers will overlap onto adjacent keys, causing friction, peeling, and a sticky residue buildup. Always measure your keys in millimeters first and compare them to the sticker dimensions before purchasing.
Will removing the stickers damage my keyboard keys?
High-quality piano stickers made with low-tack, residue-free acrylic adhesives or static-cling silicone backings will not damage plastic keyboard keys when removed slowly and carefully. However, leaving cheap adhesives on plastic keys for an extended period, especially in hot and humid tropical climates, can cause the adhesive to degrade and bond more strongly to the plastic. To prevent damage, peel the stickers off slowly at a flat angle. Never use sharp metal tools, knives, or harsh chemical solvents like acetone to scrape off leftover residue, as these can permanently scratch or melt the plastic keys. Instead, use a damp cloth with a mild soap solution as recommended by most keyboard manufacturers.

Community discussion
Share your experience or ask a question. Comments are reviewed before publication.