
Applying piano key stickers correctly requires a systematic approach: meticulous surface preparation, precise alignment using a reference point like middle C, and a gentle application technique that prevents air bubbles. When done right, these visual aids accelerate your learning without leaving a sticky, ruined mess on your digital piano or keyboard. Many beginners rush this process, only to end up with crooked labels, trapped dust, or keys that feel sticky to the touch. Taking your time during the installation ensures the stickers remain highly visible, perfectly aligned, and completely safe for your instrument’s delicate keytops.
In tropical climates like the Philippines, high humidity and ambient heat can significantly affect how adhesives behave over time. Standard adhesives can quickly turn gummy or slide out of place under warm conditions, making proper installation techniques even more critical. By choosing the right materials and following a structured application method, you can protect your keyboard’s resale value while giving yourself a clear, reliable visual guide for your daily practice sessions.
Preparing Your Keyboard and Stickers for Application
Before you peel a single sticker, you must prepare the surface of your keys to ensure a secure, long-lasting bond. Natural oils from your fingertips, household dust, and microscopic debris constantly accumulate on keyboard surfaces, creating an invisible barrier that prevents adhesives from sticking uniformly. If you apply stickers over this layer of grime, the edges will likely lift within a few weeks, collecting dirt and hair underneath.
Products mentioned in this guide
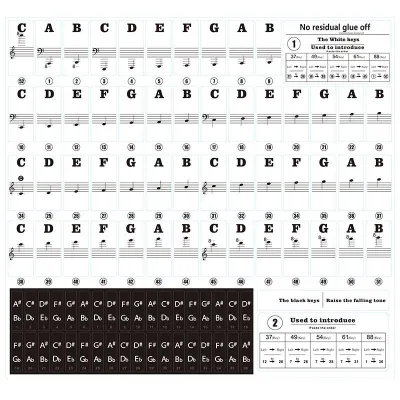
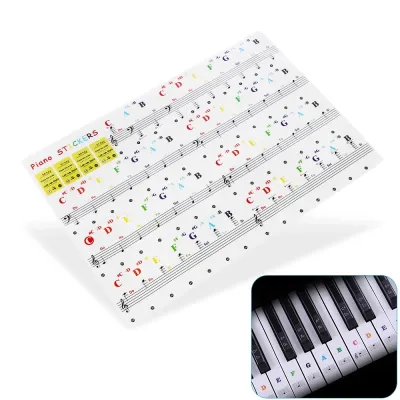
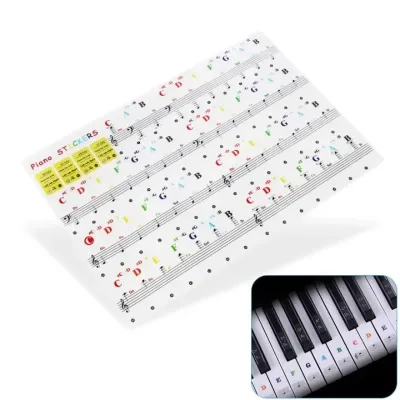
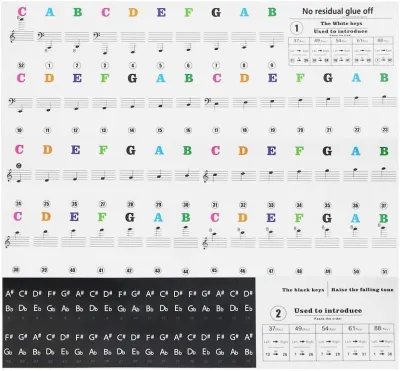


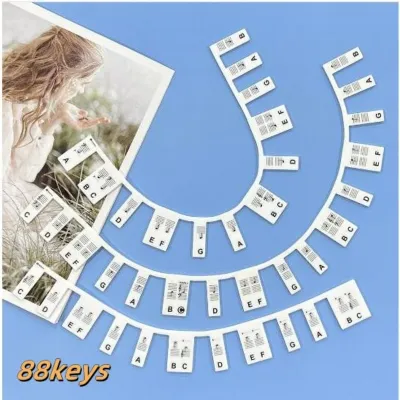

Prices are valid at publication and may change. Please refer to the product page for the latest price.
To clean your keys safely, wipe them down thoroughly with a slightly damp, lint-free microfiber cloth. Avoid using dripping wet cloths, as excess moisture can easily seep between the keys and damage the sensitive electronic sensors underneath. Once you have wiped away the surface oils, let the keyboard dry completely for at least fifteen minutes before proceeding.
While the keys are drying, examine the sticker packaging to verify the material and adhesive type. High-quality piano stickers are typically made of thin, electrostatic or removable vinyl, which is designed to peel off cleanly without leaving a sticky residue. Avoid cheap paper stickers, as their permanent adhesives can bond aggressively to plastic, making future removal a frustrating chore that often requires harsh chemicals.
The final preparation step is identifying your starting point, which is almost always Middle C. On a standard 88-key piano, Middle C is the fourth C key from the left. On a 61-key keyboard, it is the third C key. Locating this central reference point allows you to align your stickers symmetrically across the octaves, ensuring that the musical notes on the stickers match the actual pitches of your instrument.
Step-by-Step Application for Perfect Alignment
Achieving a perfectly straight line across dozens of keys requires patience and a steady hand. Instead of using your bare fingers to peel and place the stickers, use a pair of tweezers or a clean utility tool to handle them. Touching the adhesive side of the sticker with your fingertips transfers skin oils directly to the glue, which permanently weakens the bond at the corners and leads to premature peeling.

Carefully peel the first sticker from its backing sheet using the tweezers, gripping it by a very small portion of the top edge. Hold the sticker just above the key you want to label, using the bottom edge of the key as your primary alignment guide. Placing the stickers near the bottom edge—just above where your fingers naturally rest during play—keeps them highly visible while minimizing direct physical contact during intense practice sessions.
Once you are satisfied with the alignment, gently lower the sticker onto the key surface. Do not press down hard immediately; instead, let the sticker rest lightly on the plastic. This allows you to inspect the alignment from a normal playing angle to ensure it is not crooked or off-center.
If the alignment looks correct, press down gently starting from the center of the sticker and moving outward toward the edges. This outward motion pushes any trapped air to the sides, preventing the formation of unsightly bubbles. If you notice the sticker is folding, creasing, or misaligning as you lower it, stop immediately and peel it back up gently before applying any downward pressure.
Fixing Bubbles, Misalignment, and Edge Lifting
Even with a careful hand, minor application errors like air bubbles or slight misalignments can still occur. If you spot a small air bubble after pressing the sticker down, do not try to scratch it out with your fingernails, as this can scratch the vinyl or stretch the material. Instead, wrap a clean plastic card, such as an old membership card, in a soft microfiber cloth and use it as a mini-squeegee to gently slide the bubble toward the nearest edge.
Sometimes, stickers designed for universal keyboards can be slightly too wide for the narrow black keys (accidentals) on smaller digital keyboards. If you find that a sticker overlaps the edge of a key, it will eventually catch on your fingers or adjacent keys during play. You can remedy this by using a precision craft knife to carefully trim the excess vinyl before peeling it off the backing sheet, ensuring that no adhesive hangs over the sides of the key.
If a sticker becomes severely stretched, folded, or contaminated with dust during a failed application attempt, it is best to discard it entirely. Trying to force a compromised sticker to stay down will only result in lifting edges that collect dirt and look unprofessional. Most high-quality sticker kits include spare labels or duplicate octaves, allowing you to replace a ruined sticker without needing to buy a whole new set.
Safe Removal and Residue Cleanup
When the time comes to remove the stickers, doing so hastily can pull on the key mechanisms or leave behind a stubborn, sticky film. To minimize stress on the keys, never pull a sticker straight up at a ninety-degree angle. Instead, use a fingernail or tweezers to lift one corner gently, then peel the sticker back slowly at a very low, flat angle, keeping it as close to the key surface as possible.
If the stickers have been on your keyboard for several months, they may leave behind a faint layer of adhesive residue. To clean this up safely, avoid harsh household solvents like acetone, paint thinner, or heavy-duty degreasers, which can easily melt, cloud, or discolor the ABS plastic used in modern keyboard keys. Instead, use a dedicated, instrument-safe keyboard cleaner or a tiny amount of isopropyl alcohol diluted with water on a microfiber cloth.
Before applying any cleaning solution to the entire keyboard, always perform a patch test on a single, inconspicuous key, such as the highest key on the far right of the keybed. Apply a small drop of the solution to the back of the key, wipe it off, and wait a few minutes to ensure it does not alter the plastic’s texture or finish. Once verified safe, gently buff away the remaining adhesive residue using light, circular motions.
Transitioning Away from Stickers for Long-Term Playing
While key stickers are incredibly helpful for absolute beginners, they are meant to be a temporary training tool rather than a permanent fixture. As you practice, pay attention to your reliance on these visual aids; when you find yourself looking up at your sheet music or screen more often than down at the keys, your muscle memory is taking over. This is the ideal moment to plan the removal of the stickers to help transition your brain to pure spatial awareness of the keyboard.
Leaving stickers on your keyboard for years can eventually lead to physical issues with the instrument. Over time, especially in warm and humid environments, the adhesive can harden and bond permanently with the plastic, making removal extremely difficult. Additionally, the areas covered by the stickers are protected from natural wear and light exposure, which can result in uneven key coloration once they are finally removed.
If you still want visual assistance but want to avoid the risks of adhesives entirely, consider upgrading to a movable silicone keyboard overlay. These flexible strips sit flat at the top of your keys without any glue, allowing you to place them on the keyboard during practice and remove them instantly when you want to play by feel. Combining these tools with targeted sight-reading exercises will help you build long-term confidence without altering your instrument’s physical condition.
Frequently Asked Questions (FAQ)
Can I use regular craft stickers instead of dedicated piano stickers?
No, using standard craft or paper stickers on a piano keyboard is highly discouraged. Craft stickers typically use permanent adhesives designed to stick indefinitely to paper or cardboard, which will leave a thick, gummy residue on plastic keys that is incredibly difficult to clean. Furthermore, paper stickers tear easily when exposed to the friction and moisture of your fingertips, leaving behind unsightly, half-peeled patches that ruin the look and feel of your instrument. Dedicated piano stickers are made of durable, removable vinyl that resists wear and peels off cleanly.
Are stickers safe for textured or synthetic ivory keys?
Applying adhesive stickers to textured, matte, or synthetic ivory keys carries a higher risk of damage and difficult removal. These premium key surfaces feature microscopic pores designed to mimic the feel of natural ivory and absorb finger sweat, which can trap adhesive particles deep within the texture. Over time, the glue can bond within these pores, making it nearly impossible to remove the residue without scrubbing away the textured finish itself. If your digital piano features textured keys, it is highly recommended to use a non-adhesive silicone overlay instead of sticker sheets to preserve the premium keytop texture.

Community discussion
Share your experience or ask a question. Comments are reviewed before publication.