
Selecting the right Fender guitar cable is not about finding a single “best” model, but matching its construction to where and how you play. A gigging musician performing under hot stage lights in a humid local venue needs a cable that withstands being stepped on, resists sweat, and blocks interference from nearby power lines. Conversely, a bedroom player or home studio producer requires flexibility, ease of storage, and pristine signal transmission without paying for heavy-duty road armor. By understanding how shielding, capacitance, and outer jacket materials interact with your environment, you can choose a cable that preserves your guitar’s natural tone and prevents sudden failures during a performance.
Identifying Your Primary Playing Environment
To find the ideal cable, start by analyzing the physical and acoustic demands of your typical playing space. If you perform live on stage, your cable is constantly exposed to physical hazards. It will be stepped on by bandmates, pulled around microphone stands, and subjected to high humidity and sweat in tropical venues. These environments also feature significant electrical noise from stage lighting, monitors, and multiple power strips, requiring a cable with robust shielding to prevent loud hums through your amplifier.
In contrast, a recording studio is a controlled, quiet environment where physical movement is minimal but acoustic sensitivity is incredibly high. Here, the primary goal is signal purity. Any loss of high-frequency detail or introduction of handling noise (microphonics) will be captured by sensitive microphones and audio interfaces. The cable does not need to survive heavy boots, but it must deliver the cleanest possible signal from your pickups to your outboard gear.
Products mentioned in this guide
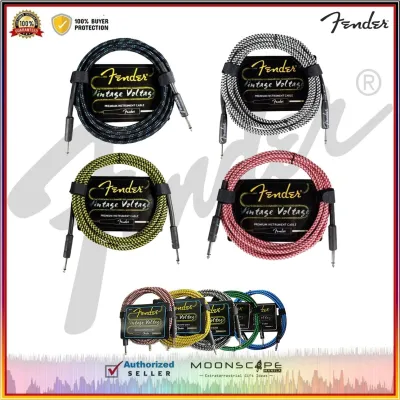
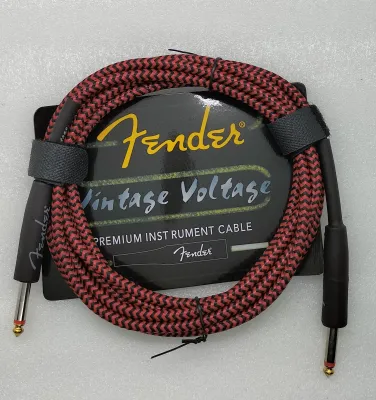
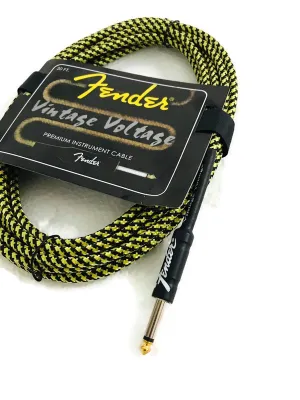
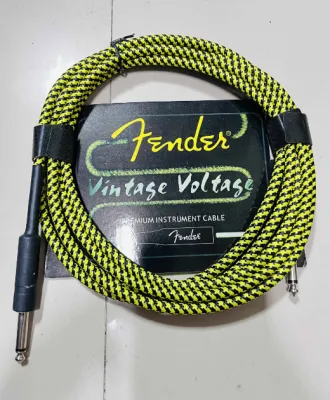
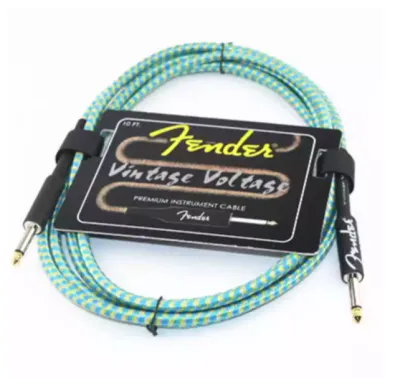
Prices are valid at publication and may change. Please refer to the product page for the latest price.
For home practice, convenience and flexibility take priority. You are likely playing in a confined space, perhaps sitting at a desk or on the edge of a bed. A stiff, heavy stage cable will feel cumbersome and may pull on your guitar’s output jack. Instead, a lighter, more flexible cable that coils easily and fits into a gig bag pocket is much more practical for daily use.
Essential Specifications to Verify on Fender Cables
When browsing Fender’s cable lineup, reading the product specifications carefully will help you identify how a cable will perform. The first element to check is the conductor and shielding. High-quality cables use oxygen-free copper (OFC) conductors to ensure reliable signal transmission. For shielding, look for spiral or braided copper shielding. Braided shielding offers the highest coverage (often 90% or more) and excellent rejection of electromagnetic interference (EMI), making it ideal for noisy environments, though it makes the cable stiffer. Spiral shielding is more flexible and highly suitable for home use.

Capacitance is another critical specification. Measured in picofarads per foot (pF/ft), capacitance represents how much high-frequency detail the cable naturally filters out over its length. A high-capacitance cable acts like a subtle tone control, rolling off the bright “sparkle” of your guitar. If you want a bright, transparent tone, especially over longer distances, look for low-capacitance designs. If you prefer a warmer, slightly rounded high-end, a standard-capacitance cable will suit your style.
The connectors and strain relief are the primary points of physical failure. Look for cables with heavy-duty molded or serviceable metal connectors. Serviceable connectors can be unscrewed and resoldered if a connection breaks, which is highly valuable for gigging musicians. Heat-shrink tubing or robust rubber strain relief boots at the joint prevent the cable from bending too sharply and snapping the internal wires.
Finally, consider the outer jacket material. Fender offers traditional PVC jackets as well as woven tweed or fabric jackets. PVC is highly durable, easy to wipe clean of dirt and sweat, and slides easily across stage floors. Tweed jackets offer a classic aesthetic, resist tangling, and do not cling to themselves when coiled, but they can absorb moisture and dirt more easily in humid or outdoor settings.
Matching Cable Features to Stage, Studio, and Practice
Every playing scenario presents a unique balance of physical stress, electrical interference, and acoustic demands. Choosing the right cable tier involves weighing these factors against your budget to find the most reliable tool for the job.
Stage and Live Performance
For live performances, durability and noise rejection are non-negotiable. Stage cables must endure being stepped on, run over by equipment cases, and yanked during energetic movements. Look for Fender cables featuring thick PVC or heavy-duty braided tweed jackets that protect the internal conductors from crushing forces. Serviceable metal connectors are a must, as they allow you to quickly repair a loose connection before a show.
Noise rejection is equally vital on stage. The presence of lighting rigs, wireless systems, and multiple power cables creates a high risk of electromagnetic hum. Choose cables with high-density braided shielding to isolate your guitar signal. Additionally, select a length that gives you freedom of movement without creating a tripping hazard. A 10-foot or 15-foot cable is usually ideal for small to medium stages, while a 20-foot cable should only be used if you genuinely need to cover large distances, as excessive length can degrade your signal.
Studio and Recording
In a recording environment, the focus shifts entirely to signal integrity and quiet operation. To capture the full frequency response of your instrument, prioritize low-capacitance cables. This ensures that the delicate high-end transients of your guitar—especially when using single-coil pickups—reach your audio interface or studio amplifier without being muddled.
Physical layout also matters in the studio. If you are routing cables behind equipment racks, through pedalboards, or into desktop interfaces, space can be tight. Look for cables with right-angle connectors on at least one end to reduce strain on your guitar’s jack and allow flush mounting against pedal inputs. Furthermore, verify that the cable has low microphonics, meaning it does not produce thumping or crackling noises through the monitors when bumped or moved during a recording take.
Home Practice and Rehearsal
For home practice, you do not need to invest in premium, heavy-duty stage armor or ultra-low capacitance studio cables. Standard shielding and PVC jackets are more than sufficient for low-volume practice amplifiers or headphone setups. The primary goal here is comfort and ease of use.
A shorter cable, such as a 5-foot or 10-foot option, is ideal for home use. It minimizes clutter around your chair or desk, reduces the risk of tripping over excess slack, and is easy to pack away when you are finished playing. Highly flexible PVC jackets are excellent for this scenario, as they drape easily and do not resist being coiled into tight loops for storage in a drawer or gig bag.
Cross-Scenario Compatibility and Care
If you find yourself transitioning between home practice, occasional jam sessions, and home recording, you might not want to purchase three different cables. A mid-tier Fender cable with a flexible PVC jacket, moderate capacitance, and reliable molded connectors offers an excellent compromise. It will be durable enough to handle occasional transport while remaining flexible and clear enough for casual recording and daily practice.
Regardless of which cable you choose, proper care is essential to maximize its lifespan, especially in humid tropical climates. Never wrap a cable tightly around your hand and elbow; this twists the internal copper conductors and shielding, leading to kinks, shorts, and eventual signal failure. Instead, use the “over-under” coiling method, which follows the natural lay of the wire and prevents internal twisting. Secure the coiled cable with a hook-and-loop strap rather than tying it in a knot.
Regular maintenance is also important. Periodically inspect the metal plugs for signs of oxidation or dirt, which can cause crackling noises. In humid environments, wiping the plugs with a dry microfiber cloth or using a dedicated electronic contact cleaner can prevent corrosion. If your cable has screw-on metal connector barrels, check them occasionally to ensure they have not vibrated loose, and gently tighten them by hand to keep the internal solder joints protected.
Frequently Asked Questions (FAQ)
Do Fender guitar cables come with a warranty?
Yes, many Fender guitar cables are backed by a manufacturer’s warranty, which often includes limited lifetime coverage for specific premium lines. However, the exact terms, duration, and claim processes can vary depending on the specific product series and where you purchased it. To verify the current warranty terms for your specific cable, check the official Fender website or consult an authorized retailer in your area. Keep in mind that these warranties typically cover manufacturing defects in materials and workmanship, and do not apply to normal wear and tear, accidental cuts, or damage caused by improper coiling and abuse.
Can I use a speaker cable instead of a Fender instrument cable?
No, you should never use a speaker cable as an instrument cable, nor should you use an instrument cable to connect an amplifier head to a speaker cabinet. Although they may look identical from the outside and both use 1/4-inch plugs, their internal construction is completely different. Instrument cables are shielded to protect weak, high-impedance guitar signals from external noise, but they use thin wires that cannot handle the high-voltage current of an amplifier output. Using an instrument cable as a speaker cable can cause the cable to overheat, potentially melting the jacket and damaging your amplifier. Always check the printed text on the cable jacket to confirm its intended use before plugging it in.
Community discussion
Share your experience or ask a question. Comments are reviewed before publication.