
Stepping into the world of guitar effects can feel like entering a sonic playground, but it is easy to get lost in the sheer variety of stompboxes available. For a beginner, the right guitar pedal is not the most expensive or complex unit on the shelf; it is the one that directly solves a specific musical problem or unlocks the exact genre you want to play. Before spending your hard-earned ₱ on gear you might not use, taking a systematic approach to your signal chain will save you time, money, and frustration.
Quick Diagnostic: Do You Actually Need a Pedal Right Now?
Before browsing online marketplaces or visiting your local music store, you must evaluate whether your current playing foundation is ready for external effects. If you can comfortably transition between basic open chords, play a few clean scale patterns, and maintain a steady rhythm, you are likely ready to explore how pedals can shape your sound. Wanting to replicate a specific tone from your favorite tracks is a perfectly valid reason to start looking at hardware.
Conversely, if you are still struggling to get a clean, buzz-free note from your fretboard, or if you find yourself constantly adjusting your hand positioning to avoid muted strings, a pedal may only serve as a distraction. Adding distortion or delay to sloppy technique does not hide mistakes; in fact, it often amplifies them, making it harder to diagnose and correct your playing habits. Focus first on building finger strength and clean execution before introducing electronic modifiers.
Products mentioned in this guide
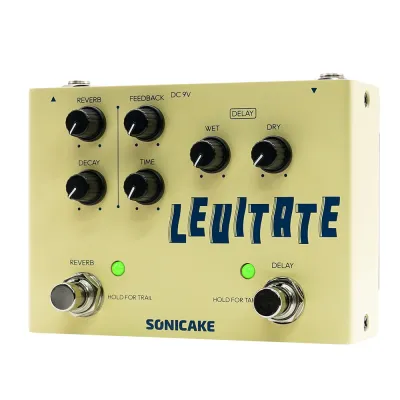
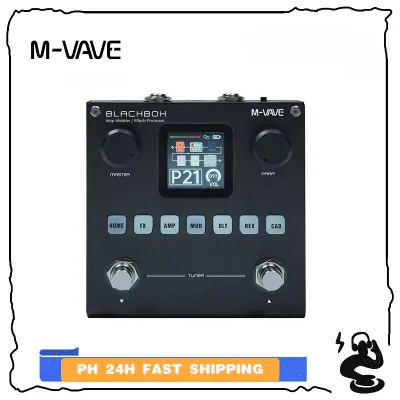
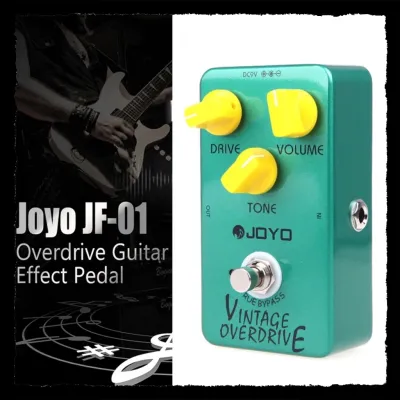
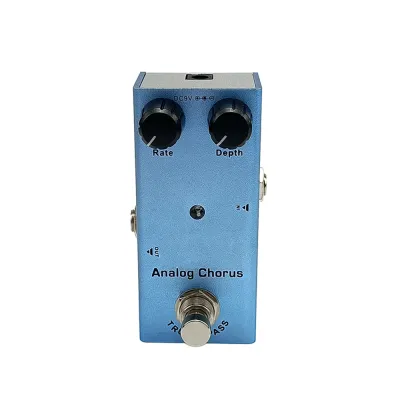
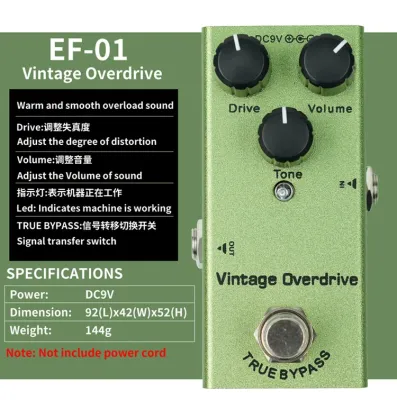
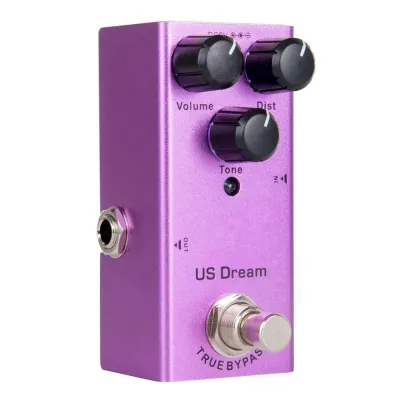
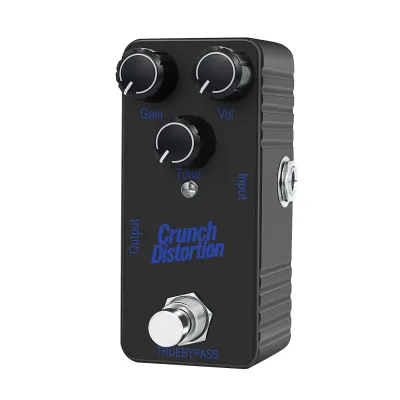
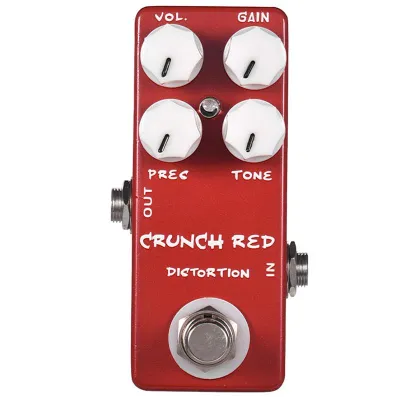
Prices are valid at publication and may change. Please refer to the product page for the latest price.
It is also essential to audit your current amplifier. Many modern practice amplifiers come equipped with built-in digital effects, including basic overdrive, chorus, and delay. If your amp already has these features, use them to experiment with different sounds for free. This built-in playground allows you to discover which effects you actually enjoy using before you invest in dedicated, standalone hardware.
Assessing Your Playing Style and Tone Goals
Your musical preferences should dictate your very first pedal purchase. If your playlist consists mostly of classic rock, alternative, or local indie bands, your needs will differ wildly from someone focused on ambient soundscapes or pristine jazz lines. Identifying the dominant genres you want to play helps narrow down the massive catalog of available pedals to a few essential categories.

To pinpoint your target sound, listen closely to the guitar tracks of the artists who inspire you. If you hear a gritty, aggressive bite during a guitar solo, you are likely hearing an overdrive or distortion pedal. If the notes seem to echo and trail off into a spacious room, a delay or reverb is at work. If the clean tone has a lush, watery, or swirling quality, a modulation effect like chorus is likely the culprit.
You must also decide whether you want subtle signal enhancement or dramatic sound shaping. Some players simply want to make their clean tone sound slightly warmer and more polished, which can be achieved with a mild overdrive or a subtle reverb. Others want to completely transform their guitar’s voice into something unrecognizable, which requires high-gain distortion or heavy modulation. Knowing this distinction prevents you from buying a radical effect when all you needed was a gentle touch of space.
Matching Pedal Categories to Beginner Needs
Understanding the core categories of guitar pedals allows you to make an informed decision based on your current skill level and musical goals. Here is how the primary pedal types align with beginner requirements:
Overdrive and Distortion These pedals are the bedrock of rock, blues, and metal. Overdrive mimics the warm, natural breakup of a tube amplifier pushed to its limits, making it highly responsive to how hard you strike the strings. Distortion, on the other hand, offers a more aggressive, uniform saturation that remains intense regardless of your playing dynamics. If you want to play crunchy rhythm parts or sustaining lead solos, starting with a classic overdrive is often the most rewarding path.
Delay and Reverb Time-based effects add a sense of physical space and depth to your playing. Reverb simulates the natural reflections of different environments, from a small tiled room to a massive cavernous hall, which is incredibly useful if your practice amp sounds dry and lifeless. Delay records your input and plays it back at set intervals, creating rhythmic echoes. While highly inspiring, always check if your amplifier has a built-in reverb before buying a dedicated pedal, as built-in amp reverb is often sufficient for beginners.
Modulation (Chorus, Flanger, Phaser) Modulation pedals alter your signal’s pitch, phase, or timing to create movement and texture. A chorus pedal splits your signal, slightly detunes one part, and modulates it to create a thick, shimmering sound reminiscent of an ensemble. Phasers and flangers introduce swooshing, jet-plane-like sweeps that can add dramatic flair to both clean and dirty tones. These are excellent choices if you find your clean tone too static or boring.
Tuner While not a glamorous sound-shaping tool, a dedicated tuner pedal is the most practical, non-negotiable utility you can own. It mutes your signal completely for silent tuning between songs, provides highly accurate pitch detection, and ensures you are always in tune during practice or live performances. If you plan to play with other musicians or perform live, this should arguably be your very first purchase.
Gear Compatibility and Setup Checks Before Buying
Before finalizing any purchase, you must ensure your current gear can actually support and power a new pedal. Many beginners overlook the physical and electrical requirements of stompboxes, leading to unwanted noise or even damaged equipment.
First, examine how your amplifier handles external signals. Most basic practice amps only have a standard front input, meaning all your pedals must run directly between your guitar and the amp’s input jack. If you plan to use heavy amplifier distortion alongside time-based effects like delay, look to see if your amp has an “effects loop” (send and return jacks) on the back. Running delay and reverb through an effects loop keeps your echoes clean and prevents them from turning into a muddy mess when combined with amp distortion.
Second, verify the power requirements of the pedal you want to buy. The vast majority of compact pedals require a 9V DC power supply with a center-negative polarity. Using an incorrect adapter with the wrong voltage or polarity can permanently fry the pedal’s internal circuitry. Additionally, check the current draw, measured in milliamperes (mA); digital pedals like delays often draw significantly more current than simple analog overdrives, meaning they may drain batteries rapidly or require a dedicated power adapter rather than a shared daisy-chain cable. In tropical climates like the Philippines, high humidity can also affect cheap battery contacts, making a stable, regulated power adapter a much safer and more reliable choice for your practice space.
Finally, do not forget the physical accessories. You will need at least one extra instrument cable (patch cable) to connect your new pedal to your amplifier, as your existing cable will now run from your guitar to the pedal input. Ensure you have a flat, stable surface or a small board to place the pedal on, keeping it free from dust and moisture.
Building Your First Signal Chain
Once you have acquired your first few pedals, arranging them in the correct order is crucial for maintaining tone clarity and minimizing unwanted background hiss. While there are no absolute laws in music, a standard, time-tested signal path progression ensures each effect performs its job optimally.
The standard order begins with utility and dynamics pedals, such as tuners and compressors, placed closest to your guitar. Next come your frequency-shaping and gain pedals, including overdrives, distortions, and fuzzes. These are followed by modulation effects like chorus, phaser, or flanger. Finally, time-based effects like delay and reverb are placed at the very end of the chain to ensure they repeat and decay the fully shaped tone of your guitar and drive pedals.
This specific order matters because of how effects interact. For example, placing a delay before a high-gain distortion pedal means the distortion will compress and dirty up every single echo, resulting in a chaotic, muddy wall of noise. Placing the distortion before the delay ensures that your clean, distinct echoes are simply repeating a distorted guitar tone, preserving clarity and definition.
For beginners, the best advice is to start small with a simple one- or two-pedal setup. Trying to manage a massive pedalboard with five or six effects from day one makes it incredibly difficult to isolate noise issues, understand how each control affects your tone, or focus on your actual playing technique. Master one pedal at a time before expanding your setup.
Frequently Asked Questions (FAQ)
Should I buy a multi-effects unit instead of individual pedals?
Multi-effects processors are highly cost-effective, offering dozens of different amp models, drives, modulations, and time-based effects inside a single chassis for a fraction of the cost of individual stompboxes. They are fantastic for beginners who want to experiment with a wide variety of sounds to discover what they like. However, they often come with complex menus, digital screens, and a steep learning curve. Individual pedals offer simple, tactile knobs that let you adjust your sound instantly, and they allow you to build and upgrade your setup gradually over time.
Do I need a buffered bypass or true bypass pedal?
True bypass pedals completely bypass the internal circuitry when turned off, preserving your guitar’s pure signal as if the pedal were not there. Buffered bypass pedals, however, keep a small, active buffer circuit engaged even when the effect is off, which strengthens your signal to prevent the loss of high-end frequencies (tone suck) over long cable runs. For a beginner with only one or two pedals and short cables, the difference is virtually unnoticeable. You only need to worry about adding a buffered pedal to your chain once you start running total cable lengths exceeding 15 to 20 feet or building a larger board with five or more pedals.
Community discussion
Share your experience or ask a question. Comments are reviewed before publication.