
Using a drum tuner is the most reliable way to eliminate unwanted overtones, achieve a clean decay, and ensure your drum head has perfectly even tension across all its lugs. To use one correctly, you place the device near each tension rod, measure either the physical tension of the head or its acoustic frequency, and make small adjustments using a drum key in a crisscross pattern until all points display the same value. Whether you are preparing for a live performance in a humid venue or setting up for a recording session, mastering this tool saves hours of frustrating guesswork.
Understanding Your Drum Tuner and Setting Goals
Before adjusting any tension rods, you must identify the specific type of drum tuner you are using, as different devices measure different physical properties. The two primary categories are tension-based tuners and pitch-based tuners. Tension-based tuners measure the physical resistance or deflection of the drum head near each lug. These mechanical or digital dial indicators do not require you to strike the drum; instead, they rely on physical contact to show how tightly the head is stretched.
Pitch-based tuners, on the other hand, measure the actual acoustic frequency (in Hertz) or musical pitch produced when you tap the drum head near a tension rod. Before purchasing or using a drum tuner, verify its device compatibility with your specific drum head types—such as standard mylar, textured, or mesh heads—and consult authorized manufacturer sources for official tuning charts. Always check the manufacturer’s manual to understand its specific scale, units, and recommended target charts.
Products mentioned in this guide
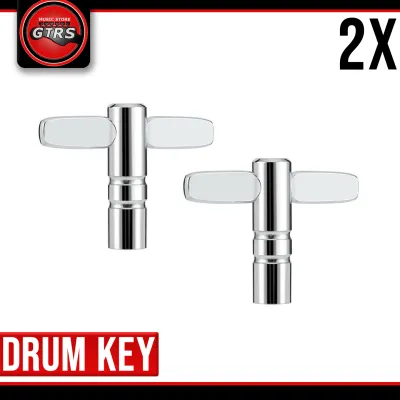
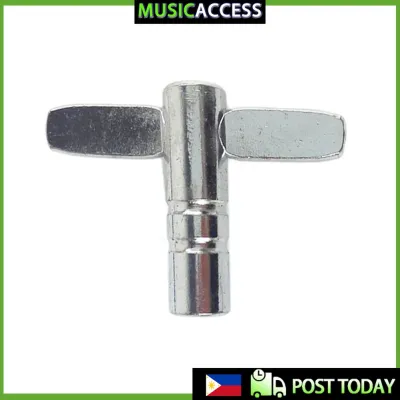
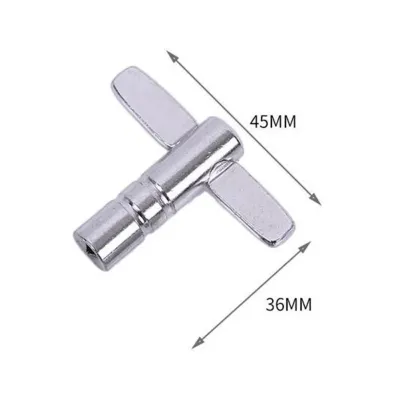
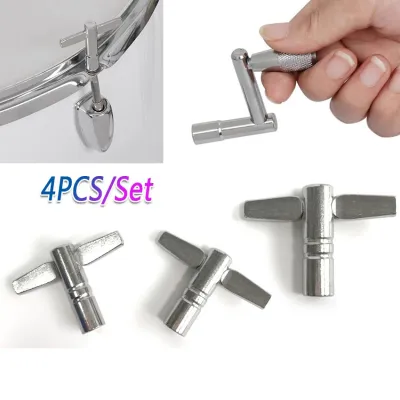
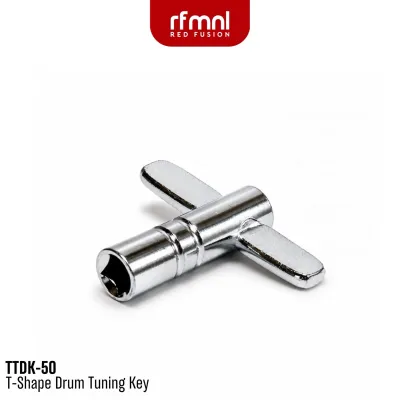
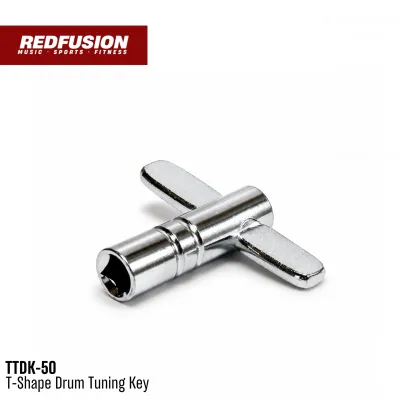
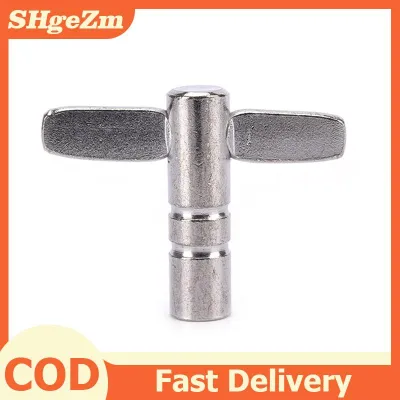
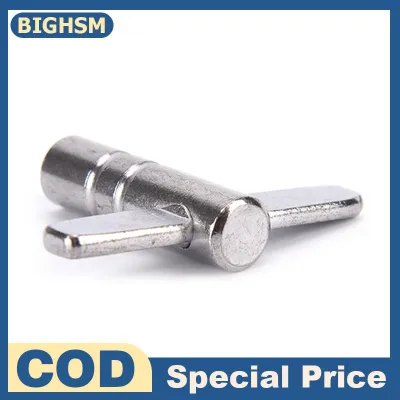
Prices are valid at publication and may change. Please refer to the product page for the latest price.
Keep in mind that there is no single universal number that works for every drum. Your target settings will depend heavily on the size of the drum shell, the thickness of the drum head, the musical genre you play, and your personal sound preferences. For instance, a jazz drummer might aim for a higher, more resonant pitch, whereas a rock drummer playing in a damp or humid environment might prefer a lower, punchier tone with shorter decay.
Preparing the Drum and Tuner for Accurate Readings
Achieving a reliable reading from your drum tuner requires careful preparation of both the instrument and the tuning environment. Start by removing the drum from its stand and inspecting the drum head for physical damage, deep dents, or excessive wear. If the head is stretched out or has lost its elasticity, no tuner will be able to pull it into a balanced state. Take this opportunity to check the bearing edge—the top rim of the wooden shell where the drum head rests—to ensure it is clean and free of debris.

Next, clean the surface of the drum head where the tuner will make contact. In tropical climates where humidity is high, moisture, sweat, and stick dust can accumulate on the head, which can interfere with the physical grip of a tension tuner or alter the acoustic response of a pitch tuner. Wipe the head down with a dry, lint-free microfiber cloth. Once the surface is clean, loosen all the tension rods completely, then tighten them back up using only your fingers. This process, known as bringing the rods to “finger-tight,” establishes a uniform baseline across the entire drum.
Step-by-Step Tuning Process for Even Tension
With your drum prepared and set to a finger-tight baseline, you can begin the physical tuning process. Always use a star or crisscross pattern when tightening the tension rods. Instead of moving consecutively around the hoop in a circle, tighten one rod, then move directly across the drum to the opposite rod. This method distributes the downward pressure of the metal hoop evenly across the drum head, preventing the hoop from warping and ensuring the head seats flat against the bearing edge.
To begin measuring, place your drum tuner on the head. For tension-based tuners, place the device approximately one inch (about 2.5 centimeters) inward from the hoop, directly in front of a tension rod. Ensure the tuner rests flat on the surface without any extra downward pressure from your hand, as this will skew the reading. For pitch-based tuners, position the sensor according to the manufacturer’s instructions—some require placement in the center of the drum while you tap near the edge, while others are held close to each individual lug.
Read the value displayed on the tuner at your first lug point. Using your drum key, make a small, incremental turn—usually a quarter-turn or half-turn—on the tension rod. Move to the opposite rod in your crisscross pattern, place the tuner, and adjust that rod to match. Continue this pattern around the entire drum. As you approach your target value, reduce your adjustments to very small increments, such as eighth-turns.
After adjusting all the rods, go around the drum one more time to verify the readings. If you are using a pitch-based tuner, gently tap the drum head with a drumstick or mallet about one inch in front of each lug. Listen closely to the overtones produced at each point. The pitch should sound identical at every rod. If one lug displays a matching number on the tuner but sounds noticeably different to your ears, double-check that the tuner is positioned at the exact same distance from the hoop for every single reading.
Fine-Tuning and Verifying the Final Pitch
Once you have achieved even tension across all the lugs, you can adjust the overall pitch of the drum to fit your musical needs. If the drum sounds too low, you will need to raise the pitch uniformly. To do this, turn each tension rod by the exact same small increment—such as an eighth-turn—following the same crisscross pattern. Use your drum tuner at each step to ensure that the tension remains balanced as you pitch the drum up. If you need to lower the pitch, detune the rods slightly below your target and then tune back up to the desired value to help the tension rods lock into place.
Do not forget the relationship between the batter (top) head and the resonant (bottom) head. The resonant head plays a massive role in determining the sustain, projection, and overall tone of the drum. Remove the drum from its stand, flip it over, and apply the exact same step-by-step tuning process to the resonant head. You can tune the resonant head to the same pitch as the batter head for maximum sustain, or tune it slightly higher or lower to control the decay and pitch drop.
Finally, mount the drum back onto its stand or rack and play it within the context of your entire drum kit. A drum that sounds perfect on a tuning table might react differently when surrounded by other shells or when played in a room with specific acoustics. Strike the drum at various dynamic levels—from soft taps to heavy hits—to verify that the pitch sits well with your cymbals and other drums, and that there are no unwanted buzzes or rattling noises coming from the hardware.
Troubleshooting Common Tuning Issues
Even with a high-quality drum tuner, you may occasionally encounter inconsistent readings or a drum that simply does not sound right. If your tuner displays wildly different numbers at adjacent lugs despite identical physical adjustments, inspect the drum’s hardware. A warped metal hoop is a common culprit; if the hoop is bent, it cannot apply even pressure to the drum head. You can check this by removing the hoop and placing it on a completely flat surface, such as a glass table, to see if it wobbles. Additionally, check for a damaged or uneven bearing edge on the wooden shell.
Another common issue is “choking,” which occurs when a drum loses its natural resonance and sounds dead or boxy. This usually happens when the drum head is tuned too high or too low for the physical limitations of the shell size. Every drum shell has a natural frequency range where it vibrates most freely. If you experience choking, try detuning the drum completely and rebuilding the tension to a slightly different pitch range.
Lastly, recognize when it is time to stop tuning and replace consumable parts. Drum heads stretch out over time, especially under heavy play or in high-humidity environments. If a head has lost its elasticity, or if the plastic has begun to pull away from its metal collar, no amount of tuning will restore its tone. Replacing old heads, worn-out tension rod washers, or damaged hoops is often the only way to achieve the clean, consistent sound your tuner is designed to help you find.
Frequently Asked Questions (FAQ)
Do I need to tune the top and bottom heads to the exact same pitch?
Tuning the top (batter) and bottom (resonant) heads to the exact same pitch is a common technique that maximizes the drum’s natural resonance, sustain, and volume. However, you do not have to keep them identical. Tuning the bottom head slightly higher than the top head creates a shorter decay with a slight downward pitch bend, which is highly desirable in modern rock and pop music. Conversely, tuning the bottom head lower than the top head can produce a deeper, warmer tone but may reduce overall projection. Experimenting with these relationships allows you to customize the drum’s voice to match your musical style.
Why does my drum tuner show different numbers every time I place it?
Inconsistent readings are usually caused by minor variations in how you position or interact with the tuner. For tension-based tuners, even a tiny shift in distance from the hoop or applying extra hand pressure while holding the device can alter the physical deflection reading. For pitch-based tuners, striking the drum head with varying force, using different sticks, or tapping at inconsistent distances from the edge will produce different frequency readings. Additionally, background noise in your practice space or sympathetic vibrations from nearby drums can interfere with acoustic sensors. Always tune in a quiet room, keep your placement precise, and use a consistent, light tapping force.
Community discussion
Share your experience or ask a question. Comments are reviewed before publication.