
Integrating a new component like the KPT Pro into your home audio or vinyl setup is an exciting step toward refining your listening experience. Whether you are connecting it to a vintage turntable, a modern integrated amplifier, or a dedicated headphone station, the physical installation process requires a methodical approach. Proper setup ensures that you preserve signal integrity, prevent unwanted noise, and protect your valuable equipment from accidental damage.
In tropical environments such as the Philippines, where high humidity and ambient temperatures are common, taking extra care during the installation process is especially important. Moisture can accelerate the oxidation of metal contacts, while restricted airflow can cause heat to build up rapidly in electronic chassis. By following a structured, step-by-step guide, you can safely integrate this device into your existing audio chain and achieve a clean, reliable connection from the very first listen.
Pre-Setup Preparation and System Checks
Before making any physical connections, you must verify the compatibility of your existing equipment and gather the necessary tools. Begin by consulting the official manual for the KPT Pro to identify its exact input and output interfaces, power ratings, and signal flow requirements. Audio components rely on specific voltage levels and impedance matching, so understanding whether your device operates at line level, phono level, or instrument level is crucial to preventing signal distortion or hardware damage.
Products mentioned in this guide

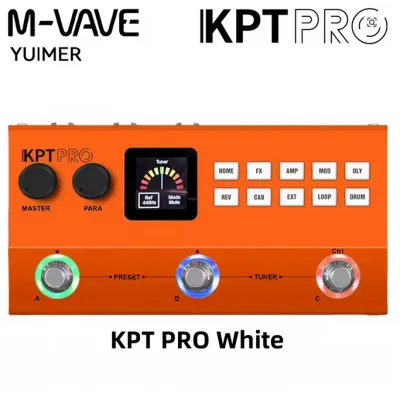
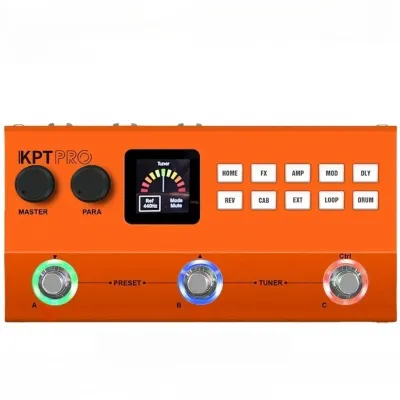
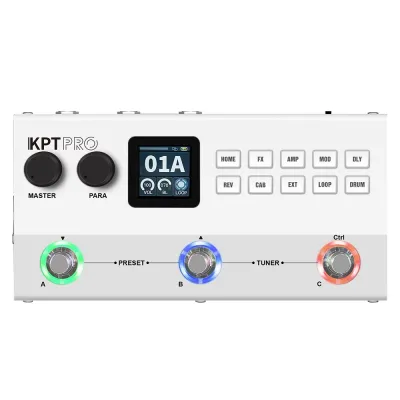
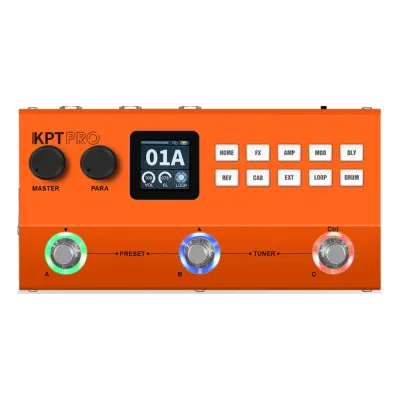
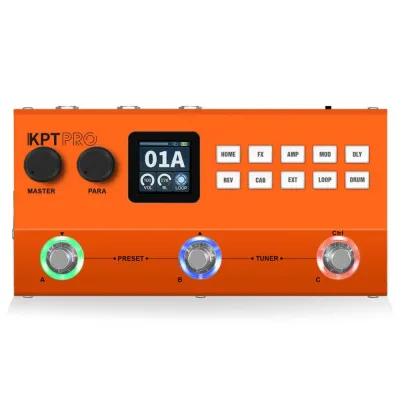
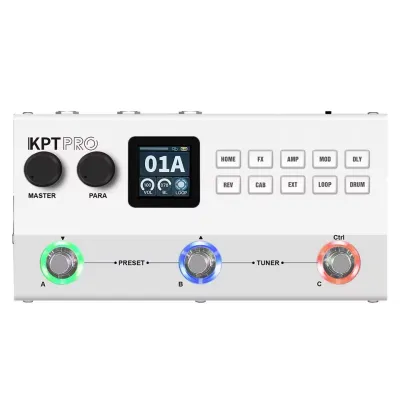
Prices are valid at publication and may change. Please refer to the product page for the latest price.
Next, inspect your existing audio cables to ensure they match the specified connectors on the KPT Pro. Depending on your system configuration, you may require RCA cables, balanced XLR connectors, or TRS phone plugs. Avoid the temptation to force incompatible plugs into jacks, as this can permanently damage the internal solder joints of the ports. If your current cables are showing signs of wear, such as cracked insulation or oxidized connectors, consider replacing them before proceeding with the installation.
In addition to checking cable compatibility, take a moment to inspect the physical condition of the ports on both the KPT Pro and your existing amplifier. In humid environments, a thin layer of oxidation can form on copper or gold-plated connectors over time, which can degrade signal quality or cause intermittent dropouts. If you notice any dullness or residue on the contacts, gently clean them using a specialized, fast-evaporating electronic contact cleaner and a lint-free swab before making any connections.
Safety must be your top priority during any hardware integration. Before handling any cables or moving components on your audio rack, ensure that the entire audio system is completely powered off. Unplug the power cords of your amplifier, receiver, turntable, and any other connected sources from the wall outlets or power strip. This step eliminates the risk of short circuits, ground faults, or sudden voltage spikes that could damage delicate speaker drivers or sensitive solid-state circuitry.
Finally, prepare a clean, well-lit workspace with sufficient room to access the rear panels of your equipment. Having a flashlight, some non-conductive cable ties, and a soft microfiber cloth nearby will make the installation process much smoother. Taking these preparatory steps helps prevent common installation mistakes and ensures a secure, stable connection.
Step-by-Step Physical Installation
The physical placement of the KPT Pro within your audio rack or listening space significantly influences both its performance and its lifespan. Select a stable, level surface that can easily support the weight of the device and any connected cables. Avoid placing the unit directly on top of heat-generating components, such as power amplifiers or receivers, as this can lead to thermal buildup and premature component failure.

In regions with warm, humid climates, proper ventilation is essential for maintaining the longevity of your audio gear. Ensure there is at least a few inches of open space around the top, sides, and rear of the unit to allow natural air circulation. If you are housing your system inside an enclosed cabinet, consider installing a quiet cooling fan or leaving the cabinet doors open during extended listening sessions to prevent heat traps.
When routing your cables, keep power cords and audio signal cables physically separated. Running power lines parallel to low-level signal lines, such as those from a turntable or preamplifier, can induce electromagnetic interference, resulting in an audible hum or buzz through your speakers. If power and signal cables must cross, route them at a ninety-degree angle to minimize the area of contact and reduce potential interference.
Cable management is another critical factor that is often overlooked during physical installation. When bundling your cables, use soft hook-and-loop straps rather than tight plastic zip ties. Tight plastic ties can pinch the outer jacket of your audio cables, potentially crushing the internal dielectric layer and altering the cable’s impedance. Keeping the cables organized with a bit of slack also prevents tension on the physical ports of the KPT Pro, reducing the risk of internal solder joints cracking over time.
Carefully insert each connector into its corresponding port, ensuring a snug and complete fit. For RCA connections, gently push and twist the plug until it is fully seated against the chassis. If your device uses screw terminals or binding posts, secure the connections firmly to prevent loose wires from touching adjacent terminals, which could cause a short circuit. Avoid over-tightening any screws or collar rings, as excessive force can strip the threads or crack the delicate circuit boards inside the chassis.
Configuring and Integrating with Your Audio Chain
Once the physical connections are secure, you can begin the process of integrating the KPT Pro into your active audio chain. Before restoring power to any of your components, turn all volume, gain, and equalizer controls to their minimum or zero positions. This precautionary step prevents unexpected, high-volume bursts of sound that could startle you or damage your speakers when the system is first turned on.
Powering on your audio system requires a specific sequence to protect your equipment from transient voltage spikes. Always turn on your source components first, such as your turntable, CD player, or digital-to-analog converter. Next, power on any intermediate processing gear, including the KPT Pro. Finally, turn on your main integrated amplifier or power amplifier last. This sequence ensures that any power-on thumps or surges are not amplified and sent directly to your loudspeakers.
Understanding gain staging is essential when integrating a new processor or preamplifier into your signal path. Gain staging is the process of managing the relative volume levels at each step of your audio chain to maximize the signal-to-noise ratio while preventing distortion. If the output signal from the KPT Pro is set too high, it can overload the input stage of your main amplifier, causing harsh digital or analog clipping. Conversely, if the output is too low, you will have to turn your main amplifier’s volume up excessively, which can introduce unwanted background hiss.
With the entire system powered on, navigate to the input selector on your main amplifier or receiver and select the channel corresponding to the KPT Pro. If your device features adjustable input gain or output level controls, set them to the manufacturer’s recommended starting positions, which are typically detailed in the user manual. This establishes a neutral baseline for your initial listening tests.
Slowly and gradually increase the volume control on your main amplifier while monitoring the sound. Do not immediately turn the volume to your normal listening level; instead, raise it just enough to confirm that a clean, undistorted signal is passing through the system. If you hear any unusual noises, such as loud pops, heavy distortion, or complete silence, immediately lower the volume and prepare to troubleshoot the connections.
Testing, Troubleshooting, and Safety Boundaries
Conducting a structured listening test is the best way to verify that your installation was successful. Play a familiar, high-quality track that you know well, preferably one with a balanced mix of vocals, instruments, and clear stereo separation. Listen closely to ensure that both the left and right channels are producing equal volume and that the soundstage is centered and clear.
Another important aspect of the initial testing phase is verifying phase coherence across your system. If the positive and negative connections are reversed on one channel but not the other, the two channels will work against each other, resulting in a thin, hollow sound with almost no bass response. If your system’s low-end frequencies sound unusually weak or if the center image of the vocals seems to disappear, double-check that all positive and negative terminals are matched consistently from the source to the speakers.
If you encounter an audible hum or buzz after installation, the most common culprit is a ground loop. Ground loops occur when multiple audio components are connected to different electrical outlets, creating a loop of ground currents. To resolve this, try plugging all of your audio components into a single, high-quality power strip or surge protector. Additionally, double-check that your turntable’s dedicated ground wire is securely fastened to the grounding post of your preamplifier or amplifier.
Keep in mind that there are clear safety boundaries when setting up and operating electronic equipment. If you notice an unusual buildup of heat on the chassis, detect a burning smell, or observe smoke, immediately turn off the power strip and unplug the system from the wall. Do not attempt to open the chassis or perform internal repairs yourself, as this can void your warranty and expose you to dangerous electrical voltages. Instead, contact the manufacturer’s authorized service center for professional assistance.
Frequently Asked Questions (FAQ)
Can I leave the KPT Pro powered on continuously?
To determine whether you should leave the device powered on, consult the official manual for specific power-cycling guidelines. Some solid-state audio components are designed to remain in a low-power standby mode to maintain an optimal operating temperature, while others should be turned off completely when not in use to conserve energy and extend component life. In humid tropical climates, keeping the device powered off when idle reduces overall heat generation, but you should monitor the chassis temperature during your initial use to ensure that your audio rack provides sufficient ventilation.
What should I do if I hear a humming noise after installation?
If you experience a persistent hum, start by verifying that your audio signal cables are not tangled with or running parallel to power cords behind your equipment rack. Try separating the cables physically or using shielded audio cables to block external electromagnetic interference. You can also test different power outlets to rule out a ground loop issue. If the humming noise continues after you have verified all cable routing and power connections, stop making further hardware modifications and consult a qualified audio technician to inspect your system’s grounding.
Community discussion
Share your experience or ask a question. Comments are reviewed before publication.