
Replacing a damaged or stripped drum lug is one of the most valuable maintenance skills a drummer can learn. When a lug fails, it compromises the tension of your drumhead, leading to poor sound quality, unstable tuning, and potential damage to the drum hoop or shell. Fortunately, you do not need to take your instrument to an expensive repair shop to resolve this issue. With a few basic tools and a systematic approach, you can safely swap out old hardware and restore your drum to its optimal playing condition.
The process involves carefully removing the drumhead, unscrewing the damaged casing from inside the shell, cleaning the mounting area, and securing the new hardware. In tropical climates where high humidity and sweat can accelerate metal corrosion, regular hardware inspection and timely replacement are essential for preserving your drum kit. By following a structured step-by-step method, you can complete this repair at home and keep your drums sounding crisp and resonant.
Tools and Materials Needed for Lug Replacement
Before you begin the replacement process, gathering the correct tools and parts will prevent unnecessary delays and protect your drum from accidental damage. Working with incorrect tools can easily strip screw heads or scratch the delicate finish of your drum shell.
Products mentioned in this guide
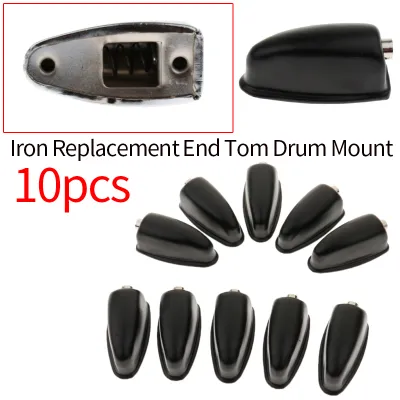
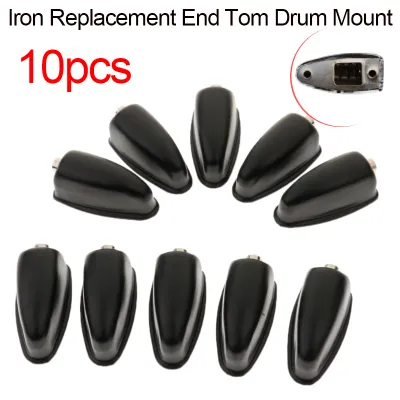
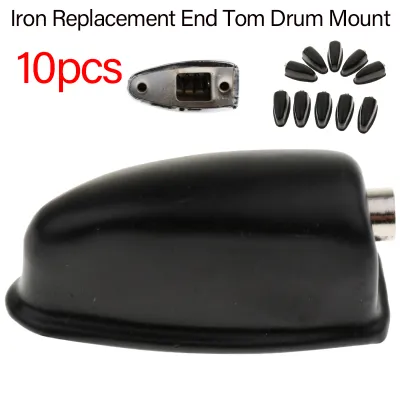
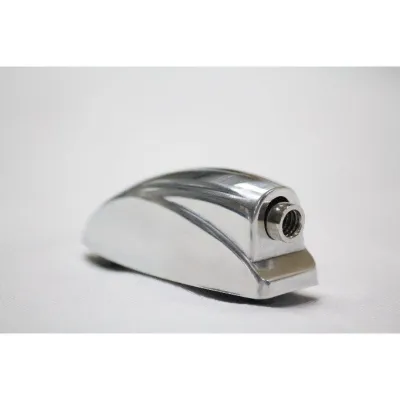
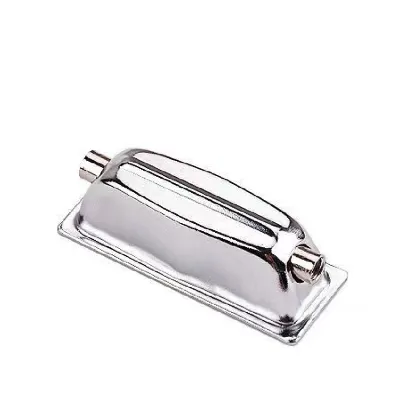
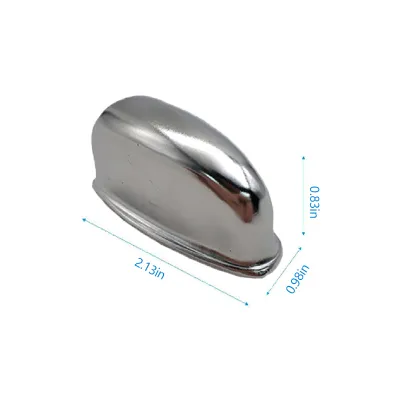
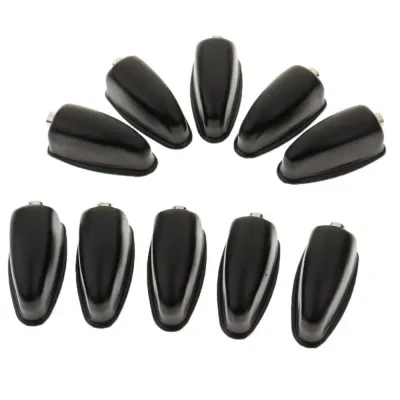
![[COD] E-WOITD 1Pc Single End Drum Lugs Universal Metal Rectangle Jazz Drum Replacement Parts Drum Percussion Accessories](https://img.lazcdn.com/g/p/385d82fdd49bfba032f6a82bddc9f87c.jpg_400x400q80.jpg_.webp)
Prices are valid at publication and may change. Please refer to the product page for the latest price.
For this project, you will need a standard drum key to detension and remove the tension rods. You will also need a screwdriver or a small socket wrench, depending on the type of mounting screws used inside your drum shell. Most modern drums secure their lugs from the inside using Phillips-head screws or small hex bolts.
In addition to tools, ensure you have the correct replacement parts. This includes a matching drum lug casing that aligns perfectly with the existing hole spacing on your shell, along with compatible mounting screws and washers. While a replacement lug may only cost a few hundred ₱, choosing the wrong size can lead to extra expenses. It is also wise to have replacement tension rods on hand in case the old ones are bent or stripped.
Finally, keep some maintenance supplies nearby. A clean microfiber cloth is excellent for wiping away dust and grime from the shell. A high-quality, non-corrosive lubricant, such as dry graphite or specialized drum hardware grease, will help keep your new tension rods turning smoothly.
How to Remove Old or Broken Drum Lugs
Removing the old hardware requires patience to avoid scratching the drum shell or stripping the internal threads. The first step is to completely release the tension on the drumhead. Use your drum key to loosen each tension rod gradually, turning them counterclockwise.

To prevent warping the drum hoop, detension the rods using a star or diagonal pattern rather than going in a continuous circle. Once all the tension rods are completely loose, unscrew them fully and set them aside. Carefully lift the hoop and the drumhead off the shell, exposing the interior and the mounting screws of the lugs.
Look inside the drum shell to locate the screws holding the damaged lug in place. In humid environments, these internal screws can sometimes accumulate rust or become seized. If you encounter resistance, do not force the screw, as this can strip the head. Instead, apply a single drop of penetrating oil directly to the screw threads, let it sit for a few minutes, and then attempt to unscrew it using a screwdriver that fits the head perfectly.
Once the mounting screws and washers are removed from the inside, gently pull the lug casing away from the outside of the shell. If the lug has a rubber or plastic gasket behind it, remove that as well. Inspect the newly exposed mounting holes for any accumulated dirt, rust flakes, or wood debris that could interfere with the new installation.
Preparing the Drum Shell for New Lugs
With the old lug removed, you have a prime opportunity to inspect and prepare the mounting surface. A clean, flat contact area ensures that the new lug sits flush against the shell, which is vital for maintaining consistent tension and preventing future hardware failure.
Start by using a dry microfiber cloth to wipe away dust, sweat residue, and old grease from both the exterior and interior of the shell around the mounting holes. If there is stubborn grime, a slightly damp cloth can be used, but dry the area immediately afterward to prevent moisture from soaking into the raw wood inside the holes.
Carefully inspect the wood around the mounting holes. Look for any signs of wood splinters, structural cracks, or enlarged holes where the wood may have compressed under high tension. If the holes are clean and the wood plies are intact, you are ready to proceed with the installation.
However, there are certain stop conditions where you should halt the DIY process. If you notice deep cracks radiating from the mounting holes, or if the wood plies are delaminating (separating), attempting to mount a new lug could cause irreversible damage to the shell. In these cases, it is best to consult a professional drum technician or a skilled woodworker to repair the shell structure before installing new hardware.
Step-by-Step Installation of New Drum Lugs
Installing the new lug requires precision to ensure that the hardware aligns correctly with the drum hoop and tension rods. Misalignment can cause the tension rods to enter the lug at an angle, leading to cross-threading and tuning instability.
Begin by placing the rubber or plastic gasket onto the back of the new lug casing. This gasket acts as an acoustic isolator and protects the outer finish of your drum shell from being scratched by the metal casing. Align the mounting posts of the lug with the holes on the outside of the shell.
While holding the lug in place with one hand, insert the mounting screws and washers from the inside of the shell. Always thread these screws by hand for the first few turns. Hand-threading allows you to feel if the threads are engaging correctly, preventing cross-threading which can ruin the internal threads of your new hardware.
Once the screws are started by hand, use your screwdriver or socket wrench to tighten them. If the lug uses two mounting screws, tighten them alternately in small increments to ensure the lug pulls flush against the shell evenly.
Avoid over-tightening the mounting screws. Applying excessive force can compress the wood plies of the shell, crack the outer lacquer finish, or strip the threads inside the lug casing. Tighten the screws until they are snug and the lug does not wiggle, but do not force them beyond that point.
Reassembling and Tuning the Drum
With the new lug securely mounted, you can begin reassembling the drum and restoring it to a playable state. This step allows you to verify that the new hardware is functioning correctly under actual playing tension.
Place the drumhead back onto the shell bearing edge, ensuring it sits flat and centered. Position the drum hoop over the head, aligning the holes in the hoop with the receiver holes in the drum lugs. Inspect the alignment visually to make sure the tension rods will drop straight down into the lugs.
Insert the tension rods through the hoop and into the lugs. Begin by turning each rod clockwise with your fingers. Finger-tightening all the rods until they meet resistance ensures that the drumhead is seated evenly across the bearing edge before you apply significant tension with a tool.
Next, use your drum key to tighten the rods. Work in a diagonal or star pattern, turning each rod one-half turn at a time. This gradual, even tensioning prevents the hoop from pulling unevenly and protects both the drumhead and the new lug from uneven stress.
Once the drumhead is tuned to your desired pitch, tap the head gently near each tension rod to check for even pitch distribution. Listen closely to the newly installed lug area. Verify that the lug casing does not rattle, shift, or pull away from the shell under tension, confirming a successful installation.
Common Mistakes to Avoid When Replacing Lugs
Even experienced drummers can make simple errors during hardware replacement that lead to costly damage. Being aware of these common pitfalls will help you complete the repair safely and successfully.
One of the most frequent mistakes is using power drills or electric screwdrivers to remove or install mounting screws. Power tools lack the delicate torque control needed for musical instruments. They can easily strip the wood of the shell, strip the metal threads of the lug, or crack the shell’s finish in a fraction of a second. Always stick to manual hand tools for this process.
Another common error is forcing mismatched screws into the lug casing. Drum hardware comes in various thread pitches, including standard imperial sizes and metric sizes. If a screw does not turn smoothly by hand, do not force it with a tool; verify that the thread pitch of the screw matches the internal threads of the lug.
Skipping the hand-threading step is a recipe for cross-threading. When you immediately use a tool to drive a screw, you lose the tactile feedback that tells you if the threads are misaligned, which can permanently ruin the new hardware.
Finally, do not ignore rust prevention, especially in warm, humid environments. When installing new hardware, applying a tiny amount of dry lubricant to the tension rods protects the metal from moisture and sweat. Leaving bare metal completely dry and exposed to high humidity can lead to seized hardware and rust issues down the road, requiring you to repeat the replacement process much sooner than necessary.
Frequently Asked Questions (FAQ)
Can I mix different styles of drum lugs on the same drum?
While you can physically mix different styles of drum lugs on a single drum shell, it is generally not recommended unless you are facing an emergency. The primary concern is ensuring that any replacement lug matches the exact hole spacing of the original hardware so you do not have to drill new holes in your shell.
Additionally, different lug designs may use different thread sizes or pitches for their tension rods. Mixing styles can make tuning highly inconvenient, as you may need different tension rods or keys for different parts of the same drum. From an aesthetic standpoint, mismatched lugs can significantly lower the visual appeal and resale or collector value of your drum kit.
How do I know if a drum lug is stripped or broken?
A clear sign of a stripped drum lug is when a tension rod spins freely in place without increasing the tension on the drumhead, or when the rod slips suddenly when you try to tighten it. This usually indicates that the internal threads of the swivel nut inside the lug casing have worn away.
You should also inspect the exterior of the lug casing for visible cracks, bending, or metal fatigue, which can occur over time from high tension. If you feel a grinding sensation or extreme resistance when turning a clean, lubricated tension rod, the internal threads are likely damaged, and the lug should be replaced to prevent further issues.
Do I need to lubricate the tension rods when installing new lugs?
Yes, applying a small amount of lubricant to the tension rods during installation is highly beneficial. Proper lubrication reduces friction, allowing for much smoother and more precise tuning, while also protecting the metal threads from moisture and rust.
However, you must choose the right lubricant and apply it sparingly. Use a specialized drum hardware lubricant or a dry graphite powder. Avoid heavy wet greases or household oils that can run, attract dust and wood debris, or stain your drumhead and shell finish over time.
Community discussion
Share your experience or ask a question. Comments are reviewed before publication.