
To measure and choose the right drum cover, you must measure the exact outer diameter and depth of each drum shell—including the hoops and mounting hardware—rather than relying on standard shell sizes. A proper fit shields your instruments from dust, spills, and tropical humidity without putting destructive tension on the seams or leaving gaps where moisture can seep in. By taking systematic measurements of your shells, cymbals, and folded hardware, you can cross-reference your numbers with manufacturer charts to select the ideal individual bags or full-kit dust sheets.
Why Proper Sizing Matters for Drum Covers
A drum cover that is too tight acts as a constant strain on your gear and the cover itself. When you force a tight cover over a snare or tom, you put excessive pressure on the zippers, seams, and fasteners. Over time, this tension causes the stitching to fray and split, rendering the cover useless. It also makes the simple act of packing up or setting up your kit a frustrating chore.
Conversely, a cover that is too loose introduces its own set of problems. Excess fabric sags and pools on the floor, creating a tripping hazard in tight rehearsal spaces or on dark stages. Loose covers also allow dust, dirt, and ambient moisture to slip underneath, settling directly onto your drumheads and hardware. In humid tropical climates, this trapped moisture can accelerate rust on chrome rims and tension rods.
Products mentioned in this guide
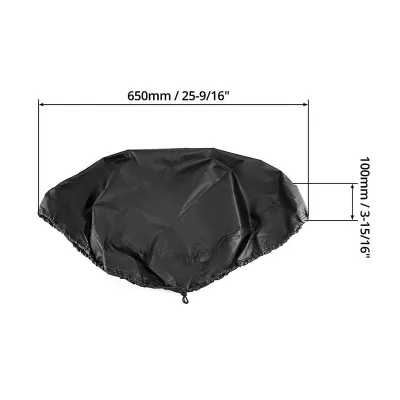

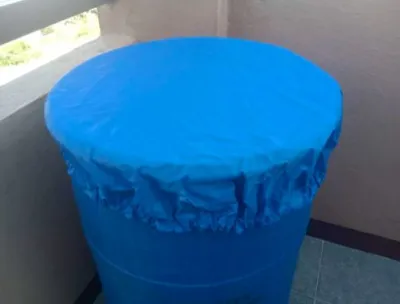
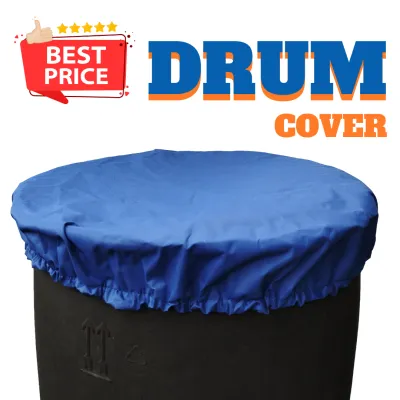
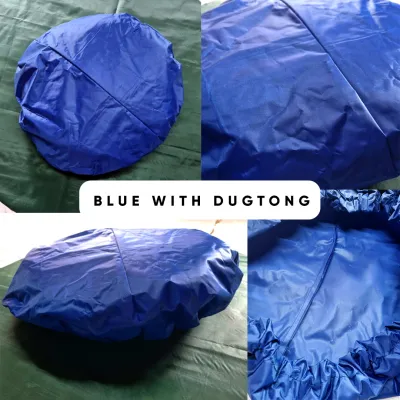
Prices are valid at publication and may change. Please refer to the product page for the latest price.
A well-fitting cover acts as a reliable barrier that preserves both the aesthetic and structural integrity of your kit. It keeps the wood shells stable, protects delicate lacquer or wrap finishes from scratches, and ensures your hardware remains clean. Investing a few minutes in precise measurement prevents costly premature wear on both your drums and your protective gear.
Tools You Need to Measure Your Drum Set
Before you begin, gather a few basic tools to ensure your measurements are accurate. A flexible sewing measuring tape is indispensable for this task. Its pliable nature allows you to wrap it around curved surfaces and easily measure diameters across uneven drumheads without scratching the finish.

You will also need a standard rigid tape measure or a long metal ruler. This tool is best for measuring the straight vertical depth of your drum shells and checking the height of folded hardware stands. The rigid edge ensures you do not accidentally bend the tape, which can lead to underestimating the actual height or depth.
Finally, keep a notepad or a digital device nearby to record your dimensions. Write down each drum’s name, its diameter, and its depth clearly. Labeling each measurement immediately prevents confusion later when you are comparing your numbers to sizing charts on an online marketplace.
Step-by-Step Guide to Measuring Your Drums and Hardware
Measuring a drum kit requires a systematic approach because drum sizes are rarely as simple as their nominal catalog dimensions. A drum marketed as a 14-inch snare actually occupies a larger physical footprint once you account for the metal hoops and tension casings.
Never assume that two drums of the same nominal size will fit in the same cover style. Minor differences in rim designs, mounting brackets, and hardware placement can drastically alter how a cover sits. Measure every single component of your kit individually to build a reliable, custom sizing profile.
Measuring Drum Shells (Toms, Snare, and Bass Drum)
To find the true diameter of a drum shell, lay the drum flat on its side or keep it mounted. Stretch your flexible measuring tape straight across the center of the drumhead, from one outer edge of the metal hoop to the opposite outer edge. Do not just measure the drumhead itself; the hoop or rim must be included because the cover has to slide over this widest point.
Next, measure the depth of the drum. Place your rigid ruler or tape measure vertically against the side of the shell. Measure from the topmost edge of the upper hoop down to the bottommost edge of the lower hoop. This total distance represents the physical height the cover must accommodate, which is often deeper than the nominal shell depth listed by the manufacturer.
Finally, look for protruding hardware that extends past the hoops. Snare drums feature a throw-off or strainer mechanism that sticks out significantly from the side of the shell. Bass drums have heavy spur brackets, and toms often have integrated mounting brackets. Measure the distance these parts protrude and add this clearance to your diameter measurements to ensure the cover does not snag or tear on these sharp metal edges.
Measuring Cymbals and Hardware
Cymbals require specialized covers or bags, and measuring them is straightforward but essential. Run your measuring tape straight across the widest part of the cymbal, passing directly over the center bell. If you plan to store multiple cymbals in a single padded bag, measure the height of the stacked bells to ensure the bag has enough depth to close securely without putting pressure on the delicate edges.
For hardware stands, fold them down completely into their transport or storage configurations. Measure the total length from the very top of the folded stand to the bottom of the base. Also, measure the width of the widest point, which is usually the folded tripod base. This ensures your hardware bag or full-kit cover has enough clearance to house these heavy, awkward metal pieces.
Keep weight limits and physical space in mind if you are grouping hardware together. A bag that is technically long enough might become impossible to carry or zip shut if you pack too many heavy stands inside. Always leave a small buffer of space to accommodate the natural bulk of folded metal legs and adjustment knobs.
How to Choose the Right Drum Cover Style and Material
Once you have your exact measurements, you must decide between individual drum bags and a full-kit cover. Individual covers or padded gig bags are the standard choice for gigging musicians who frequently transport their kits. They offer targeted protection for each shell, making them easy to load into vehicles. Full-kit covers, which resemble large fitted sheets, are ideal for home studios or rehearsal spaces where the kit remains set up but needs protection from dust, sunlight, and ambient moisture.
Material selection is highly dependent on your local environment. In warm, humid climates like the Philippines, moisture control is a primary concern. Lightweight, breathable dust covers are excellent for daily indoor use because they prevent heat and humidity from getting trapped against the wooden shells. For transport or outdoor gigs, look for water-resistant nylon or polyester covers with padded interiors. The padding absorbs minor impacts, while the water-resistant exterior shields your gear from sudden tropical downpours.
When shopping, always check the manufacturer’s detailed sizing charts against your recorded measurements. Do not rely on generic labels like “standard fusion kit” or “rock sizes.” Compare your measured hoop-to-hoop diameters and depths with the interior dimensions specified by the cover manufacturer. If your drum’s measurements fall right on the boundary between two sizes, it is generally safer to choose the larger size to avoid excessive tension on the seams.
Checking the Fit: What to Look for When Your Covers Arrive
When your new drum covers arrive, perform a thorough test fit before discarding the packaging. Gently slide each cover onto its corresponding drum. The cover should glide on smoothly without requiring you to pull, stretch, or force the fabric over the hoops. If you have to struggle to close a zipper, the cover is too tight and will likely fail at the seams over time.
Check the bottom coverage of the installed covers. For individual bags, the zipper should close completely without compressing the drumheads. For full-kit covers, ensure the fabric drapes low enough to protect the bottom rims of your bass drum and floor tom from floor-level dust and rising moisture. The cover should not touch the floor so extensively that it becomes a tripping hazard, but it must shield the lower hardware.
Examine the seams, zippers, and carrying handles under tension. Look closely for any pulling or separation in the stitching when the drum is inside. If you notice the fabric stretching white or the zipper teeth straining, the fit is too snug. A properly fitted cover should look neat, feel secure, and allow you to pack and unpack your instruments quickly and safely.
Frequently Asked Questions (FAQ)
Should I measure my drums with the heads on or off?
Always measure your drums fully assembled with the heads, hoops, and tension rods installed. Measuring a bare wooden shell will result in dimensions that are too small, as the metal hoops and tension rods add significant width and depth to the overall footprint. The cover must fit the complete, playable instrument, so keep everything assembled during the measurement process.
Can I use a generic tarp instead of a fitted drum cover?
While a generic plastic tarp is an inexpensive temporary option, it is not recommended for long-term protection. Tarps lack a secure, tailored fit, allowing wind, dust, and pests to slip underneath easily. Additionally, the abrasive texture of heavy plastic tarps can scratch delicate lacquer finishes, and the non-breathable material can trap humidity, leading to rust on your hardware.
Do I need to measure my drum throne for a cover?
If you are purchasing a specialized, fitted cover for your drum throne, you should measure the seat’s diameter and thickness. However, many throne covers are designed with elastic edges that offer a universal fit for standard round or motorcycle-style seats. If you use a non-standard or heavily padded custom throne, verifying the dimensions beforehand will ensure the elastic can wrap securely underneath the seat base.
Community discussion
Share your experience or ask a question. Comments are reviewed before publication.