
Integrating the Audota AVE 100 into your home audio system requires a systematic approach of physical inspection, precise cable routing, and sequential power management. By verifying your existing equipment’s input and output ports and matching them with the physical labels on the AVE 100, you can establish a clean, noise-free signal path. Taking the time to plan your connections prevents equipment damage and ensures you get the best possible sound quality from your setup.
Pre-Installation Checks and Preparation
Before making any physical connections, prepare a clean, well-lit workspace to unbox and inspect your equipment. Carefully remove the Audota AVE 100 from its packaging and examine the outer chassis for any signs of physical damage, such as dents, loose screws, or cracked connectors that may have occurred during shipping. In warm, humid climates like the Philippines, check the packaging and the device for any signs of moisture buildup or condensation, and allow the unit to acclimate to room temperature before applying power.
Verify all included accessories, power adapters, and documentation against the manufacturer’s packing list. Using an incorrect power adapter can cause permanent damage to the internal circuitry, so it is vital to match the voltage and amperage specifications printed on the device’s physical label with the supplied power brick. If any components are missing or damaged, contact your authorized retailer or the manufacturer before proceeding with the installation.
Products mentioned in this guide
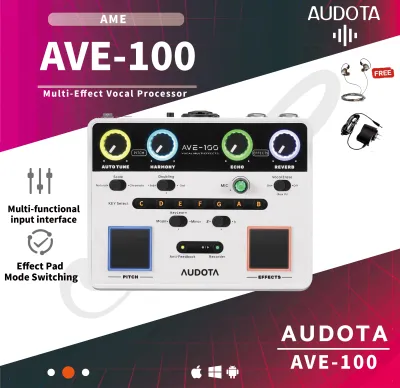
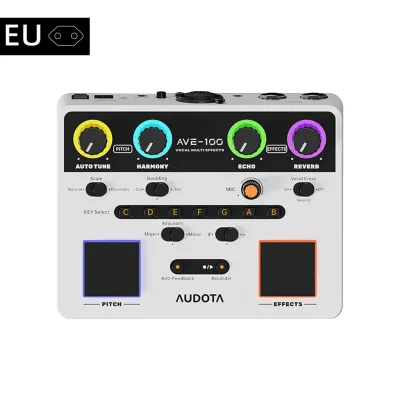
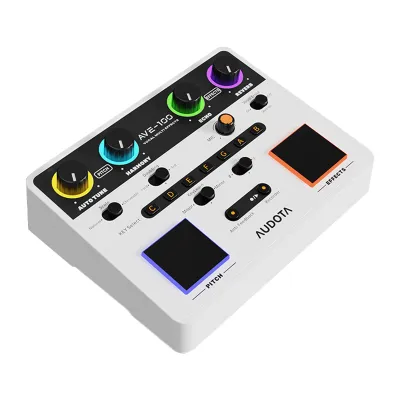
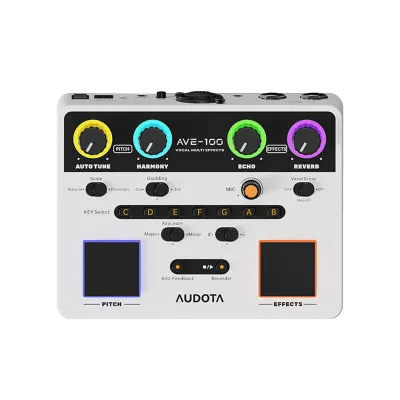
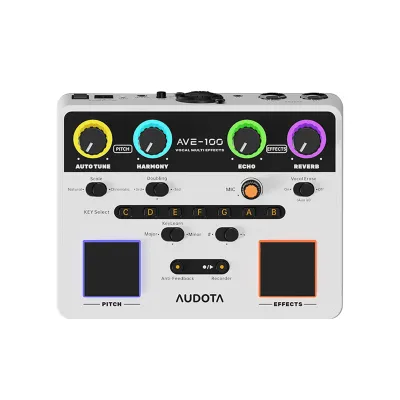
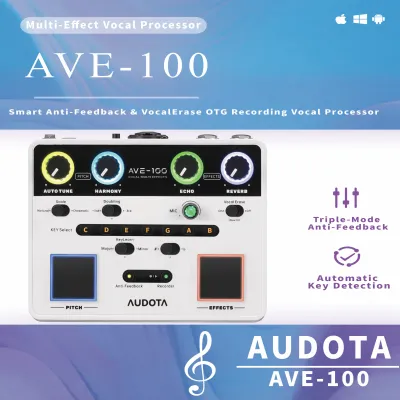
Prices are valid at publication and may change. Please refer to the product page for the latest price.
Identify a stable, grounded power source for your audio system. Audio equipment is highly sensitive to electrical noise and voltage fluctuations, which are common in many residential areas. Utilizing a high-quality surge protector or an uninterruptible power supply (UPS) can safeguard your new component from unexpected power surges and brownouts. Ensure the outlet you choose is easily accessible so you can quickly disconnect the system if necessary.
Gather the appropriate audio cables required to integrate the unit into your existing setup. Depending on your system’s configuration, you may need RCA interconnects, optical cables, or coaxial digital lines. Inspect these cables for frayed insulation, bent pins, or oxidized connectors, as degraded cables are a primary cause of signal loss, static, and channel imbalance.
Step-by-Step Connection Guide
To ensure a safe installation process, power down and unplug all existing audio components, including your amplifier, receiver, active speakers, and source devices. This step is crucial to prevent accidental electrical short circuits, ground loops, or loud audio pops that can permanently damage your speakers or headphones. Never hot-plug audio cables while your equipment is powered on and active.

Position the Audota AVE 100 in its designated location and connect the supplied power adapter to the unit’s power input port. Do not plug the adapter into the wall outlet or turn on the power strip just yet. Keeping the device unpowered during the signal cable connection phase adds an extra layer of safety for both you and your equipment.
Examine the rear panel of the Audota AVE 100 and locate the physical labels indicating the input and output ports. Carefully match these ports with the corresponding connections on your source devices, such as a CD player, turntable preamp, or network streamer, and your destination devices, like an integrated amplifier or active monitor speakers. If you are using analog RCA connections, ensure the red plug connects to the right channel (R) and the white or black plug connects to the left channel (L) on both ends.
Insert each cable connector firmly into its respective port until it is fully seated. Avoid applying excessive force, which can crack the internal solder joints on the device’s circuit board or damage the cable connectors. Ensure there is no physical strain on the cables; do not bend them at sharp angles or allow the weight of heavy cables to pull down on the ports. If a connector does not fit smoothly, double-check that you are using the correct cable type for that specific port.
Powering On and Initial Configuration
Once all physical connections are secure, you can begin the powering-on sequence. Always follow the industry-standard “source-first, amplifier-last” sequence to protect your speakers from transient electrical spikes. Start by plugging in and powering on your source devices, followed by the Audota AVE 100, and finally, your power amplifier or active speakers.
Observe the indicator lights, LED displays, or status screens on the front panel of the Audota AVE 100 as it boots up. A steady, solid light typically indicates normal standby or operational status, while blinking or red lights may signal an initialization phase or an error state. Refer to the troubleshooting section of your user manual to interpret any unusual light patterns or error codes displayed during startup.
Before playing any audio, adjust the volume controls on your amplifier, receiver, and the Audota AVE 100 to their minimum settings. This precaution prevents sudden, extremely loud bursts of sound that could startle you, damage your hearing, or blow out your speaker drivers. You can gradually increase the volume to a comfortable listening level once you verify that the signal is flowing correctly.
Consult the manufacturer’s user manual to determine if there are any mandatory first-time setup routines or physical switch configurations required for your specific use case. Some devices feature gain switches, input selectors, or output mode toggles on the bottom or rear panel that must be set correctly to match the electrical characteristics of your existing gear.
Testing and Troubleshooting Common Issues
With the system powered on and the volume set low, play a familiar, high-quality audio track from your source device. Gradually raise the volume and listen closely to verify that the sound is clear, balanced between the left and right channels, and free of distortion. Using a track you know well makes it much easier to identify if any frequencies are missing or if the stereo imaging is off.
If you hear an underlying hum, buzz, or hiss, you may be experiencing a ground loop or electromagnetic interference. Ground loops often occur when multiple audio components are plugged into different wall outlets, creating a loop in the ground path. To resolve this, try plugging all your audio equipment into the same high-quality power strip or surge protector, and ensure that analog signal cables are not running parallel to power cords.
Verify that the Audota AVE 100 is selected as the active input source on your amplifier or receiver. If you are routing audio through a computer or digital streamer, check the system’s audio settings to ensure the correct output device is selected and that the digital volume slider is not muted. If you still hear no sound, double-check all physical cable connections to ensure they are plugged into the correct input and output jacks.
If basic troubleshooting steps do not resolve the issue, or if you notice unusual behavior such as a burning smell, excessive heat, or smoke, immediately power down the system and unplug all components from the wall. Do not attempt to open the chassis or repair the internal circuitry yourself, as this can void your warranty and pose a serious electrical hazard. Contact the manufacturer’s customer support or a qualified audio technician for assistance.
Optimizing Placement and Cable Management
Proper placement of your audio components is essential for long-term reliability and optimal performance. In tropical environments with high ambient temperatures and humidity, ensure the Audota AVE 100 has adequate ventilation. Avoid stacking other warm components directly on top of or underneath the unit, and leave at least a few inches of open space on all sides to allow heat to dissipate naturally.
Organize your cables to minimize electromagnetic interference and maintain a clean workspace. Keep high-voltage power cables physically separated from low-voltage analog audio signal cables. If power and signal cables must cross, route them so they intersect at a 90-degree angle rather than running parallel to each other, which significantly reduces the risk of induced hum in your audio path.
Use non-destructive cable management tools, such as hook-and-loop fabric ties or cable organizers, to bundle your wires neatly behind your audio rack. Avoid using tight plastic zip ties, which can pinch the cables and damage their internal shielding or conductors over time. Keeping the rear panel organized makes it much easier to perform future upgrades, clean dust from the connectors, and trace signal paths during troubleshooting.
Avoid placing the Audota AVE 100 directly next to devices that emit strong electromagnetic fields, such as wireless routers, large power transformers, or microwave ovens. High-frequency wireless signals can bleed into analog audio circuits, causing intermittent clicking, buzzing, or high-pitched whining noises. Position your audio rack a reasonable distance away from these interference sources to maintain a pristine noise floor.
Frequently Asked Questions (FAQ)
Can I leave the Audota AVE 100 powered on all the time?
While many audiophiles prefer to leave their equipment powered on to maintain a stable operating temperature, doing so can increase power consumption and generate continuous heat. In warm, humid climates, constant heat generation can accelerate the degradation of internal components like capacitors. If the manufacturer’s manual does not specify a continuous-on requirement, it is generally best to power down the device when it is not in use or utilize its standby mode to conserve energy and prolong the lifespan of the internal circuitry.
What should I do if the device is not recognized by my computer?
If you are using the Audota AVE 100 as a digital audio interface and your computer fails to recognize it, begin by checking the physical USB connection. Ensure you are using a high-quality, shielded USB cable and try plugging it into a different physical port directly on your computer’s motherboard rather than an unpowered external hub. Verify if your operating system requires specific drivers to be installed, or check your system’s device manager to see if the unit is listed under audio inputs and outputs. Restarting your computer after installing any necessary software can also resolve initial connection conflicts.
Community discussion
Share your experience or ask a question. Comments are reviewed before publication.