
Replacing a worn, stripped, or damaged floor tom leg bracket is a straightforward maintenance task that restores stability to your drum kit. The floor tom takes a significant amount of downward force during a performance, and a failing bracket can cause the drum to wobble, slide, or even collapse mid-song. By learning how to replace this hardware yourself, you can keep your instrument in peak playing condition without paying for expensive professional repair services.
In tropical climates like the Philippines, high humidity and ambient moisture can accelerate metal corrosion and cause the wooden plies of a drum shell to expand or contract. This environmental stress makes careful hardware maintenance especially critical. Taking the time to install your new bracket correctly ensures that the drum shell remains structurally sound and resonant for years to come. When shopping at a local music store or online marketplace, you will find brackets ranging from approximately ₱400 to ₱1,500, making this a highly affordable DIY fix compared to replacing a damaged shell.
Tools and Preparation for Safe Hardware Removal
Before loosening any screws, gather the correct tools to prevent damage to both the hardware and the drum shell. A mismatched screwdriver or hex key can easily slip, stripping the screw head or gouging the drum’s exterior finish. Check the mounting screws on your current bracket to determine if they require a standard Phillips screwdriver, a flathead, or a specific metric or imperial hex key.
Products mentioned in this guide
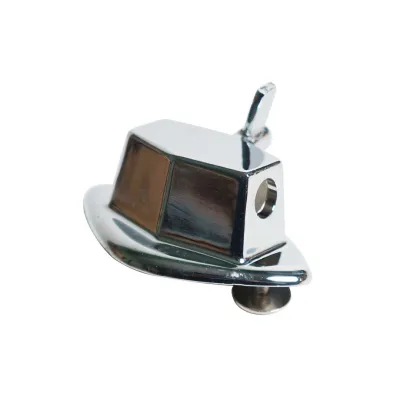
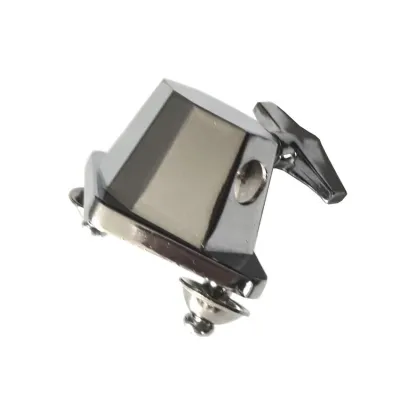
![Durable Tom Drum Leg Bracket Mount Bracket Floor Tom Leg Clamp Holder Instrument Accessories Replacement Part [COD][Ready Stock]](https://img.lazcdn.com/g/p/81d76abd1bbd8c97b7e9b03b73088d58.jpg_400x400q80.jpg_.webp)
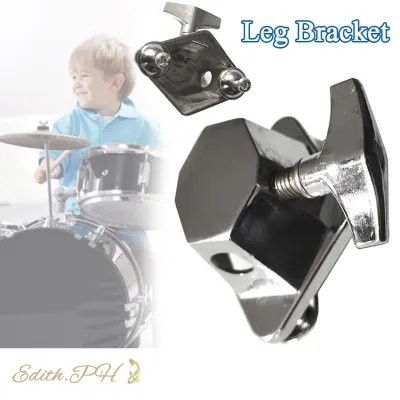
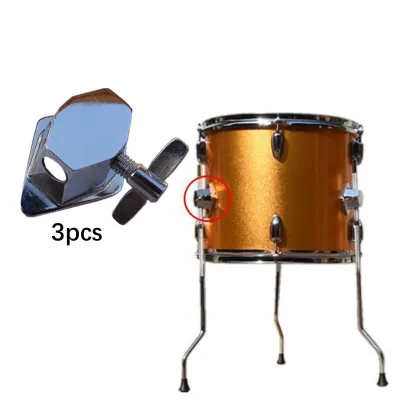
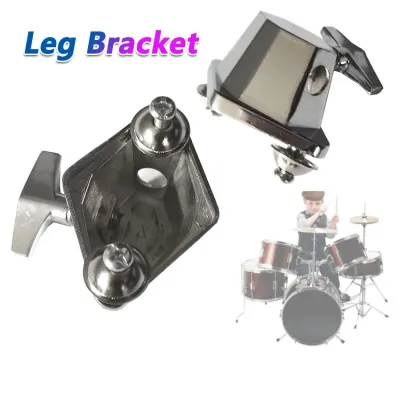
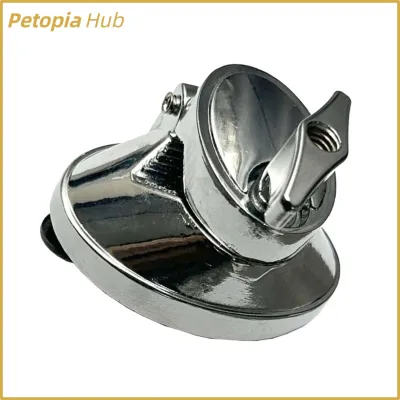
Prices are valid at publication and may change. Please refer to the product page for the latest price.
Prepare your workspace by clearing a flat, stable table or workbench. To protect the drum’s lacquer or wrap finish from scratches, lay down a soft microfiber cloth, a clean towel, or a dedicated rubber work mat. This cushioned surface prevents the drum from rolling or sliding while you apply pressure to the mounting screws.
Unpack your replacement floor tom leg bracket and compare its mounting hole spacing with the existing bracket on your drum. Use a ruler or caliper to verify that the distance between the screw holes matches exactly. Trying to force a bracket with incorrect hole spacing into the shell will cause severe structural stress.
Keep a small container or magnetic tray nearby to hold the screws, washers, and gaskets as you remove them. This prevents small parts from rolling off the table and getting lost in your workspace, especially if you plan to inspect them for potential reuse.
Removing the Old Floor Tom Leg Bracket
To begin the removal, position the drum on its side on your prepared work surface. Securely support the drum body with one hand or place foam wedges on either side to keep it from rolling. This stability is crucial when you begin applying torque to the mounting screws.

If the bracket is secured by multiple screws, do not back one screw out completely while the others remain fully tightened. Instead, loosen each screw gradually in an alternating, star-like pattern. This method distributes the tension evenly across the drum shell, preventing sudden shifts that could crack the wood or damage the inner ply.
Once the screws are loose, carefully pull the old bracket away from the shell. Take note of any rubber or plastic gaskets positioned between the metal bracket and the drum’s exterior. These gaskets are essential for protecting the finish and dampening unwanted vibrations, so keep them safe even if you plan to replace them.
Examine the removed screws and the old bracket closely. Look for signs of rust, metal fatigue, or stripped threads, which are common in humid environments. If you notice significant corrosion or cross-threading on the screws, they should be discarded rather than reinstalled.
If you encounter a seized screw that refuses to turn, do not force it. Applying excessive torque can strip the screw head or crack the internal wooden plies of the shell. Instead, apply a tiny drop of appropriate penetrating oil directly to the threads, let it sit for a few minutes, and try again gently. If it remains stuck, consult a professional drum technician to avoid ruining the shell.
Inspecting and Preparing the Drum Shell
With the old bracket removed, take the opportunity to clean and inspect the exposed area of the drum shell. Use a dry microfiber cloth to wipe away accumulated dust, wood splinters, or metal shavings around the mounting holes. Keeping this surface clean ensures the new bracket sits perfectly flush against the shell.
Gently inspect the mounting holes and any internal threaded inserts. If your drum uses threaded inserts inside the shell, test a mounting screw by hand to ensure it threads smoothly without resistance. This quick check helps you identify any cross-threading issues before you begin the actual installation.
Hold the new floor tom leg bracket against the shell to verify that its base matches the curvature of the drum. Drum shells of different diameters have slightly different outer contours. The bracket base must match this curve perfectly; a flat bracket forced onto a curved shell will create dangerous stress points.
Examine the wood around the mounting holes for any existing hairline cracks, compression marks, or splintering. If the wood is compressed from previous over-tightening, you must proceed with extreme caution during reinstallation. Identifying these minor structural issues early allows you to adjust your tightening force to prevent further damage.
Installing and Securing the New Bracket
Place the rubber or plastic gasket onto the base of the new bracket, aligning the holes. Position the bracket against the drum shell, ensuring it aligns perfectly with the existing mounting holes. Always start the mounting screws by hand, turning them a few times to ensure the threads engage smoothly without cross-threading.
Once all screws are started by hand, use your manual screwdriver or hex key to tighten them. Work in an alternating sequence, turning each screw a little bit at a time. This gradual, balanced approach pulls the bracket flush against the shell evenly, preventing uneven pressure on the wood.
Apply only enough torque to eliminate play and wobble. Stop tightening the moment you feel firm resistance and the bracket is securely seated against the shell. Over-tightening is one of the most common causes of cracked drum shells and stripped metal inserts, so avoid the temptation to give the tool an extra hard squeeze.
After securing the bracket, test the leg receiver mechanism, such as the wing nut or eye-bolt assembly. Ensure that the mechanism moves freely through its full range of motion and is not obstructed by the bracket base or misaligned screws. The leg should slide in and out of the receiver smoothly without binding.
Testing Stability and Final Adjustments
To verify the success of your installation, insert the floor tom legs into the newly installed brackets and tighten the wing nuts. Place the drum upright on a flat floor in its standard playing position. Check to see if the drum stands firmly without any wobbling or uneven weight distribution.
Apply gentle downward and lateral pressure on the top hoop of the drum to simulate the forces of active playing. Listen closely for any creaking sounds and watch the bracket area for any shifting or flexing. The bracket should remain completely stationary under this moderate pressure.
After performing this initial physical test, place the drum back on your work surface and re-check the tension of the mounting screws. Hardware can sometimes settle slightly into the wood or gasket contour after being subjected to weight, so a minor adjustment may be needed to ensure everything remains snug.
Finally, adjust the height of all three floor tom legs to achieve your preferred playing height and angle. Ensure the drum is level or slightly tilted toward your playing position without placing lateral stress on any single bracket. Properly balanced legs distribute the drum’s weight evenly, reducing wear on the hardware over time.
Common Installation Mistakes and How to Avoid Them
One of the most critical mistakes to avoid is using a power drill or electric screwdriver for the final tightening of the mounting screws. The high torque and speed of power tools can instantly strip the threads of metal inserts or crush the delicate wooden plies of the drum shell. Always use manual hand tools for the final turns to maintain precise control over the applied force.
Never attempt to force a bracket onto a shell if the curvature does not match. If you try to flatten a curved bracket or bend a flat bracket onto a round shell by tightening the screws, you will create immense tension. Over time, this tension will inevitably lead to deep cracks in the wood or ruin the drum’s resonance.
Do not reuse old, corroded, or damaged screws simply to save time. If your new floor tom leg bracket came with its own set of mounting hardware, use those screws, as they are designed to match the thread pitch and length required for the new bracket. Reusing compromised screws increases the risk of thread failure during a live performance or practice session.
To prevent unsightly scratches on your drum’s finish, always keep your screwdriver or hex key perfectly aligned with the screw head. A slipping tool can easily gouge the lacquer, wrap, or wood. Work slowly, apply steady downward pressure on the tool, and keep your free hand positioned to shield the drum shell in case the tool slips.
Frequently Asked Questions (FAQ)
Can I reuse the old screws for the new bracket?
Inspect your old screws thoroughly before deciding to reuse them. Look for any signs of thread wear, rust, or damage to the screw head. If the new bracket includes its own mounting screws, it is highly recommended to use them, as they are guaranteed to match the required length and thread pitch. Avoid reusing compromised or heavily corroded screws, as they can fail under the physical stress of drumming.
What should I do if the new bracket does not match the shell curve?
If you notice that the base of the new bracket does not sit flush against the curved surface of your drum shell, stop the installation immediately. Forcing a mismatched bracket onto the shell by tightening the screws will crack the wood or damage the finish. Instead, return the part and source a replacement bracket that is specifically designed to match the diameter and contour of your floor tom.
Do I need to remove the drumhead to replace the leg bracket?
In most cases, you do not need to remove the drumhead to replace a floor tom leg bracket, as many modern brackets mount entirely from the outside of the shell. However, if your drum model uses mounting screws that must be accessed from the inside of the shell, or if you need to replace internal threaded inserts, you will need to remove the bottom drumhead. Check your drum’s hardware design before starting to determine if head removal is necessary.
Community discussion
Share your experience or ask a question. Comments are reviewed before publication.