
Mounting your instrument on a wall is an excellent way to save floor space, prevent accidental tips, and display your guitar as a centerpiece. However, a secure installation is not a one-size-fits-all task. The safety of your instrument depends entirely on matching your guitar holder wall mount to the specific construction material of your wall.
In the Philippines, residential walls vary widely, ranging from solid concrete hollow blocks (CHB) in main structures to drywall partitions and wood paneling in modern condominiums or renovated spaces. Each of these materials handles weight differently and requires specific hardware and drilling techniques. Failing to match your mounting method to your wall type risks a catastrophic fall that can crack a guitar neck or shatter a headstock.
To guarantee a secure setup, you must identify your wall material, select the correct anchors, and follow precise installation steps. This guide provides a comprehensive, step-by-step walkthrough for mounting your guitar safely on drywall, concrete, and wood surfaces.
Products mentioned in this guide
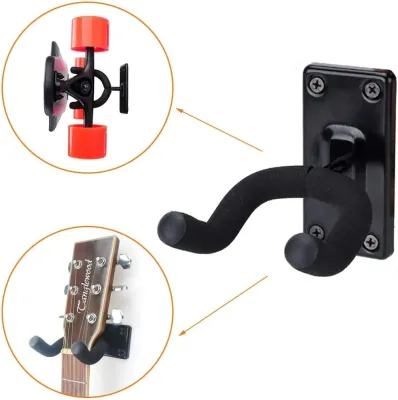
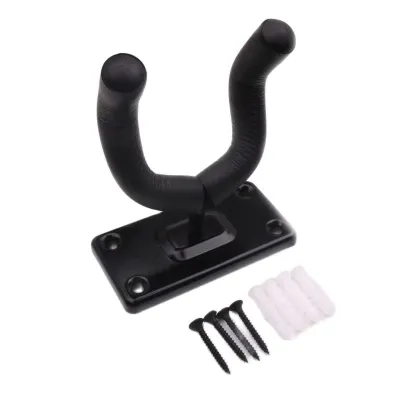
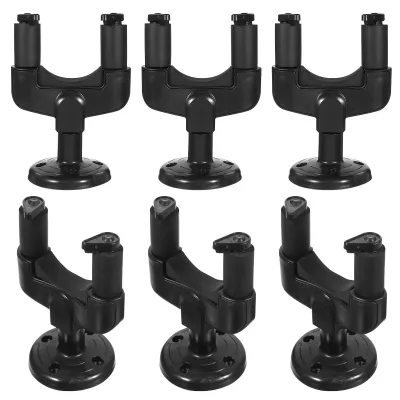
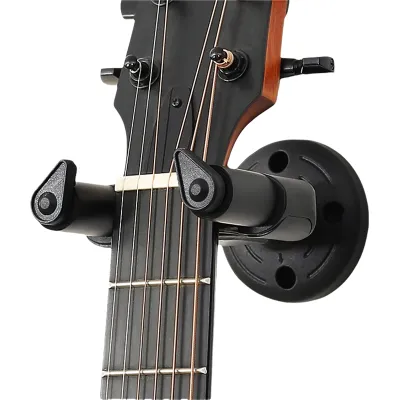
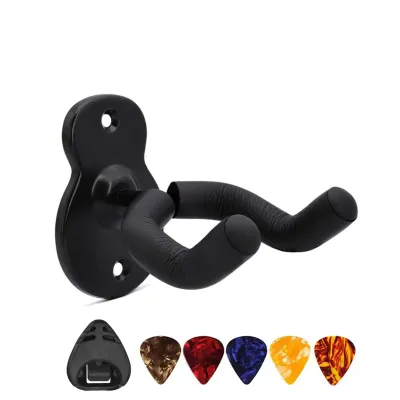
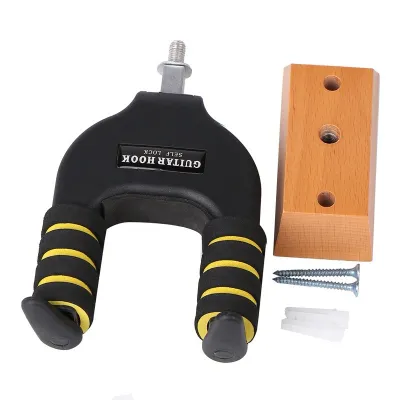
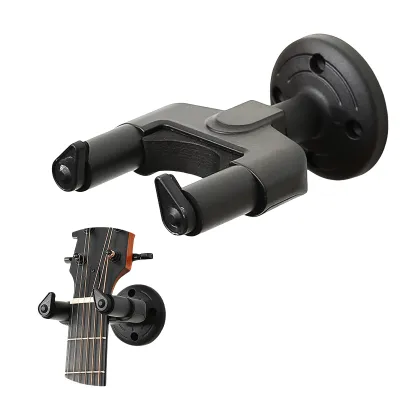
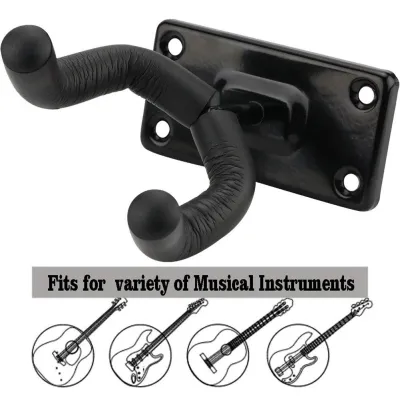
Prices are valid at publication and may change. Please refer to the product page for the latest price.
Pre-Installation Planning and Tool Checklist
Before you drill a single hole, thorough preparation is essential to prevent damage to both your home and your instrument. First, check your specific guitar holder wall mount’s product label, packaging, and manufacturer manual, as well as your guitar’s care and warranty instructions. If the instructions from the mount manufacturer conflict with those of your guitar manufacturer, stop the process and consult a professional installer or the manufacturers directly.
One of the most critical steps in pre-planning is verifying the weight capacity of your wall mount. A lightweight acoustic guitar or ukulele may only weigh 1 to 2 kilograms, but a solid-body electric guitar or bass can easily exceed 4 to 5 kilograms. Ensure your chosen mount is explicitly rated to handle the weight of your heaviest instrument, including a safety margin for the downward force applied when placing the guitar on the hanger.
Location selection also plays a major role in preserving your instrument’s structural integrity. In tropical climates like the Philippines, high relative humidity and temperature fluctuations can warp wood and degrade adhesives. Avoid mounting your guitar in direct sunlight, near air conditioning units, or close to high-humidity areas like bathrooms. Additionally, keep the mount away from high-traffic zones where passersby might bump into the body of the guitar.
To complete this installation efficiently, gather the following tools before beginning:
- Power drill (with a hammer function if drilling into concrete)
- Appropriate drill bits (carbide-tipped masonry bits for concrete, standard wood bits for studs or paneling)
- High-quality wall anchors and matching screws
- Stud finder (for drywall installations)
- Tape measure and pencil
- Spirit level
- Safety goggles and a dust mask
How to Identify Your Wall Type
Using the wrong hardware is the leading cause of wall mount failures. Before purchasing anchors or drilling, you must accurately determine what lies behind your wall’s surface.

The simplest way to start is with the knock test. Lightly tap the wall with your knuckles in several places. A hollow, echoing sound indicates a cavity behind the surface, which is characteristic of drywall or thin plywood partition walls. Conversely, a solid, dull thud with no echo indicates a solid backing, such as concrete hollow blocks, brick, or thick solid wood framing.
For hollow walls, a stud finder is an indispensable tool. Slide the device horizontally across the wall to locate the wooden or metal framing studs hidden behind the drywall. Standard studs are typically spaced 16 or 24 inches apart. Marking these studs allows you to anchor your mount directly into the structural frame of your home rather than relying solely on the drywall.
You can also look for clues around existing fixtures. Remove an outlet cover plate (after turning off the power to that outlet) or inspect the baseboards to see the cross-section of the wall material. If the wall is exceptionally hard and cold to the touch, and tapping feels like knocking on stone, you are dealing with solid concrete or masonry.
Always prioritize safety during this diagnostic phase. If your wall type remains ambiguous, or if you suspect that hidden plumbing pipes or electrical wiring run behind your desired mounting spot, stop immediately. Consult a licensed contractor or professional handyman to scan the wall and perform the installation safely.
Step-by-Step Installation Guide by Wall Material
Once you have identified your wall type and gathered your tools, you can proceed with the installation. Each material requires a distinct approach to ensure the mount remains perfectly stable under load.
Installing on Drywall (Hollow Walls)
Drywall alone is brittle and cannot reliably support the downward shear force of a hanging guitar without proper reinforcement. Whenever possible, you should secure your mount directly into a wall stud.
Step 1: Locate and mark the stud. Use your stud finder to locate the left and right edges of the target stud. Mark the exact center of the stud with a pencil at your desired mounting height. Use a spirit level to ensure your pencil marks for the screw holes are perfectly vertical.
Step 2: Drill pilot holes into the stud. If you successfully aligned your mount with a wooden stud, select a drill bit slightly smaller than the shank of the provided wood screws. Drill pilot holes directly into the marked center. This prevents the wood stud from splitting when you drive the screws home. Secure the mount directly using the wood screws.
Step 3: Choose heavy-duty anchors if no stud is available. If your desired location does not align with a stud, you must never use standard plastic expansion plugs. These plugs are designed for solid walls and will easily pull out of hollow drywall. Instead, use heavy-duty toggle bolts or snap-toggles rated for at least 20 kilograms to provide a secure hold.
Step 4: Drill and install the toggle bolts. Drill a hole through the drywall matching the diameter specified by your toggle bolt manufacturer. Thread the bolt through the mounting holes of the guitar hanger first, then spin the spring-loaded toggle wings onto the end of the bolt. Compress the wings, push them completely through the drilled hole until you hear them spring open behind the drywall, and pull back slightly to create tension. Tighten the bolt with a screwdriver until the mount is flush and secure, taking care not to over-tighten and crush the drywall core.
Installing on Concrete or Masonry
Concrete and concrete hollow block (CHB) walls are incredibly strong but require specialized tools to drill into without cracking the surrounding masonry.
Step 1: Mark the template. Hold your guitar holder wall mount against the concrete wall at your chosen height. Use a spirit level to ensure the hanger is perfectly straight, then mark the drilling points clearly with a pencil.
Step 2: Set up your drill. Insert a carbide-tipped masonry drill bit into your hammer drill. The bit’s diameter must match the exact specifications of your concrete wall anchors. Standard plastic wall plugs or sleeve anchors are highly effective for solid concrete.
Step 3: Drill the holes to depth. Put on your safety goggles and dust mask to protect yourself from fine concrete dust. Hold the drill perfectly perpendicular to the wall and drill into the marked spots. To avoid drilling too deep, wrap a piece of painter’s tape around your drill bit at the exact length of the anchor to serve as a visual depth guide. Once drilled, clear all concrete dust from the holes using a vacuum or compressed air to ensure the anchor can grip the masonry properly.
Step 4: Insert anchors and mount the hanger. Tap the plastic or metal masonry anchors gently into the holes using a hammer until they are completely flush with the wall surface. Align the guitar mount over the anchors, insert the screws, and drive them in tightly. Ensure the mount does not wiggle or rotate when fully tightened.
Installing on Solid Wood or Wood Paneling
Wood is an ideal mounting surface because it holds screws exceptionally well, but you must take care to prevent the wood from splitting or stripping.
Step 1: Verify the wood thickness. Check whether your wood paneling is solid timber or merely a thin decorative veneer over drywall. If it is a thin veneer (less than 12 millimeters thick), do not mount directly to it; instead, treat the installation as a drywall mount and locate the underlying wall studs.
Step 2: Mark and drill pilot holes. For solid wood walls or thick plywood backings, hold the mount in place, level it, and mark the screw holes. Drill pilot holes using a drill bit slightly smaller than the inner shank of your wood screws. This step is vital to guide the screw straight and prevent the wood fibers from splitting.
Step 3: Secure the mount. Align the hanger with the pilot holes and drive the wood screws directly through the mount. Tighten the screws until they are snug against the mount’s plate. Avoid using excessive torque, which can strip the wood fibers and ruin the screw’s grip.
Post-Installation Safety Checks and Guitar Placement
Before hanging your valuable instrument, you must verify that the installation is fully secure and that the mount will not damage your guitar’s finish.
The first safety check is to perform a manual pull test. Grasp the mounted bracket firmly with both hands and apply steady, downward pressure. Simulate a load heavier than your actual guitar by pulling down firmly. The mount should not flex, creak, wiggle, or pull away from the wall even slightly. If you notice any movement or hear cracking sounds, remove the mount immediately and inspect the wall anchors for failure.
Next, inspect the contact points of the hanger. The yokes or cradles must be covered with intact, high-quality rubber or foam padding to protect your guitar’s neck from scratches. Over time, cheap or degraded padding can wear thin, exposing raw metal that can gouge the wood.
You must also consider finish compatibility. Many high-end, vintage, or custom guitars feature a nitrocellulose lacquer finish. Standard vulcanized rubber and plasticizers used in some wall mount paddings can chemically react with nitrocellulose, causing the lacquer to melt, discolor, or become sticky. Check your mount’s specifications to confirm if it is labeled “nitro-safe.” If you are unsure, wrap the contact prongs of the hanger in a 100% cotton cloth or felt strip to act as a safe physical barrier between the padding and your guitar’s finish.
When placing your guitar on the wall mount, always use two hands. Lower the neck gently into the yoke, ensuring the headstock is centered and resting securely on both sides of the cradle. If your mount features a self-locking gate or security strap, make sure it engages fully. When removing the guitar, lift it straight up to clear the cradle before pulling it away from the wall to avoid scraping the back of the neck or the headstock against the wall surface.
Frequently Asked Questions (FAQ)
Can a wall mount damage my guitar's neck or finish?
Hanging a guitar by its headstock is structurally safe. The downward pull of gravity on a hanging guitar is far less than the constant tension exerted by the guitar strings themselves, meaning it will not warp or damage the neck. However, chemical damage to the finish is a real risk. Standard rubber or foam padding can react with nitrocellulose lacquer finishes, causing permanent cosmetic damage. Always verify that your mount is nitro-safe, or wrap the contact points in a clean, 100% cotton cloth to protect the finish.
How do I safely remove the mount and patch the wall later?
If you are renting or want to relocate your guitar display, removing the mount is straightforward. Start by unscrewing the mounting bracket from the wall. For wood screws or concrete anchors, simply back the screws out; plastic anchors can be gently pulled out with pliers or tapped slightly below the surface. For toggle bolts in drywall, unscrew the bolt completely, which will cause the metal wing to fall harmlessly inside the wall cavity. Fill the remaining holes with a high-quality spackle or wall filler using a putty knife, let it dry, sand it smooth with fine-grit sandpaper, and apply a touch-up coat of matching wall paint.
Community discussion
Share your experience or ask a question. Comments are reviewed before publication.