
To power a guitar pedal safely and effectively, you must match its voltage requirements exactly, meet or exceed its current draw, and ensure the polarity and physical connector size match the pedal’s input jack. Using the wrong power specifications can result in weak audio, excessive noise, or permanent damage to your pedal’s internal circuitry. For guitarists in the Philippines, managing power is even more critical due to high tropical humidity and frequent voltage fluctuations in local power grids, which can put extra stress on sensitive audio electronics.
Whether you are building your first pedalboard for bedroom practice or setting up a complex rig for live gigs in Manila, understanding how electrical specifications interact with your gear is the most reliable way to protect your investment. Taking a few minutes to verify your equipment’s power needs will save you from the frustration of a dead pedal right before a performance.
Understanding Voltage (V): Why Exact Matching Matters
Voltage, measured in volts (V), represents the electrical pressure pushed into your pedal. Unlike current, voltage is not “drawn” as needed; it is forced into the circuit by the power supply. Therefore, the voltage supplied must match the pedal’s requirements exactly to prevent component failure or poor performance.
Products mentioned in this guide
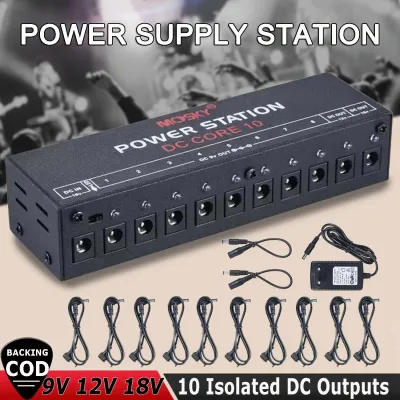

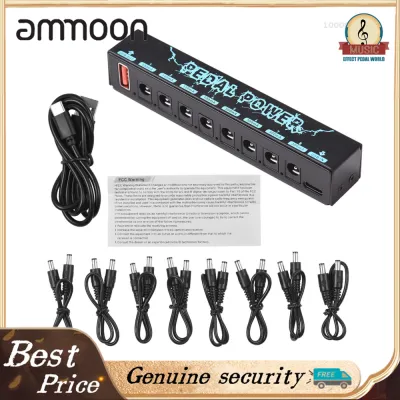
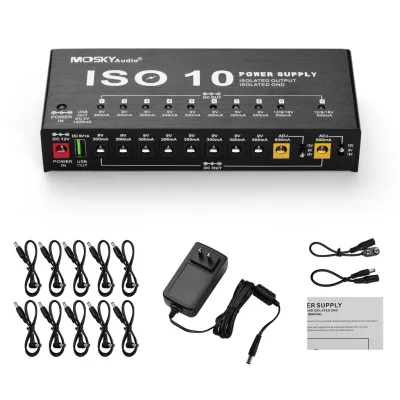
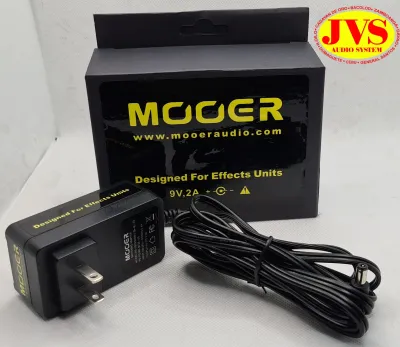

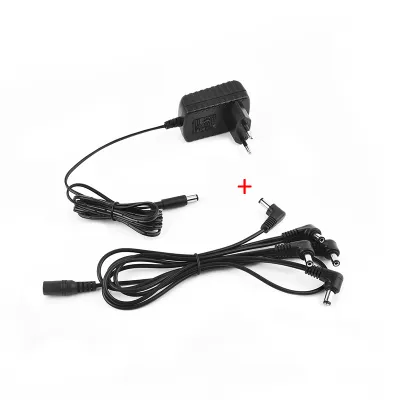

Prices are valid at publication and may change. Please refer to the product page for the latest price.
Most standard guitar pedals run on 9V Direct Current (DC). However, some specialized, vintage, or high-headroom pedals require 12V or 18V DC. A few rare pedals even require Alternating Current (AC) instead of DC. Connecting an AC power supply to a DC pedal, or vice versa, can severely damage the pedal’s internal components.
Over-voltage occurs when you plug a higher-voltage supply (such as an 18V adapter) into a pedal designed only for 9V. This excess electrical pressure can overheat components, blow capacitors, or burn out the internal voltage regulator. In the humid, warm climate of the Philippines, heat dissipation is already a challenge for electronic gear, making over-voltage even more dangerous.
Under-voltage happens when you supply less voltage than required, such as plugging a 9V adapter into an 18V pedal. While this is less likely to cause permanent physical damage, it leads to poor performance. You will likely experience weak volume, severe audio distortion, premature signal clipping, or complete silence.
Always check the label near the power jack or inside the battery compartment to verify if your pedal needs 9V, 12V, or 18V. Never assume a pedal is 9V just because it looks like a standard stompbox.
Calculating Current Draw (mA) for Your Pedalboard
Current, measured in milliamperes (mA), represents the electrical flow your pedal pulls from the power supply. While voltage must match exactly, current is demand-driven. Your power supply must be capable of delivering at least as much current as your pedal demands.

If you are powering multiple pedals from a single multi-output power supply or a daisy-chain cable, you must calculate the total current draw. Add up the mA requirements of every pedal connected to that power source. The power supply’s rated output must meet or exceed this combined sum to ensure stable operation.
Different types of pedals have vastly different current demands. Analog pedals, such as simple overdrives, distortions, and analog boosters, typically have very low current draws. They often require only a small amount of milliamperes to function.
In contrast, digital pedals—including modern delays, reverbs, multi-effects, and digital signal processing (DSP) units—require significantly more current. These digital processors run complex algorithms that demand a constant, heavy flow of power. Running a high-draw digital pedal on an underpowered supply output will cause the pedal to freeze, reboot, or introduce high-pitched digital switching noise into your signal chain.
To prevent power starvation and unexpected shutdowns during peak performance, always include a safety margin. A good rule of thumb is to choose a power supply output that exceeds your pedal’s rated current draw by at least 20 to 30 percent. This extra headroom ensures the power supply runs cooler and handles sudden signal transients without voltage drops.
Verifying Polarity and Physical Connector Size
Even if the voltage and current match, plugging in a power supply with the wrong polarity can ruin your pedal. Polarity refers to which part of the barrel connector carries the positive charge and which carries the negative charge.
Most guitar pedals use a center-negative configuration, represented by a diagram showing a solid dot (the center) connected to a minus sign (-), and an outer ring connected to a plus sign (+). However, some vintage pedals, fuzz units, or specialized gear use a center-positive configuration, where the center pin is positive. Connecting a center-positive supply to a center-negative pedal without a polarity-reversing adapter can cause an immediate short circuit, potentially frying the circuit board and leaving you with a costly ₱2,000 repair bill at a local guitar tech shop.
Physical compatibility is another crucial factor. The standard barrel plug used for most guitar pedals is a 2.1mm inner diameter plug. However, some power supplies and pedals use a slightly larger 2.5mm inner diameter plug.
While a 2.5mm plug might physically fit onto a 2.1mm jack, the connection will be loose and unreliable, leading to intermittent power loss when you step on the pedal. Conversely, a 2.1mm plug will not fit onto a 2.5mm jack. Never force a plug into a jack if you feel resistance, as this can crack the internal solder joints on the pedal’s circuit board.
How to Locate Your Pedal’s Exact Power Specifications
Finding the exact power requirements of your gear is a straightforward process if you know where to look. Start by inspecting the physical chassis of the pedal. Manufacturers usually print the voltage, current draw, and polarity symbol on the bottom plate, near the power input jack, or inside the battery compartment.
If the label has worn off, or if you are dealing with a boutique or vintage pedal that lacks external markings, consult the original user manual. If you do not have the physical manual, visit the manufacturer’s official website to download the digital version or check their product specifications page.
Avoid guessing your pedal’s power requirements based on its brand, physical size, or the power adapter that came with a different device. Assuming all pedals from a specific brand share the same power specifications is a common mistake that can lead to costly damage. Always verify each pedal individually before connecting it to a power source.
Frequently Asked Questions (FAQ)
Can I use a power supply with a higher mA rating than my pedal requires?
Yes, it is safe. A pedal will only draw the amount of current (mA) it needs to operate. If your pedal requires 100mA and your power supply output is rated for 500mA, the pedal will run smoothly and the supply will have plenty of unused headroom.
What happens if I use the wrong voltage or polarity?
Using the wrong voltage or polarity can lead to immediate component failure. If you supply too much voltage or reverse the polarity, you may hear a pop, smell burning electronics, or see smoke. If you suspect you have connected the wrong supply, disconnect the power immediately to minimize damage and take the pedal to a qualified technician for inspection.
Community discussion
Share your experience or ask a question. Comments are reviewed before publication.