
Connecting an electric or acoustic-electric guitar to a computer is the foundational step for modern music production, songwriting, and home practice. To achieve a clean, professional-grade recording, you must route your guitar’s high-impedance signal through an audio interface, which converts the analog electrical current into digital data that your computer can process. This process requires a clear understanding of both hardware connections and software configuration to prevent common issues like latency, signal degradation, or digital clipping.
In tropical regions like the Philippines, environmental factors such as high humidity also play a critical role in maintaining your setup. Moisture in the air can accelerate the oxidation of metal jacks, cable connectors, and internal guitar electronics, which directly impacts your signal quality. By establishing a correct physical signal chain and configuring your Digital Audio Workstation (DAW) properly, you can ensure a reliable, noise-free recording environment that preserves the natural tone of your instrument.
What You Need Before You Start
Before making any physical connections, gather the essential components of a modern guitar recording signal chain. Having the correct hardware and software ready prevents interruptions and ensures that each device operates within its optimal specifications.
Products mentioned in this guide
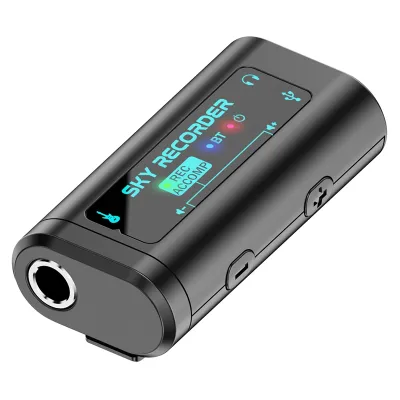
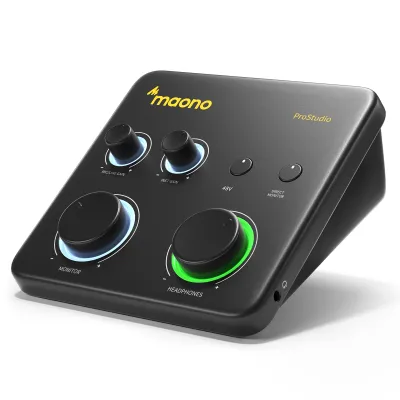
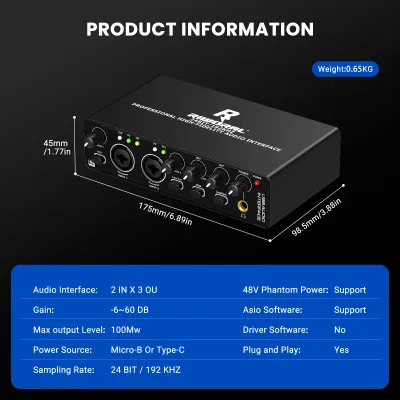
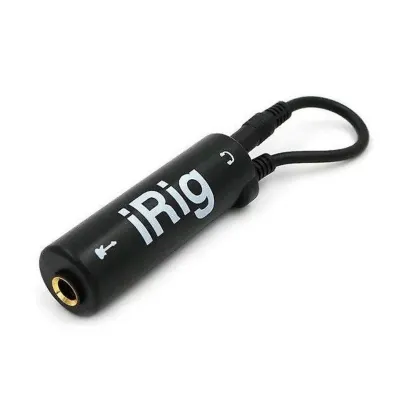
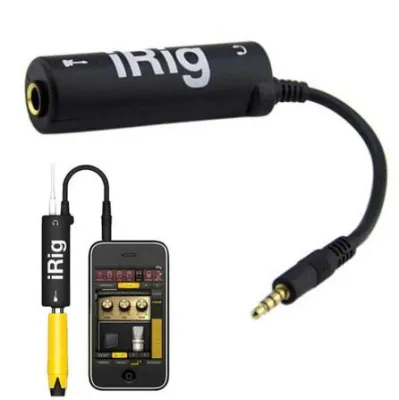
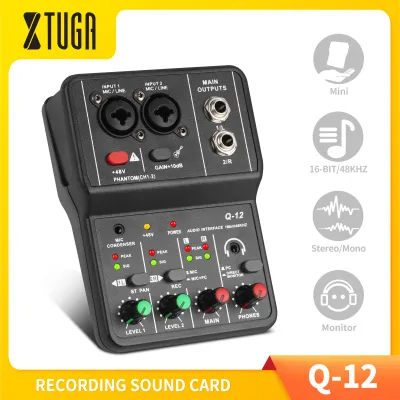
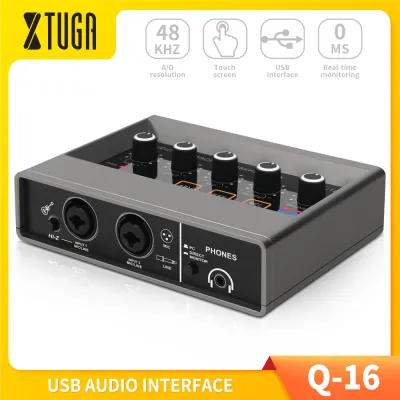
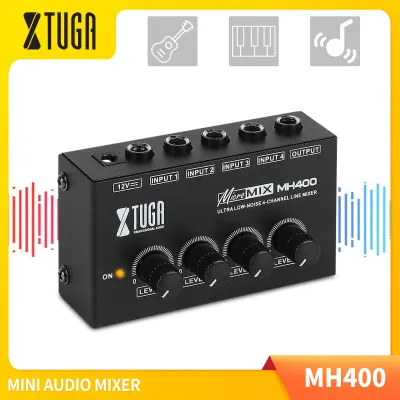
Prices are valid at publication and may change. Please refer to the product page for the latest price.
- The Guitar: An electric guitar, bass, or acoustic-electric guitar equipped with an onboard pickup system. If using an active pickup system, verify that the internal 9V battery is fully charged to avoid unexpected signal loss.
- Audio Interface with Hi-Z Input: An audio interface for guitar must feature at least one high-impedance (often labeled "Hi-Z" or "Inst") input. Quality entry-level interfaces typically range from ₱5,000 to ₱12,000 in local music stores and online marketplaces.
- Standard 1/4-Inch TS Instrument Cable: A standard unbalanced Tip-Sleeve (TS) cable is required to connect the guitar to the interface. Avoid using balanced Tip-Ring-Sleeve (TRS) cables or speaker cables, as they are not designed for high-impedance instrument signals.
- USB or Thunderbolt Cable: Use the high-quality cable provided by the interface manufacturer to connect the unit to your computer. If a replacement is needed, ensure it is certified for data transfer and matches the port specifications of your host machine.
- Host Computer: A desktop or laptop computer with a compatible operating system (macOS or Windows) and sufficient RAM and processing power to run audio software smoothly.
- Digital Audio Workstation (DAW): The software where you will record, edit, and mix your audio. Popular options include Reaper, Ableton Live, Cubase, Pro Tools, or GarageBand. When choosing software, verify the specific edition, system requirements, device compatibility, and regional licensing restrictions before purchase.
- Monitoring Gear: A pair of studio headphones or active studio monitors. Consumer speakers or Bluetooth headphones are unsuitable due to the severe latency introduced by wireless transmission and consumer-grade audio processing.
Step 1: Physically Connecting Your Gear
Establishing a clean physical connection is the first step in the recording process. The signal flow always moves from the source to the destination: your guitar generates the analog signal, the audio interface converts it, the computer processes it, and the monitors or headphones reproduce the sound for your ears.

Before plugging in any cables, turn down the physical volume knobs on your audio interface and ensure your studio monitors are powered off or muted. Making hot connections—plugging in instruments or cables while monitors are active and turned up—can send sudden, high-voltage electrical spikes through the system. This results in loud pops that can permanently damage speaker cones, headphone drivers, or your hearing.
Connecting the Guitar to the Interface
Take your 1/4-inch TS instrument cable and insert one end firmly into the output jack of your guitar. Insert the other end into the dedicated instrument input on your audio interface. This input is frequently a combo jack that accepts both three-pin XLR cables and 1/4-inch phone plugs.
Once connected, locate the physical switch on your interface labeled “Inst,” “Instrument,” or “Hi-Z” and engage it. Passive guitar pickups produce a high-impedance signal that requires a matching high-impedance load. If you plug a guitar into a standard low-impedance line input without engaging the Hi-Z switch, an impedance mismatch occurs. This mismatch causes “tone sucking,” where high frequencies are severely attenuated, leaving your guitar sounding dull, muddy, and weak. Engaging the Hi-Z setting preserves the high-frequency detail and dynamic range of your pickups.
Connecting the Interface to Your Computer and Monitors
Use the designated USB or Thunderbolt cable to connect the audio interface to an open port on your computer. Whenever possible, connect the interface directly to the computer’s motherboard ports rather than using passive USB hubs. Passive hubs often fail to supply stable power or sufficient data bandwidth, leading to audio dropouts, synchronization errors, or hardware disconnection.
Next, establish your monitoring path. If you are using active studio monitors, connect them to the main line outputs on the rear panel of the interface using balanced 1/4-inch TRS or XLR cables. Balanced cables are essential in home studios because they reject electromagnetic interference from power lines, computer monitors, and household appliances. If you are tracking with headphones to avoid room reflections or noise complaints, plug your studio headphones into the dedicated headphone jack on the front panel of the interface. Ensure all hardware volume controls are set to zero before powering on the computer and monitors.
Step 2: Installing Drivers and Configuring Audio Settings
For your computer to communicate efficiently with your audio interface, you must install the correct software drivers. While modern operating systems may recognize the interface as a generic USB audio device, class-compliant generic drivers are rarely optimized for professional, low-latency audio production.
Always visit the official website of your audio interface manufacturer to download and install the latest driver package designed for your specific operating system. On Windows systems, installing the manufacturer’s proprietary ASIO (Audio Stream Input/Output) driver is mandatory. The standard Windows audio driver architecture introduces significant processing delays. ASIO bypasses the operating system’s software mixer, establishing a direct, high-speed communication channel between your DAW and the interface hardware. On macOS, the native CoreAudio framework is highly optimized for low-latency performance out of the box, but installing the manufacturer’s control software is still recommended to manage internal routing and hardware settings.
Once the drivers are installed, you must configure the audio buffer size within your DAW or the interface’s control panel. The buffer size, measured in samples, represents the amount of time the computer’s CPU is given to process audio data before sending it to the outputs. This setting involves a direct trade-off between latency and CPU performance:
- During Recording: Set a low buffer size, such as 64 or 128 samples. This minimizes round-trip latency—the time it takes for your guitar signal to travel into the computer, through your software plugins, and back to your headphones. A low buffer size ensures that you do not experience a distracting delay between plucking a string and hearing the sound.
- During Mixing: Increase the buffer size to 512, 1024, or 2048 samples. When mixing, low latency is no longer necessary because you are not performing in real-time. A larger buffer size gives your CPU significantly more processing time, allowing it to run complex amp simulators, equalizers, compressors, and spatial effects without causing audio dropouts, clicks, or system crashes.
Step 3: Setting Up Your DAW for Guitar Recording
With your hardware connected and drivers installed, open your DAW to configure the internal signal routing. This step ensures that the software receives the physical input from your interface and routes it to the correct track.
Begin by navigating to your DAW’s preferences or audio setup menu. Select your newly installed audio interface as both the primary input device and output device. Ensure that the sample rate matches across your system—44.1 kHz or 48 kHz are the standard sample rates for most music production projects.
Next, create a new audio track in your project. It is a common mistake for beginners to create a stereo track for recording a guitar. Because a standard electric or acoustic-electric guitar outputs a single-channel mono signal through a TS cable, you must create a mono audio track. Recording a mono source onto a stereo track results in the guitar being recorded on only one side of the stereo field, wasting hard drive space and complicating the mixing process.
Once the mono track is created, assign its input routing to the specific physical input of your interface where the guitar is connected. For example, if your guitar is plugged into Input 1, set the track’s input to “Input 1” or “Left.”
To hear your guitar through your monitoring system, you must understand two key software controls:
- Record Arm: Clicking the record arm button (usually represented by a red circle or an "I/O" icon on the track) prepares the track to receive the incoming audio signal. Without enabling this, the DAW will not register any input.
- Input Monitoring: Also known as software monitoring, this control (often a small speaker icon) routes the incoming signal through the DAW's mixer and out to your headphones. This allows you to hear your guitar in real-time.
If you want to play through a virtual amplifier, insert an amp simulator plugin directly onto the track’s insert slot. The DAW will capture the clean, dry Direct Input (DI) signal from your guitar while allowing you to hear the fully processed, amplified tone in real-time. This provides maximum flexibility during the mixing stage, as you can change the amplifier settings, cabinets, or effects at any point without re-recording the performance.
Step 4: Testing Levels and Recording Your First Track
Before hitting the record button, you must perform gain staging to ensure your signal is clean, clear, and free from digital distortion. Proper gain staging maximizes the signal-to-noise ratio while leaving enough headroom for subsequent processing.
While watching the input meters on your audio interface and within your DAW, play your guitar at the loudest volume you expect to reach during your performance. Slowly turn up the physical input gain knob on your interface. Many interfaces feature LED ring indicators around the gain knob that change color: green indicates a healthy signal, yellow represents a warning, and red indicates clipping.
In the digital domain, audio levels are measured on a decibel Full Scale (dBFS) meter, where 0 dBFS is the absolute limit. If your signal hits 0 dBFS, the waveform is flattened, resulting in harsh, unmusical digital clipping that cannot be repaired after recording. Aim for your loudest peaks to hit between -12 dBFS and -6 dBFS on your DAW’s channel meter. This range provides a healthy, robust signal while maintaining sufficient headroom for dynamic spikes and software processing.
Once your levels are set, turn on your DAW’s metronome or load a backing track to keep your performance in time. Arm the track, click the record button on the transport bar, and play a short test passage. When finished, stop the recording, disarm the track, and play back the captured audio. Listen closely to ensure the recording is clear, free of unwanted background noise, and perfectly aligned with the grid or backing track.
Troubleshooting Common Setup Issues
Even with careful preparation, technical issues can arise during your first recording session. Use these targeted diagnostic steps to resolve the most common problems:
No Sound
- Verify that your guitar's volume knob is turned up and any active electronics have a fresh battery.
- Confirm that the physical instrument cable is plugged into the correct input jack on the interface.
- Check that the track in your DAW is record-armed and that Input Monitoring is enabled.
- Ensure the track's input channel matches the physical input port on your interface.
- Check that the master volume and headphone volume knobs on the interface are turned up.
Audio Latency or Delay
- Open your DAW's audio preferences and verify that you are using the official, manufacturer-provided ASIO driver (on Windows) or CoreAudio (on macOS).
- Lower the buffer size in your audio settings to 128 samples or lower to reduce processing time.
- If latency persists, check if your interface has a hardware "Direct Monitor" switch. Engaging this routes the dry analog signal directly to your headphones with zero latency, bypassing the computer entirely.
Fuzz, Crackles, or Digital Clipping
- If the input meter on your interface or DAW turns red, lower the physical input gain knob until peaks stay below -6 dBFS.
- Ensure the "Hi-Z" or "Inst" switch is engaged; a line-level setting will overload easily when receiving an instrument-level signal.
- If you hear periodic crackles or pops, your computer's CPU may be struggling to process the audio. Increase the buffer size in your DAW preferences to give the processor more headroom.
- In humid environments, dust and oxidation can build up inside the guitar's jack or the interface inputs. Disconnect the cables and use a specialized, fast-evaporating electronic contact cleaner to clear any debris that might cause intermittent crackling.
Frequently Asked Questions (FAQ)
Do I need a DI box to connect my guitar to an audio interface?
For most modern home recording setups, an external Direct Injection (DI) box is unnecessary. Modern audio interfaces are built with high-impedance (Hi-Z) preamps designed specifically to match the impedance of electric and acoustic-electric guitars. However, a dedicated DI box remains useful if you need to run long cables (over 6 meters) to prevent high-frequency loss, or if you want to split your guitar’s signal to send one clean path to your interface and another to a physical guitar amplifier simultaneously.
Should I record my guitar in mono or stereo?
You should almost always record a standard electric or acoustic-electric guitar on a mono audio track. A standard guitar outputs a single-channel mono signal through its TS instrument cable. Recording this signal onto a stereo track creates an artificial dual-channel file where the left and right channels are identical, which unnecessarily doubles the file size and can introduce phase cancellation issues during mixing. Stereo recording is only appropriate if you are using a stereo effects pedal with dual outputs connected to two separate inputs on your interface, or if you are capturing an acoustic guitar using a dual-microphone setup.
Community discussion
Share your experience or ask a question. Comments are reviewed before publication.