
Connecting your guitar or bass to a Fender amplifier along with a selection of effects pedals is a milestone for any musician looking to craft their signature sound. Doing this properly requires understanding how audio signals travel from your instrument’s pickups, through the pedal circuitry, and finally into the amplifier’s preamp and power sections. A correct setup preserves the sparkling highs and warm lows that Fender amplifiers are famous for, while preventing unwanted hum, signal degradation, or physical damage to your gear.
By mastering the basics of cable selection, signal flow, and power management, you can build a reliable rig that performs consistently. Whether you are setting up in a bedroom, a recording studio, or on a humid stage, following a systematic connection process ensures your equipment remains safe and your tone stays pristine.
Gather the Right Cables and Power Supplies for Your Rig
Before plugging in any equipment, you must ensure you are using the correct types of cables. Instrument cables and speaker cables look almost identical because they both use 1/4-inch TS (Tip-Sleeve) plugs, but they are designed for entirely different purposes. Instrument cables are shielded to protect low-voltage, high-impedance signals from electromagnetic interference. Speaker cables are unshielded and feature much thicker wire conductors to handle the high-current output from an amplifier to a speaker cabinet. Never use an instrument cable to connect an amp head to a speaker cabinet, as the thin shielding can melt under high current, causing a short circuit that can destroy your amplifier’s output transformer.
Products mentioned in this guide
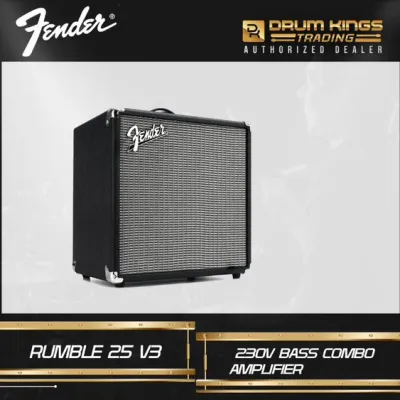

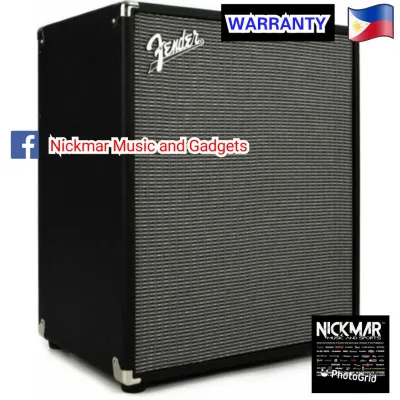
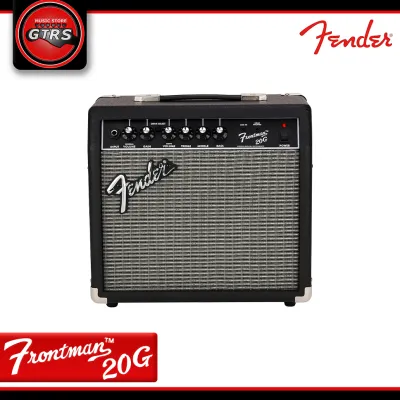

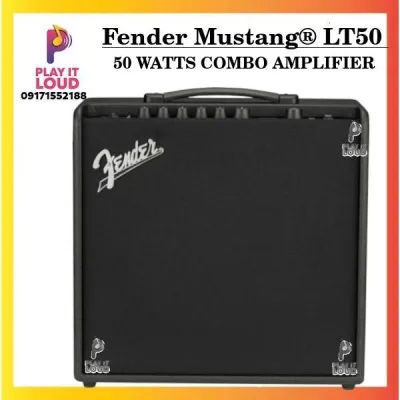
Prices are valid at publication and may change. Please refer to the product page for the latest price.
For your pedalboard, you will need short instrument cables known as patch cables. Selecting patch cables with right-angle connectors is highly recommended. These flat, angled plugs allow you to place your pedals close together, saving valuable space on your board and reducing physical strain on the pedal jacks. High-quality shielding on these patch cables is essential, as cheap or damaged cords will quickly introduce noise into your signal chain.
Powering your pedals correctly is just as important as using the right cables. While a simple daisy-chain cable is a budget-friendly way to power multiple pedals from a single wall adapter, it connects all pedal grounds together. This shared ground often introduces ground loop hum, especially when mixing digital and analog pedals. Investing in a dedicated isolated power supply, which typically ranges from ₱3,000 to ₱8,000, ensures that each pedal receives its own filtered, independent power source. This isolation eliminates ground loops and significantly lowers the noise floor of your entire rig.
Map Out Your Pedal Signal Chain Order
The order in which your guitar signal passes through your pedals dictates how they interact. While there are no absolute rules in music production, a standard sequence preserves tone clarity and ensures each effect behaves predictably. The standard signal flow begins with your tuner pedal, which needs a pure, unaltered signal directly from your guitar for accurate tuning.

Following the tuner, place your dynamics and filter pedals, such as compressors, wah-wahs, and envelope filters. These pedals respond directly to the dynamics of your playing, which is why they need to sit early in the chain before your signal is distorted or heavily modulated. Fuzz pedals are a notable exception to this rule; many vintage-style fuzz circuits interact directly with your guitar’s pickups and must be placed first in the entire chain, even before a tuner, to sound correct.
Next come your overdrive, distortion, and fuzz pedals. Placing these after compressors and filters allows them to amplify a controlled signal. After your drive section, insert modulation effects such as chorus, flangers, phasers, and tremolos. These effects swirl and modulate the fully shaped, distorted tone. Placing them before your overdrive pedals can result in a muddy, overly chaotic sound.
Delay and reverb pedals should go at the very end of your signal chain. This ensures that your echoes and ambient trails sound clean and natural, reflecting the fully processed guitar tone rather than being distorted or modulated afterward.
When mapping your chain, consider the difference between true bypass and buffered bypass pedals. True bypass pedals connect the input jack directly to the output jack when switched off, leaving your tone untouched. However, if you use many true bypass pedals and long cables, the cumulative capacitance will degrade your high frequencies, a phenomenon known as “tone suck.” Buffered bypass pedals contain a small preamp circuit that strengthens the signal, allowing it to travel through long cable runs without losing high-end sparkle.
Finally, always verify the input and output labels on each pedal before connecting them. Most pedals route the signal from right to left, meaning the input jack is on the right side and the output jack is on the left. Reversing these connections will result in a complete loss of signal or a loud, unpleasant buzz.
Step-by-Step Connection Guide
Before making any physical connections, ensure your Fender amplifier is turned completely off. If your amp features a standby switch, which is common on tube models like the Fender Deluxe Reverb or Twin Reverb, set it to the “standby” position. Turn all volume knobs on both the amplifier and your pedals down to zero to prevent sudden, damaging audio spikes.
Plug one end of a high-quality, shielded instrument cable into your guitar or bass. Plug the other end into the input jack of the first pedal in your chain, which is typically your tuner or fuzz pedal.
Use short patch cables to link the output of the first pedal to the input of the second pedal. Repeat this process across your entire pedalboard, ensuring each connection is fully seated in the jack.
Take a second long instrument cable and plug one end into the output jack of the final pedal in your signal chain, such as your reverb or delay. Plug the other end into the main input jack on the front panel of your Fender amplifier.
Always power on your pedalboard’s power supply first. Pedals often emit a brief electrical pop or surge when they first receive power. By powering them on before the amplifier, you ensure this surge is not amplified through your speakers.
Once your pedals are active, flip the main power switch of your Fender amplifier to the “on” position. If you are using a tube amplifier, let the tubes warm up in standby mode for at least one to two minutes. This prolongs tube life and ensures stable operation. Finally, flip the standby switch to the “play” or “on” position and slowly raise your instrument and amplifier volumes to your desired levels.
Troubleshoot Hum, Buzz, and Signal Loss
If you hear a low-frequency hum, you may have a ground loop. This occurs when your amplifier and your pedal power supply are plugged into different wall outlets that have slightly different ground potentials. To resolve this, plug both your amplifier and your pedal power supply into the same high-quality, grounded power strip or surge protector.
In tropical climates like the Philippines, high humidity can accelerate the oxidation of metal contacts. If you experience crackling sounds when moving your cables, or if the signal cuts out intermittently, spray a small amount of specialized electronic contact cleaner onto your cable plugs and insert them into the jacks several times to clean off any microscopic corrosion.
If you get no sound at all, do not panic. Turn down the amplifier volume and bypass your pedalboard entirely by plugging your guitar directly into the amp. If you get sound, the issue lies within your pedalboard. Reconnect your pedals one by one, or use a process of elimination to test each patch cable individually until you find the faulty link.
A harsh, fizzy distortion when you want a clean sound is often a sign of poor gain staging. Check the volume or output controls on your boost, overdrive, and distortion pedals. If these levels are set too high, they will overdrive the sensitive preamp stage of your Fender amp, causing unwanted clipping even when the amp’s volume is set low. Keep pedal output levels close to “unity gain,” meaning the volume is roughly the same whether the pedal is turned on or off.
If you have verified all cables, power sources, and pedals, but the hum or signal loss persists, the issue may be internal to the amplifier, such as a failing tube, a loose input jack ground, or a damaged filter capacitor. Stop troubleshooting and consult your Fender amplifier’s manual or take the unit to a qualified electronics technician for repair.
Utilize the Fender Amp Effects Loop (If Available)
Many modern Fender amplifiers, such as the Hot Rod Deluxe or Mustang series, feature an effects loop on the rear or top panel, labeled “Send” and “Return.” The standard front input sends your guitar signal through the amplifier’s preamp stage first, where the tone controls and preamp gain shape the sound. An effects loop allows you to insert pedals after the preamp stage but before the power amplifier stage.
Time-based and modulation effects, like delay, reverb, chorus, and flangers, sound much cleaner and more distinct when placed in the effects loop. If you use your Fender amp’s natural preamp overdrive, putting a delay pedal in front of the amp means your delay repeats will be distorted by the preamp, resulting in a muddy wash. Placing the delay in the effects loop ensures the repeats remain pristine and clear.
Keep your wah-wah, compressor, overdrive, and distortion pedals connected to the front input of the amplifier. These pedals are designed to shape the raw signal from your guitar pickups and perform poorly when placed in an effects loop.
To use the loop, run an instrument cable from the amp’s “Send” jack to the input of your first loop-based pedal. Run patch cables through your other loop pedals, and then run a final instrument cable from the output of the last loop pedal back into the amp’s “Return” jack. Check your Fender amplifier’s manual to see if it has a level switch, such as +4dB for rack gear or -10dB for standard pedals, to ensure optimal signal levels.
Frequently Asked Questions (FAQ)
Do I need a buffer pedal for my Fender amp setup?
You generally do not need a dedicated buffer pedal if you are using short cables under 15 feet total, or if you already have at least one buffered bypass pedal, such as a standard electronic tuner, in your chain. However, if your entire pedalboard consists of true bypass pedals and you are running long cables from your guitar to the board, and then from the board to your Fender amp, a buffer placed at the start of your chain will help preserve your high-end frequencies and keep your tone bright.
Can I use my Fender amp's footswitch cable for pedals?
No, you should not use your Fender amplifier’s footswitch cable as an instrument or patch cable for your pedals. While they may look identical and use the same 1/4-inch plugs, footswitch cables are often unshielded or wired differently to carry control signals rather than audio signals. Using an unshielded footswitch cable in your audio signal chain will introduce massive amounts of electromagnetic interference, hum, and buzz into your amplifier. Always use dedicated, shielded instrument and patch cables for your audio path.
Community discussion
Share your experience or ask a question. Comments are reviewed before publication.