
Selecting your first snare drum is a major milestone that defines your early journey as a musician. To make the right choice, a beginner should focus on three core pillars: versatile physical dimensions, a shell material that suits your local climate and musical goals, and reliable hardware that maintains tuning stability. Rather than overspending on professional-grade gear or chasing specific brand prestige, the goal is to find a reliable, responsive instrument that helps you master fundamental techniques like rimshots, ghost notes, and consistent backbeats. By understanding how size, materials, and hardware interact, you can confidently select a snare drum that fits both your budget and your practice space.
Diagnose Your Musical Style and Practice Environment
Before browsing online catalogs or visiting a local music store, you must evaluate where and what you will be playing. Different musical genres demand distinct acoustic properties from a snare drum. For instance, if you are drawn to pop, rock, or classic local band setups, you will likely want a snare with a crisp, cutting crack and a solid mid-range presence. If your interests lean toward jazz or acoustic fusion, a highly sensitive drum that registers quiet ghost notes and subtle brushwork is essential. Marching or high-tension styles, on the other hand, require maximum projection and a very sharp, articulate response.
Your physical practice environment is equally critical, especially when setting up in a typical residential area. In many Philippine neighborhoods, homes are constructed with dense concrete walls and tile floors, which can cause sound to bounce aggressively and amplify high frequencies. If you practice in a room with open windows or minimal acoustic treatment, a highly projecting metal snare might quickly disturb your neighbors or cause ear fatigue. You must decide whether your drum will be used strictly for low-volume home practice—perhaps requiring dampening accessories—or if it needs the projection necessary to cut through a full band during live gigs or garage jam sessions. Balancing these environmental constraints with your musical aspirations will help you narrow down the ideal volume and tone profile.
Products mentioned in this guide
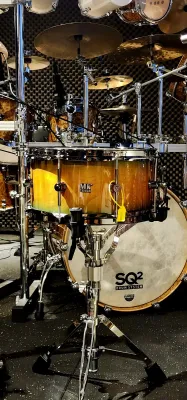
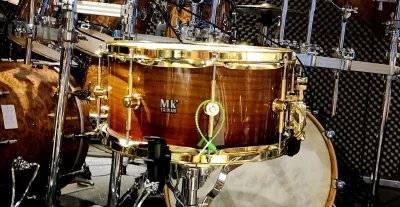
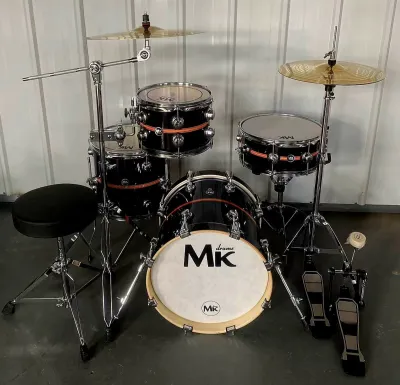
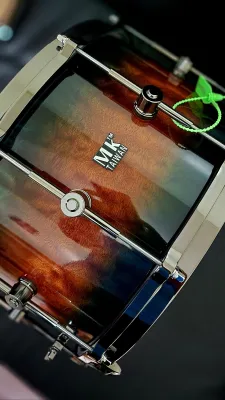
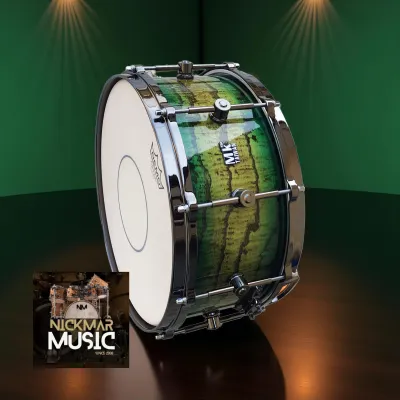
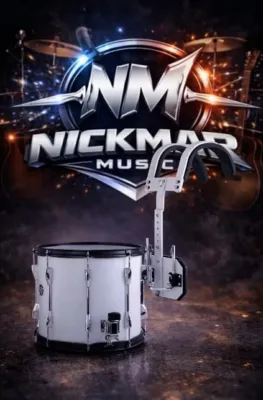
Prices are valid at publication and may change. Please refer to the product page for the latest price.
Core Selection Dimensions: Diameter and Shell Depth
The physical dimensions of a snare drum are the primary drivers of its natural pitch, volume, and playing feel. Snare drums are measured by their diameter across the drumhead and the depth of the shell, usually expressed in inches (such as 14″ x 5.5″). The absolute standard for most drum kits is a 14-inch diameter. This size offers the most versatile tuning range, a comfortable playing surface for beginners, and the widest availability of replacement drumheads. Smaller diameters, such as 12-inch or 13-inch soprano snares, produce a naturally higher pitch and a tighter, snappier response, but they lack the low-end body needed for general-purpose drumming. Larger 15-inch models are less common and tend to produce a deeper, throatier sound that is highly specialized.

Shell depth dictates the body, resonance, and response time of the drum. A shallow shell, measuring around 4 to 5 inches in depth, reacts incredibly fast to your drumstick strikes, making it excellent for rapid, articulate patterns and quiet ghost notes. However, it may lack the deep, punchy punch required for heavy rock backbeats. Conversely, deeper shells measuring 6.5 to 8 inches offer a massive, booming resonance and a richer low-end body, though they require a bit more physical effort to activate the snare wires on quieter hits. For a beginner, a medium depth of 5.5 inches represents a highly practical sweet spot, offering a balanced compromise between rapid sensitivity and satisfying structural power.
Shell Materials and Their General Sound Characteristics
The material used to construct the drum shell acts as the acoustic engine of the instrument, shaping its overall warmth, brightness, and sustain. Wood shells are highly celebrated for their organic warmth, focused mid-range frequencies, and natural versatility. Maple is a highly popular choice, offering an even blend of highs, mids, and warm lows that fits almost any musical genre. Birch provides a slightly brighter tone with a pre-equalized sound that excels in recording environments, while mahogany delivers a deep, vintage warmth with a pronounced low-end. However, wood is a natural, porous material. In tropical climates with high humidity, wood shells can absorb moisture, which may slightly alter their tuning stability or cause the shell to warp over time if not properly cared for.
Metal shells offer an excellent, low-maintenance alternative that is highly resistant to environmental changes. Steel shells are incredibly common in beginner kits because they are durable, bright, and project exceptionally well, making them perfect for cutting through loud guitars. Brass shells provide a darker, more complex metallic tone with a smooth high-end, while aluminum offers a dry, crisp sound with minimal ring and excellent control. Synthetic materials like acrylic are also available, offering a distinct, punchy sound with short sustain and a striking visual aesthetic. When shopping, always verify the exact material composition and ply thickness on the manufacturer’s specification sheet rather than relying on visual finishes, as some budget drums may use wood-grain wraps over low-grade composite materials.
Evaluating Hardware, Drumheads, and Snare Wires
While the shell determines the fundamental voice of the snare, the hardware and heads control how that voice is delivered and maintained. The metal hoops that clamp the drumhead to the shell play a major role in tuning and rimshot feel. Triple-flanged hoops are the standard on most beginner snares; they allow the drum to resonate freely and offer a softer feel when striking the edge. Die-cast hoops are heavier and stiffer, providing incredible tuning stability, a louder, more focused rimshot, and shorter sustain, though they can choke the sound of thinner shells.
You must also inspect the snare strainer (throw-off) and butt plate, which hold and tension the snare wires against the bottom head. A high-quality strainer should operate smoothly without sticking or slipping, allowing you to quickly engage or disengage the wires. The snare wires themselves, typically consisting of 20 strands, should sit evenly across the bottom head; uneven or bent wires will cause an annoying, uncontrollable buzz. Finally, pay close attention to the stock drumheads. Many entry-level snare drums ship with thin, single-ply factory heads that wear out quickly. Planning an immediate or early upgrade to a high-quality coated batter head can instantly transform a budget drum into a warm, professional-sounding instrument.
Building Your Beginner Shortlist and Next Steps
When you are ready to compile a shortlist, establish a realistic budget that accounts for the entire playing setup. In the local market, a practical beginner budget might range from ₱5,000 to ₱15,000. This range should ideally cover not just the snare drum itself, but also a sturdy, double-braced snare stand, a pair of drumsticks, and perhaps a basic practice pad for quiet rudiment training. Be careful to avoid hidden accessory costs by verifying exactly what is included in the box before finalizing your purchase.
As you compare options, look closely at entry-level and intermediate models. If you are considering a popular starter option like an mk snare drum or similar beginner-focused lines, download the official user manual or specification sheet to verify the shell construction, lug count (more lugs generally mean more precise tuning), and hardware materials. If you are inspecting a drum in person at a local music store, run your fingers along the bearing edges—the top and bottom rims of the shell where the drumhead rests—to ensure they are perfectly smooth and free of splinters or flat spots. Check that the tuning lugs align straight and turn smoothly without grinding. If you encounter conflicting specifications, unclear online photos, or are unsure about the physical condition of a used drum, stop and consult local music store staff, a qualified drum instructor, or the manufacturer to ensure you make a secure and informed investment.
Frequently Asked Questions (FAQ)
How often should a beginner replace their snare drum heads?
A beginner should replace their snare drum heads based on physical wear and sound quality rather than a strict calendar schedule. Visually inspect the top head (batter head) regularly; if you notice deep pitting, severe dents, or if the white textured coating has completely worn away in the center, it is time for a replacement. Auditory signals are also clear indicators. If the drum begins to sound dull, choked, or completely loses its crisp resonance even after careful tuning, the head has likely stretched beyond its useful life. Heavy hitters may need to replace their heads every few months, while lighter players practicing a few hours a week can easily stretch a quality head for a year or more.
What is the best way to tune a snare drum for a balanced sound?
To achieve a balanced sound, always tune your snare drum using a star-pattern tightening method to ensure even tension across the entire drumhead. Start by finger-tightening all the tension rods, then use a drum key to turn each rod by half-turn increments, moving diagonally across the drum rather than in a circle. To verify even tension, gently tap the drumhead about an inch away from each lug with a drumstick; the pitch should sound identical at every point. For a classic, versatile sound, tune the bottom (resonant) head relatively tight to ensure crisp snare wire response, and then adjust the top (batter) head to your preferred pitch and stick rebound feel.

Community discussion
Share your experience or ask a question. Comments are reviewed before publication.