
Choosing your first acoustic guitar is the most critical step of your musical journey. The right instrument keeps you motivated, while a poorly chosen one—often due to high string action, uncomfortable sizing, or structural instability—can lead to early frustration and abandonment. To find the perfect match, you must balance physical comfort, playability, sound characteristics, and budget. This guide breaks down the essential factors to evaluate, ensuring your first guitar is an asset, not an obstacle.
Step 1: Match the Acoustic Guitar Body Shape to Your Playing Style
Acoustic guitars are not one-size-fits-all. The physical shape of the body dictates both the acoustic projection and how comfortable the instrument feels against your body. For complete beginners, selecting a body shape that aligns with your physical stature and musical goals is paramount.
Dreadnought: This is the most common and recognizable acoustic guitar shape. It features a large, deep body with broad shoulders. Dreadnoughts are highly versatile and deliver a loud, robust sound with a strong bass response. They are the standard choice for flatpicking and heavy strumming, making them ideal for singer-songwriters and acoustic band settings. However, their physical bulk can feel cumbersome for smaller players or when practicing seated.
Products mentioned in this guide

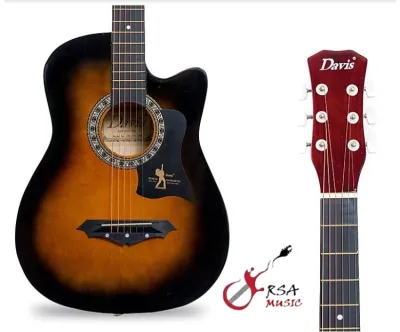

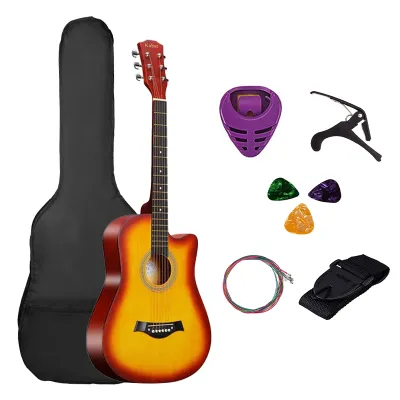
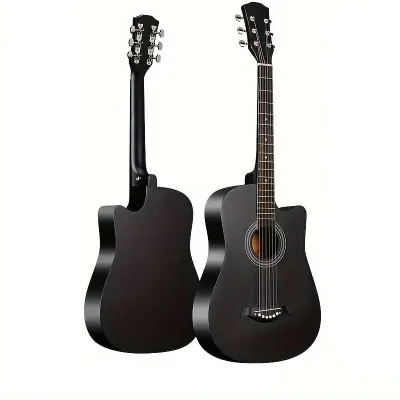
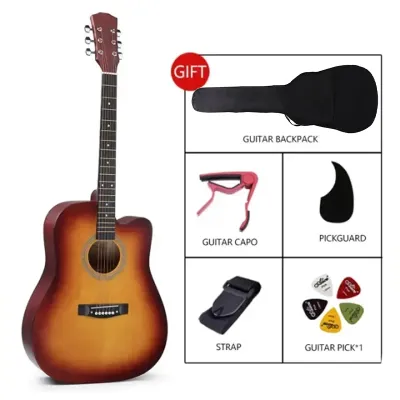
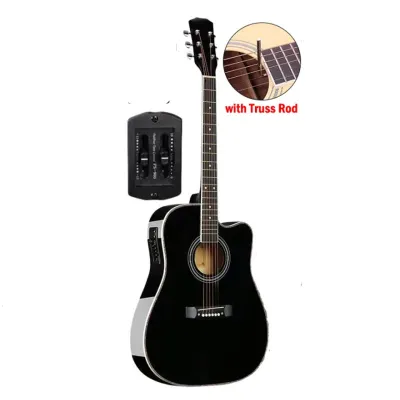
Prices are valid at publication and may change. Please refer to the product page for the latest price.
Concert and Auditorium: These shapes are physically smaller than a dreadnought, featuring a narrower waist and shallower body depth. This design produces a highly balanced, focused tone with clear mid-range and treble frequencies. Because they respond quickly to a light touch, they are exceptionally well-suited for fingerstyle playing. Physically, they sit comfortably on the lap, making them an excellent choice for smaller-framed players or anyone prioritizing seated comfort.
Jumbo: As the name suggests, the Jumbo is the largest standard acoustic guitar shape. It features an oversized lower bout that produces a massive, booming bass response and maximum projection. While highly suited for powerful, rhythmic strumming, its sheer size makes it difficult for many beginners to wrap their arms around comfortably.
To find your ideal fit, visit a local physical music shop. Sit down with different body shapes, rest your strumming arm over the lower bout, and observe how naturally you can reach the soundhole. If a guitar forces your shoulder upward or causes your arm to stretch uncomfortably, it will likely lead to muscle fatigue during long practice sessions.
Step 2: Select the Correct Size and Scale Length
Beyond the overall body shape, the physical dimensions of the neck and the scale length of the instrument directly impact your ability to develop proper fretting technique. Choosing an instrument that matches your physical reach ensures you can form chords cleanly without straining your fingers or wrists.

Full-Size vs. Smaller Scale Guitars: Standard acoustic guitars typically measure between 40 and 41 inches in total length. While full-size instruments offer maximum resonance, they can be overwhelming for younger players or adults with smaller frames. In such cases, 3/4-size guitars or parlor guitars are highly practical alternatives. These compact instruments are easier to transport, fit comfortably in smaller hands, and still deliver a surprising amount of projection.
Scale Length and String Tension: Scale length refers to the distance between the nut (at the headstock) and the saddle (on the bridge). A standard full-scale guitar measures around 25.4 inches, while short-scale guitars measure 24 inches or less. Shorter scale lengths reduce the physical tension of the strings. This lower tension means you do not have to press down as hard to fret a note, making it significantly easier on uncalloused beginner fingertips and facilitating smoother string bending.
When evaluating a guitar, test your reach by placing your fretting hand on the first fret (the one furthest down the neck). You should be able to reach this position comfortably with a slightly bent elbow, without overextending your shoulder or straining your wrist. If you must stretch your arm completely straight just to press the first fret, look for a shorter scale length or a smaller body size.
Step 3: Understand Tonewoods and Solid vs. Laminate Construction
The materials used to construct an acoustic guitar determine its tonal characteristics, price, and durability. For beginners, the primary decision lies in choosing between solid wood and laminate construction.
Solid Wood vs. Laminate: Solid wood instruments are crafted from single, continuous pieces of natural timber. They are highly resonant, producing a rich, complex tone that matures and improves in sound quality as the wood ages. However, solid wood is highly sensitive to environmental factors and is more expensive. Laminate wood, on the other hand, consists of multiple thin layers of wood pressed together with adhesive. While laminate does not mature or offer the same depth of tone, it is highly durable, resistant to temperature swings, and significantly more affordable.
The Solid Top Compromise: For most beginners, a “solid top” guitar represents the ideal middle ground. These instruments feature a solid wood soundboard (the top of the guitar, which is most responsible for sound projection) paired with laminate back and sides. This configuration provides a substantial upgrade in tone and resonance compared to an all-laminate guitar, while remaining budget-friendly and physically robust.
Common Top Woods:
- Spruce: The most popular choice for acoustic tops. It is lightweight, stiff, and delivers a bright, clear, and versatile tone that handles both strumming and fingerpicking beautifully.
- Cedar: A softer wood that produces a warmer, darker, and more intimate sound. It is highly responsive to a light touch, making it a favorite for fingerstyle players.
Climate Considerations: If you live in a tropical, high-humidity environment like the Philippines, managing moisture is critical. Excessive humidity can cause solid wood to swell, warping the top and raising the string action, while rapid dry spells can cause the wood to crack. All-laminate or solid-top guitars are far more forgiving in humid conditions, though any guitar with solid components should ideally be stored in its case with a dedicated instrument humidifier or dehumidifier packet to maintain structural integrity.
Step 4: Prioritize Playability and Neck Comfort Over Pure Tone
While a beautiful tone is desirable, playability is the single most important factor for a beginner. If a guitar is painful or physically exhausting to play, you are far more likely to abandon your practice.
Understanding Action: “Action” refers to the height of the strings above the fretboard. If the action is too high, you must exert immense finger pressure to clear notes, leading to rapid hand fatigue, sore fingertips, and poor intonation (notes going out of tune when pressed). Conversely, if the action is too low, the strings will rattle against the metal frets, causing an annoying buzz. A moderate, comfortable action is essential for a smooth learning curve.
Neck Profile and Nut Width: The neck profile is the physical shape of the back of the neck (often categorized as C-shape, U-shape, or V-shape). Most modern beginners find a slim C-shape profile to be the most comfortable, as it fits naturally in the palm of the hand. Nut width determines the spacing between the strings. If you have smaller hands, a narrower nut width (around 1.69 inches or 43mm) allows you to reach across the fretboard easily, whereas players with larger hands may prefer a wider nut (1.75 inches or 44mm) to avoid accidentally muting adjacent strings.
Physical Checks for Quality:
- Fret Sprout: Run your hand gently up and down the edges of the neck. The metal frets should feel smooth and flush with the wood. If you feel sharp metal edges protruding, the wood has likely shrunk, a common issue in poorly acclimated instruments.
- Neck Straightness: Hold the guitar body and look down the edge of the fretboard from the headstock toward the bridge. The neck should be relatively straight, with a very slight, almost imperceptible forward curve (known as relief). A severe bow or twist indicates structural issues.
The Importance of a Setup: Most guitars come from the factory with a generic, conservative setup that is often higher than necessary. When purchasing a guitar, ask the store’s technician to perform a basic setup. They can adjust the truss rod, file the nut slots, and lower the saddle to optimize the action specifically for a beginner, transforming a stiff instrument into a highly playable one.
Step 5: Set a Practical Budget and Plan for Essential Accessories
When purchasing your first instrument, it is easy to fall into the trap of either buying the cheapest option available or overspending on features you do not yet need. A balanced budget strategy ensures you get a reliable instrument and the necessary gear to support your practice.
Avoid Ultra-Cheap, Unbranded Guitars: It can be tempting to purchase an unbranded guitar online for an incredibly low price. However, these instruments often suffer from severe structural defects, such as lifting bridges, warped necks, and cheap tuning gears that slip constantly. These flaws are often unfixable and will quickly derail your progress. Instead, look for entry-level models from established, reputable brands known for consistent quality control. In the Philippines, a reliable beginner acoustic guitar typically ranges from ₱5,000 to ₱12,000.
Essential Accessories:
- Padded Gig Bag: Protects your instrument from dust, light impacts, and humidity fluctuations when not in use.
- Clip-On Digital Tuner: Essential for keeping your guitar in tune. While smartphone apps exist, a clip-on tuner detects vibrations directly from the headstock, making it far more accurate in noisy environments.
- Picks: Acquire a variety pack of different thicknesses (light, medium, heavy) to see which feel best for strumming and single-note playing.
- Capo: A clamping device used to change the pitch of open strings, allowing you to play songs in different keys using familiar chord shapes.
- Spare Strings: Beginner strings break occasionally, and natural hand oils will deaden their tone over time. Keep a set of light-gauge (e.g., .011 or .012) steel strings on hand.
Factor in Setup Costs: If you purchase your guitar online or from a retailer that does not offer a free pre-delivery adjustment, budget approximately ₱500 to ₱1,500 for a professional setup at a local guitar shop. This small investment pays massive dividends in comfort and playability.
Step 6: Inspect and Test the Guitar Before Finalizing Your Purchase
Whether you are buying in a physical store or unboxing an online delivery, conducting a thorough physical inspection is crucial to ensure you are receiving a structurally sound instrument. Use this checklist to verify the guitar’s condition before finalizing your purchase or letting the return window close.
Visual Inspection:
- Examine the entire body for visible cracks in the wood or finish.
- Inspect the joint where the neck meets the body; there should be no gaps, glue residue, or signs of separation.
- Look closely at the bridge (where the strings attach to the body). It should sit completely flat against the top wood. Check if there is a "bulging belly" (a noticeable dome shape) behind the bridge, which indicates the top is warping under string tension.
Hardware and Tuning Stability:
- Turn each tuning peg slowly. They should rotate smoothly without grinding, slipping, or feeling excessively loose.
- Ensure the nut and saddle are secure and do not wiggle.
Playability and Fret Check:
- Hold down and play every single fret on every string, starting from the first fret and moving all the way up the neck. Listen carefully for "fret buzz"—a harsh, metallic rattling sound.
- If a note sounds dead or buzzes excessively, it suggests a high fret, an uneven fretboard, or an improper neck relief adjustment.
Intonation Check:
- Lightly touch the low E string directly above the 12th fret wire without pressing it down, and pluck it to produce a chime-like harmonic.
- Next, press the string down firmly at the 12th fret and play the note.
- Compare the pitch of the harmonic and the fretted note using your digital tuner. They should be identical. If the fretted note is noticeably sharp or flat compared to the harmonic, the guitar's intonation is off, meaning it will sound out of tune as you play higher up the neck.
Verify Return Policies: If purchasing from an online marketplace or an e-commerce platform, carefully read the seller’s return policy before clicking buy. Ensure you have a clear return window (typically 7 to 14 days) to ship the instrument back if it arrives with shipping damage, structural cracks, or uncorrectable playability issues.
Frequently Asked Questions (FAQ)
Should I buy a classical (nylon-string) or steel-string acoustic guitar?
Classical guitars utilize nylon strings, which produce a warm, mellow, and gentle tone. They feature wider fretboards and flat fingerboards, making them the standard choice for classical, flamenco, and traditional folk music. Steel-string acoustic guitars, conversely, use steel strings that deliver a bright, loud, and crisp sound with excellent projection. Their necks are narrower and slightly curved, which is ideal for pop, rock, country, and modern strumming.
While nylon strings are physically gentler on uncalloused beginner fingertips, the choice should ultimately depend on the genre of music you want to play. If you aspire to play modern pop and rock songs, starting on a steel-string guitar is highly recommended, as the physical transition from nylon to steel later on can be frustrating.
Do I need an acoustic-electric guitar for my first instrument?
An acoustic-electric guitar features built-in electronic pickups and a preamp system, allowing you to plug the instrument directly into an amplifier, PA system, or audio interface. This feature is incredibly useful for live performances, busking, or recording directly into a computer.
However, if you are a complete beginner practicing primarily in your bedroom, you do not need this feature. Standard acoustic guitars are completely self-amplifying and more than loud enough for home practice. Choosing a standard acoustic allows you to save money or allocate more of your budget toward a higher-quality wood build rather than paying for electronic components you will not immediately use.
Community discussion
Share your experience or ask a question. Comments are reviewed before publication.