
Finding the right size for a guitar effects pedalboard requires balancing your current collection of stompboxes, your future gear aspirations, and the physical realities of transport and stage space. The ideal size accommodates all your active pedals with enough breathing room for cabling and foot access, while leaving a strategic margin for future acquisitions. Choosing too small a board leads to cramped layouts and accidental switch-stomps, while an oversized board becomes a heavy, impractical burden to carry to rehearsals and local gigs.
To make an informed decision, you must calculate the physical footprint of your gear, understand standard size categories, and account for hidden spatial factors like cable runs and power supplies. By taking a systematic approach to sizing, you can avoid the costly cycle of buying, selling, and rebuilding your setup every time your sonic needs evolve.
Measure Your Current Pedals and Plan for Future Additions
The first step in selecting a guitar effects pedalboard is to measure the exact physical footprint of your current gear. Do not rely solely on general estimates, as even standard-looking pedals can vary by several millimeters depending on the manufacturer. Use a tape measure to record the precise width, depth, and height of every pedal you plan to use, including any protruding knobs, switches, or side-mounted jacks.
Products mentioned in this guide
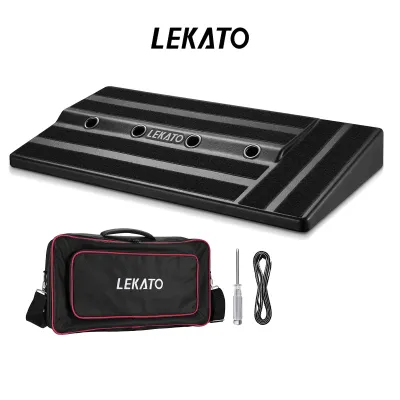
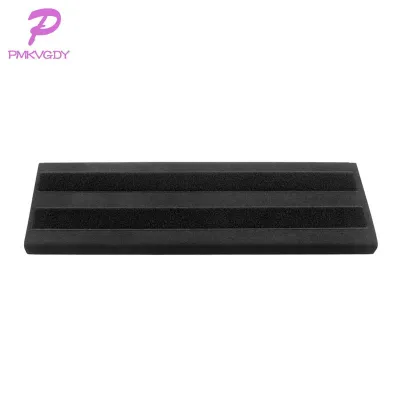
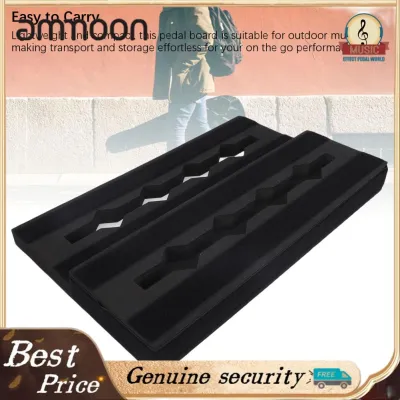
![Guitar Effect Pedal Board Aluminum Alloy Pedalboard 14.56*10.78 inch Medium Size With Magic Tape Velcro [COD][Ready Stock]](https://img.lazcdn.com/g/p/43ee911daf8cfe7b0f90f4cf307c8bab.jpg_400x400q80.jpg_.webp)
![Guitar Effect Pedal Board Aluminum Alloy Pedalboard 14.56*10.78 inch Medium Size With Magic Tape Velcro [COD][Ready Stock]](https://img.lazcdn.com/g/p/f15546bc1e96a6f311617f92586dd4e1.jpg_400x400q80.jpg_.webp)
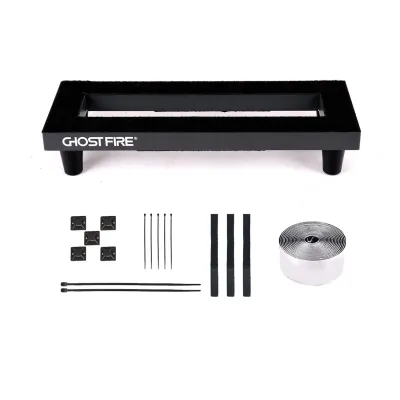
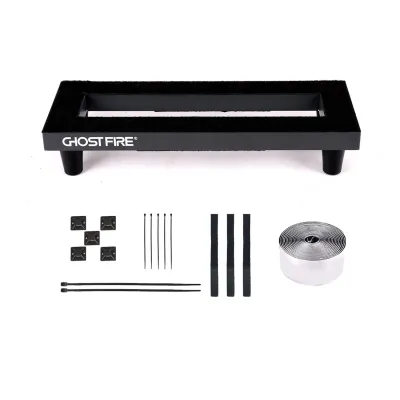
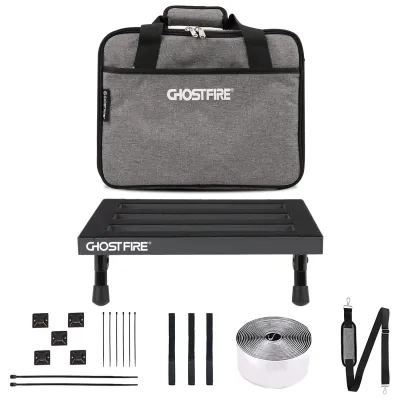
Prices are valid at publication and may change. Please refer to the product page for the latest price.
Pedal enclosures generally fall into three physical categories: standard, mini, and large-format. Standard enclosures, such as classic compact stompboxes, typically measure around 6 centimeters wide and 12 centimeters deep. Mini pedals offer a highly compact alternative, often measuring just 3.5 centimeters wide, which allows you to squeeze more effects onto a smaller board. Conversely, large-format enclosures—such as dual-switch delays, volume pedals, wah-wahs, and multi-effects switchers—require significant surface area and can easily dominate a board’s layout.
Beyond the physical dimensions of the pedals themselves, you must account for lateral spacing between each unit. Placing pedals edge-to-edge might look neat on a screen, but it makes live performance highly difficult. You need sufficient physical separation to stomp on a single foot-switch without accidentally engaging an adjacent pedal or shifting the knobs of a nearby effect. Leaving a gap of at least 1.5 to 2 centimeters between pedals is highly recommended for comfortable foot access, especially on dark or crowded stages.
Future-proofing your setup is equally critical to avoid outgrowing your new board too quickly. If you purchase a board that fits your current collection perfectly, you will be forced to buy a completely new board the moment you want to add a new effect. A practical expansion framework is to add 20% to 30% of extra surface area to your initial calculations. Alternatively, you can design your layout to reserve empty space specifically for two to three additional standard-sized pedals. This strategic buffer ensures your board can grow alongside your musical journey without requiring an immediate, expensive hardware upgrade.
Match Your Setup to Standard Pedalboard Size Categories
Once you have calculated your total required footprint, you can match your measurements to standard commercial pedalboard size categories. These categories are generally grouped by width and pedal capacity, allowing you to narrow down your options quickly.

Small or compact pedalboards typically measure up to 45 centimeters in width and are designed to hold 3 to 5 standard-sized pedals. These boards are highly favored by minimalist players, acoustic guitarists who only need a few essential utility pedals, and musicians who prioritize maximum portability. In the Philippines, where commuting to gigs via jeepney, tricycle, or crowded light rail transit is common, a compact board is exceptionally practical. It can easily slip into a padded backpack or gig bag, making transit through busy metropolitan areas manageable.
Medium pedalboards, ranging from 45 to 61 centimeters in width, are the most popular choice for gigging guitarists because they hold between 6 and 10 standard pedals. This size offers the ideal compromise between sonic versatility and physical transportability. A medium board provides enough surface area to build a comprehensive signal chain—including a tuner, compressor, overdrive, distortion, modulation, delay, and reverb—without becoming too heavy to carry. It fits comfortably on the floor of a Grab car or taxi and takes up a reasonable amount of space on cramped bar stages.
Large and extra-large pedalboards measure 61 centimeters to over 80 centimeters in width and can accommodate 10 or more pedals. These expansive platforms are designed for players with complex signal chains, stereo routing setups, or those who rely heavily on multiple large-format digital delay, reverb, and looping stations. While they offer unparalleled creative freedom, these boards are heavy, bulky, and difficult to transport without a private vehicle. They are best suited for permanent studio installations or high-end touring rigs where dedicated road crew or transport is available.
The physical design of the board also plays a major role in determining its usable surface area. Flat pedalboards are simple and low-profile, but reaching the back row of pedals can be physically awkward during a performance. Angled or sloped boards elevate the rear row, making those switches much easier to reach with your foot. Furthermore, angled designs create a hollow space underneath the frame, allowing you to mount power supplies and route cables out of sight, which effectively frees up more usable surface area on top of the board.
Account for Hidden Space, Cables, and Weight Limits
Choosing the right size is not just about the surface area on top; you must also account for the hidden spatial requirements and structural limits of the board. Neglecting these details can lead to a cluttered, unreliable setup that is difficult to troubleshoot.
Under-board clearance is a vital consideration for keeping your setup clean and organized. Mounting your power supply unit (PSU) underneath the board is an excellent way to save valuable top-level space. However, you must verify that the specific board model you are considering has enough vertical clearance underneath to accommodate your PSU. Some low-profile or flat boards do not offer enough height for standard isolated power bricks, which can force you to mount the power supply on top, sacrificing space that could have been used for an extra pedal. Always check the official manufacturer specifications for both the board’s under-side height and your power supply’s physical dimensions before purchasing.
The placement of your pedals’ input and output jacks also dictates how closely they can be positioned. Side-mounted jacks require extra lateral clearance to accommodate patch cables and plugs. Even when using low-profile, right-angle pancake plugs, side jacks can add 1 to 2 centimeters of width to each pedal’s effective footprint. On the other hand, top-mounted jacks allow pedals to be placed almost flush against one another side-by-side, but they require extra vertical clearance at the top of the pedal. Ensure your layout calculations account for these cable runs and the physical connectors, as they can quickly consume several centimeters of space across a row.
Weight capacity and structural integrity are crucial for the long-term durability of your rig. A fully loaded pedalboard containing multiple metal stompboxes, a heavy-duty power supply, and thick cabling can easily weigh between 5 and 10 kilograms. Ensure the board’s frame is constructed from a rigid, high-quality material like aircraft-grade aluminum. A flimsy frame can bend, warp, or sag over time under the repeated physical pressure of heavy foot stomps.
Additionally, environmental factors can impact your board’s structural reliability. In tropical climates with high humidity and temperature, such as the Philippines, the adhesive backing on standard velcro or dual-lock tape can degrade and slip over time. A heavier pedal setup puts more physical strain on these adhesives, especially when the board is carried vertically in a gig bag. Consider the trade-off between carrying a massive, heavy array of effects and the physical effort required to transport it to local rehearsals and gigs in warm weather.
Avoid Common Pedalboard Sizing and Capacity Mistakes
To prevent buyer’s remorse, it is helpful to learn from the common mistakes other guitarists make when selecting and configuring their pedalboards. Avoiding these pitfalls will save you time, money, and frustration.
One of the most frequent errors is purchasing a board that fits your current pedals exactly edge-to-edge. This “Tetris-style” planning completely ignores the physical space required for patch cables, power plugs, and power distribution cables. When the board arrives, you may find that you have to remove one or two pedals just to make the remaining ones fit with their necessary connections. Always leave a comfortable physical margin of error around your layout.
Another common oversight is ignoring the total height of your pedals and cables when planning to use a hard-shell flight case or a padded gig bag. A board might fit perfectly in terms of length and width, but if your tallest pedal (such as a volume or expression pedal) sticks up too high, the lid of the case will press down hard on the controls. This constant pressure can crush delicate control knobs, bend toggle switches, or damage input jacks during transport. Always measure the vertical height of your tallest pedal mounted on the board and compare it to the interior depth of the carrying case.
Finally, never assume that all “medium” or “large” boards offer the same under-board clearance. Support struts, bracing bars, and frame designs vary significantly between manufacturers. A power supply that fits perfectly under one brand’s medium angled board might hit a structural support beam on a competitor’s board of the exact same size. Always cross-reference the exact physical dimensions and layout of the underside before finalizing your purchase.
Frequently Asked Questions (FAQ)
How do I measure usable space on angled or tiered pedalboards?
Manufacturers typically list the overall exterior dimensions of their boards, which can be misleading if the board features a tiered or multi-level design. To measure usable space accurately, you should calculate the flat depth of each individual tier or step rather than relying on the total diagonal depth. Ensure that your largest pedals will sit completely flat on a single tier without overhanging the front or back edges. Overhanging pedals can wobble when stomped, putting unnecessary physical stress on the patch cables and power jacks connected to the row behind them.
Is a DIY wooden board a viable alternative to a commercial aluminum pedalboard?
A DIY wooden board is a highly viable alternative if you have basic woodworking tools, a limited budget, and want a custom size tailored specifically to your gear. Building your own board allows you to drill custom cable routing holes, paint or stain the wood to match your aesthetic, and easily modify the layout later. However, commercial aluminum boards offer significant advantages in terms of weight-to-strength ratio, built-in cable routing channels, and compatibility with standard gig bags or hard flight cases. If you travel frequently or gig regularly, the lightweight durability of a commercial aluminum board is generally worth the investment.
Community discussion
Share your experience or ask a question. Comments are reviewed before publication.