
Selecting the right pedal board size is a balancing act between your current effects setup, physical cable routing, power requirements, and future gear acquisitions. Buying a board that only fits your current collection often leads to frustration when you want to add a new drive or delay pedal a few months down the road. Conversely, carrying an oversized, half-empty board is an unnecessary physical burden, especially when commuting to rehearsals or gigs. To make an informed decision, you must calculate the exact physical footprint of your pedals, account for the space required by connectors and power supplies, and leave a strategic buffer for future expansion.
Assessing Your Current Pedal Collection and Power Needs
To establish a baseline size, start by gathering all your current pedals and measuring their physical dimensions. Standard compact enclosures, often referred to as 125B or 1590B sizes, typically measure around 12 centimeters long by 6 centimeters wide. Mini pedals are significantly smaller, while large multi-effects, delay workstations, or vintage fuzz enclosures can easily take up the space of three standard pedals. Write down the dimensions of each unit so you can calculate the total surface area required.
Do not make the mistake of measuring only the metal enclosures. You must account for the physical footprint of your patch cables and power connectors. Standard right-angle patch cables require about 1.5 to 2 centimeters of clearance on each side of a pedal. If you use wide pancake-style jacks, they can require even more lateral space, forcing you to spread your pedals further apart. Low-profile or solderless patch cables can reduce this clearance to under a centimeter, allowing for a tighter layout.
Products mentioned in this guide
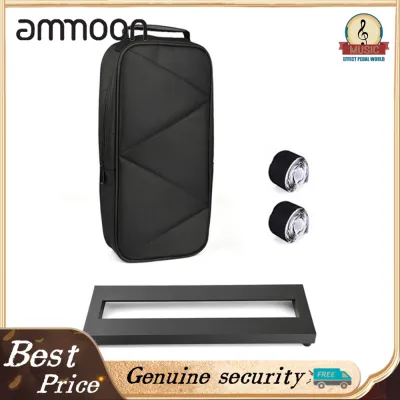
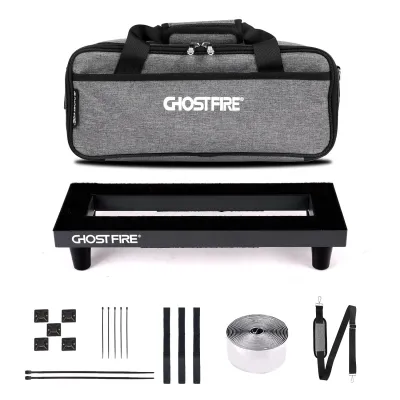
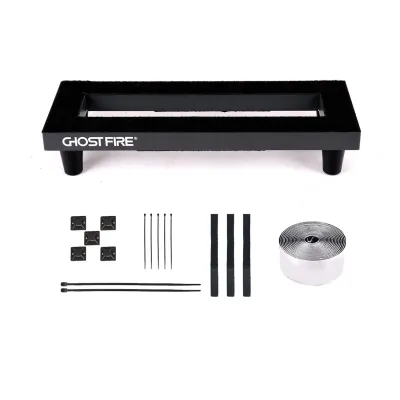
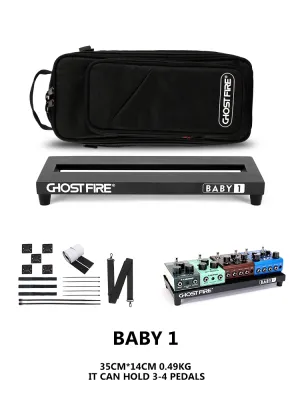
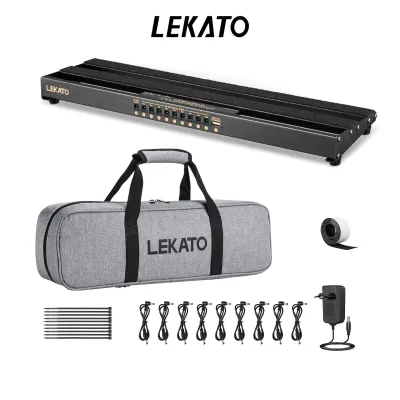
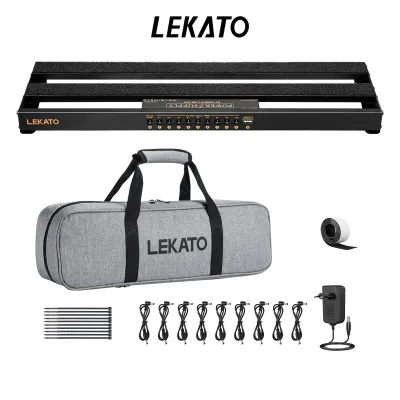
Prices are valid at publication and may change. Please refer to the product page for the latest price.
Foot access and physical clearance between footswitches are also critical for live performance. If pedals are packed too closely together, you risk accidentally stepping on two switches at once, which can ruin a transition during a song. A safe rule of thumb is to leave at least 2 to 3 centimeters of space between standard pedals, and slightly more if you have wide feet or wear heavy boots on stage.
Power supply placement is another major factor that dictates board size. If you plan to use a multi-output isolated power supply, you must decide whether it will sit on top of the board or underneath it. Top-mounted power supplies occupy valuable surface area, often taking up the space of one or two standard pedals. Under-board mounting keeps the surface clean and maximizes pedal space, but it requires a board with sufficient vertical clearance and compatible mounting brackets.
Planning for Future Pedal Additions
A pedal board is an investment that should last through several iterations of your tone journey. To avoid outgrowing your board too quickly, estimate your future gear expansion based on your musical genre, playing goals, and signal chain evolution. For example, if you are diving into ambient, shoegaze, or post-rock, you will likely need extra space for multiple delay, reverb, and modulation pedals. If you play classic rock or blues, your setup may remain relatively compact, focusing on a few select drive pedals and a tuner.

Always allocate dedicated buffer space for large-format utility pedals. Expression pedals, volume pedals, and wah-wahs are significantly longer and heavier than standard effects, often requiring a continuous vertical strip of about 25 to 30 centimeters. If you plan to add a wah or volume pedal in the future, it is wise to reserve this space on the right or left edge of your board layout from day one.
When planning for growth, you must decide between a modular expansion strategy and purchasing a larger board upfront. A modular approach involves using a smaller, highly portable board now and adding a second small board later if your rig expands. However, buying a larger board upfront is generally more cost-effective and simplifies power distribution, though it requires managing a larger physical footprint immediately.
Understanding Pedal Board Dimensions and Layouts
Pedal boards come in several physical configurations, each offering distinct ergonomic and structural advantages. Single-row boards are flat, narrow, and highly portable, making them excellent for simple setups where every pedal is easily reachable. Double-row boards are deeper and require you to step over the front row to activate pedals in the back. To make this easier, many double-row boards feature an angled design or elevated tiers, which raise the back row and prevent your foot from accidentally turning the knobs on your front-row pedals.
Depth limitations and vertical clearance are crucial when choosing a board layout. Flat, non-angled boards are simple but offer virtually no space underneath for power supplies or cable routing. Angled or tiered boards provide a hollow space underneath, allowing you to hide patch cables, power cables, and power bricks. However, you must verify that the height of the board’s rear edge is greater than the thickness of your power supply, especially if you use a thick, high-output power brick.
Portability and weight are major trade-offs for active musicians. A medium-sized aluminum board fully loaded with eight pedals, a power supply, and heavy-duty cables can easily weigh 6 to 8 kilograms. If you rely on public transport, ride-sharing, or local tricycles to get to gigs in busy metropolitan areas, carrying a heavy, oversized board can be exhausting. Consider how the board’s physical dimensions and weight will impact your daily commute and stage setup time.
Recommended Pedal Board Categories by Rig Size
Categorizing pedal boards by their capacity rather than specific brand names helps you focus on practical utility and layout efficiency. When budgeting for a new board, remember that a larger setup requires a larger financial commitment, not just for the board itself, but also for longer cables, more powerful power supplies, and a sturdier carrying case. In the local market, a quality board and case setup can range from ₱2,500 for compact models to over ₱10,000 for large, professional-grade systems. Weighing these upfront costs against the expense of upgrading a small board later is key to making a smart purchase.
Compact Boards for Minimalist Rigs
Compact boards are designed for minimalist setups, typically accommodating 3 to 5 standard-sized pedals. These boards prioritize maximum portability and rapid setup times, making them the go-to choice for casual jam sessions, acoustic gigs, or players who rely on a few essential tones. Because of their small footprint, they easily fit into a backpack or a lightweight gig bag.
However, compact boards come with significant physical limitations. Most are flat and sit low to the ground, leaving no room underneath for cable management or power supplies. This means you must either use a daisy-chain power cable or mount a small, low-profile power supply on the top surface, which further reduces the space available for pedals. Cable routing must be exceptionally neat, as there is no under-board cavity to hide excess wire.
Medium Boards for Versatile Setups
Medium boards are the industry standard for most gigging guitarists and bassists, comfortably holding between 6 to 10 pedals. These boards strike an excellent balance between sonic versatility and physical transportability. They are typically wide enough to accommodate a dual-row layout and are often angled to allow easy access to the back row of effects.
The primary advantage of a medium board is the ability to mount a full-sized, isolated power supply underneath. This keeps the top surface dedicated entirely to your pedals and allows you to route all patch and power cables out of sight. While a fully loaded medium board is heavier than a compact one, it remains manageable for a single person to carry alongside a guitar case.
Large Boards for Complex and Touring Rigs
Large boards are built for expansive setups, accommodating 10 or more pedals, including advanced routing systems. These boards are common among professional touring musicians, session players, and experimental artists who require a vast palette of sounds. They provide ample space for large-format effects, MIDI controllers, loop switchers, and multiple expression pedals.
Integrating a loop switcher or a MIDI controller is highly recommended on a large board to avoid the “tap dance” of switching multiple pedals simultaneously. However, these utility devices take up a massive amount of horizontal space along the bottom edge of the board. Transporting a large board presents significant logistical challenges, often requiring a heavy-duty hard flight case with wheels, which adds substantial weight and cost to your rig.
Essential Accessories That Affect Board Sizing
When calculating the size of your pedal board, you must account for several essential accessories that do not produce sound but consume valuable physical space. Isolated power supplies, power distribution strips, and AC adapters are the most common culprits. Even if mounted underneath, they require mounting brackets and clearance space that can interfere with pedal placement if not planned carefully.
Advanced routing accessories also demand dedicated surface area. Loop switchers, MIDI controllers, wireless receivers, and buffer pedals must be positioned strategically. A wireless receiver, for example, needs to be placed where its antennas can receive a clear signal, while a buffer pedal is often placed at the very beginning or end of the signal chain, sometimes tucked underneath the board if space permits.
Finally, do not overlook the physical space consumed by mounting hardware and cable management tools. Heavy-duty hook-and-loop fasteners, dual-lock tape, zip ties, and adhesive cable anchors take up room and add height to your pedals. If you use pedal risers to elevate specific pedals in the back row, ensure that the added height does not prevent the lid of your gig bag or hard case from closing securely.
Final Sizing Checklist Before You Buy
Before committing to a purchase, perform a physical mockup of your planned layout. Use masking tape on a flat table or floor to outline the exact dimensions of the pedal board you are considering. Place your actual pedals, expression pedals, and power supplies within this taped boundary, leaving realistic gaps for patch cables and power jacks. This hands-on test will immediately reveal if your planned layout is too cramped or if you have excess space.
Next, verify the vertical clearance for under-board routing. If you plan to mount your power supply underneath, measure its thickness and compare it to the clearance height of the board’s frame. Ensure there is enough room for the power cable to plug into the brick without bending at an extreme, damaging angle. Also, check that your patch cables can pass through the board’s slots or grates smoothly.
Finally, check the external dimensions of the board’s carrying case or gig bag. Ensure that the fully packed case will fit comfortably in the trunk of your car, on the backseat, or within the transport options available to you. If you travel frequently, verify that the combined weight of the board, pedals, and case is something you can comfortably carry for extended periods without strain.
Frequently Asked Questions (FAQ)
Should I buy a pedal board with a built-in case?
Buying a pedal board that comes bundled with a custom-fit case is highly convenient and often more economical than purchasing them separately. These cases are designed to match the exact dimensions of the board, preventing it from sliding around during transport. However, bundled gig bags may offer limited padding, while bundled hard cases can add significant weight. If you travel frequently or expose your gear to rough handling, investing in a high-quality, separate flight case with robust latches and dense foam padding is often the safer choice.
How do I handle oversized or double-width pedals on a standard board?
Oversized pedals, such as vintage fuzzes, multi-effects units, or dual-footswitch delays, require careful placement to maximize board space. Position these larger units on the bottom row or along the edges of the board where their wide footprint will not block access to smaller pedals. Ensure that the input and output jacks of the oversized pedal do not block adjacent pedals. If space is extremely tight, consider using flat-ribbon patch cables to minimize the gap between the large pedal and its neighbors.
Is it better to use two medium boards or one large board?
Splitting your rig across two medium boards offers excellent modularity and easier transport, especially if you only need a subset of your pedals for certain gigs. It is much easier to carry two balanced, medium-sized bags than one massive, heavy flight case. However, using two boards introduces complexity to your signal chain, requiring extra patch cables and power connections between the boards, which can increase the risk of signal degradation and noise. A single large board keeps your entire signal chain self-contained and pre-wired, but it demands a vehicle or a dedicated cart for easy transport.
Community discussion
Share your experience or ask a question. Comments are reviewed before publication.