
Protecting a drum kit is one of the most critical maintenance steps a drummer can take, yet it is often overlooked until dust, rust, or physical scratches have already damaged the instruments. Selecting the perfect cover requires balancing your specific storage environment, your transport needs, and the exact physical dimensions of your fully set up kit. In the tropical climate of the Philippines, where high relative humidity and sudden temperature shifts are constant challenges, choosing a high-quality cover ng drum is not just about blocking dust—it is about actively preserving the integrity of your wood shells, metal hardware, and delicate drumheads.
Whether your drum kit remains stationary in a home studio or travels frequently to live gigs across the country, a well-fitted cover acts as the first line of defense. A generic sheet or an ill-fitting tarp will not provide the necessary protection and can even trap moisture, accelerating the very damage you are trying to prevent. By understanding your specific environmental needs, taking precise measurements, and evaluating fabric technologies, you can make an informed investment that extends the lifespan of your drum kit for years to come.
Identify Your Primary Purpose and Environmental Needs
Before browsing online marketplaces or local music shops, you must define exactly why you need a cover and where your drum kit will spend most of its time. Drum covers are designed with different scenarios in mind, and using a cover built for one purpose in a completely different setting can lead to premature wear of both the cover and your drums.
Products mentioned in this guide
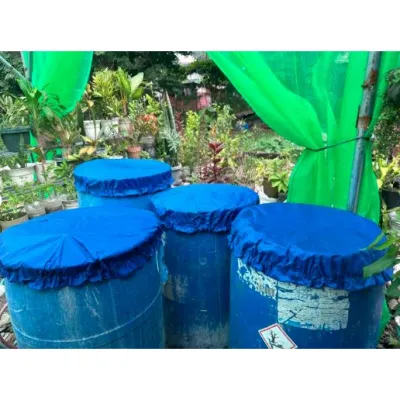
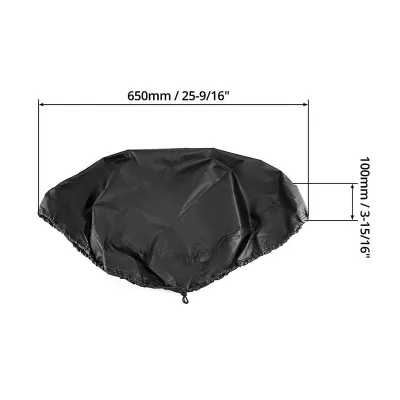
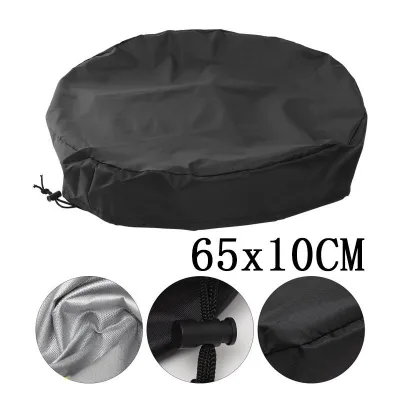
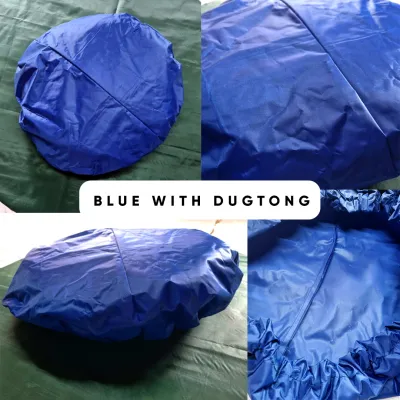
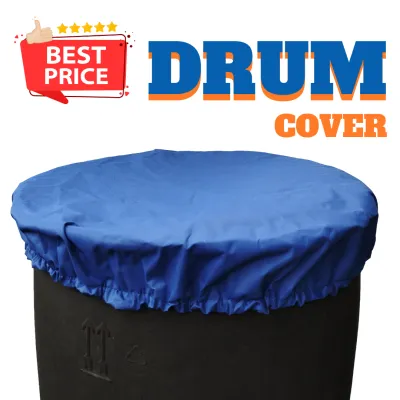
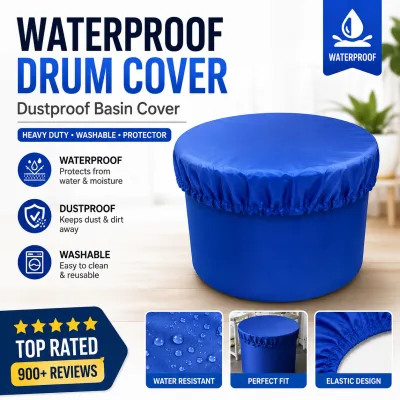
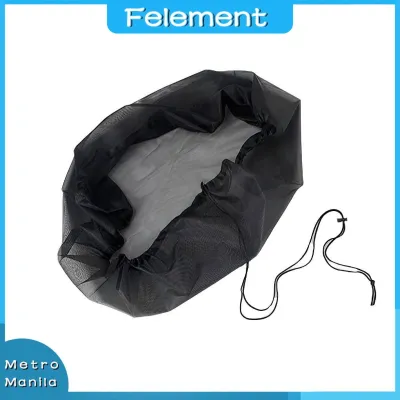
Prices are valid at publication and may change. Please refer to the product page for the latest price.
Defining the Use Case
- Indoor Dust Protection: If your kit sits in a dedicated practice room or home studio, your primary enemy is airborne dust, pet dander, and direct sunlight. A lightweight, highly breathable fabric cover is ideal here. It keeps the kit clean between practice sessions without trapping heat.
- Outdoor Weather Resistance: For drummers who perform at outdoor venues, street festivals, or open-air bars, a cover must shield the kit from sudden rain showers, wind-blown debris, and intense tropical sun. These situations require heavy-duty, water-resistant materials.
- Transit and Travel Protection: If you are constantly moving your kit in the back of a van or jeepney, a simple drape cover is insufficient. You need individual padded bags or hard cases that shield each drum from physical impacts and friction during transport.
- Acoustic Isolation: While fabric covers protect the physical instrument, some drummers look for sound-dampening covers or shields. It is important to distinguish physical protective fabrics from acoustic treatment accessories, as a standard protective cover will not isolate sound.
The Impact of the Tropical Climate The climate of the Philippines presents unique challenges for musical instrument storage. High relative humidity, especially during the rainy season, means that moisture is constantly present in the air. If you wrap your drum kit in a non-breathable, heavy plastic cover, that moisture can become trapped underneath. This creates a greenhouse effect that can quickly lead to mold and mildew on wood shells, corrosion on chrome-plated hardware, and warped shells due to humidity fluctuations.
Your Environmental Decision Matrix To simplify your choice, match your primary playing environment with the recommended cover characteristics:
- Air-conditioned Studio: Low humidity, low dust risk. Choose a lightweight, breathable polyester or cotton-blend drape. Quality full-kit covers generally range from ₱1,500 to ₱3,500.
- Non-AC Room or Garage: High humidity, moderate dust risk. Choose a highly breathable cover with integrated mesh vents, or a lightweight nylon cover that you can easily remove regularly.
- Active Gigging (Outdoor/Indoor): High impact risk, variable weather. Invest in a set of individual padded water-resistant bags (ranging from ₱4,000 to ₱10,000+ for a full set) and a heavy-duty vinyl drape for quick stage coverage during breaks.
Measure Your Drum Kit for a Precise Fit
A common mistake among drummers is guessing the size of their cover based on standard shell configurations. However, no two drum setups are identical; the angle of your cymbals, the height of your stands, and the extension of your mounting arms all alter the total footprint of your kit. Taking precise measurements prevents you from buying a cover that is too tight—which can strain seams and break zippers—or too loose, which allows pests, dust, and moisture to slip inside.

Full Kit Drape vs. Individual Covers First, determine if you need a single full-kit drape or individual drum covers. A full-kit drape is designed to cover the entire assembled setup, including stands and cymbals, while it remains stationary. It is perfect for quick daily coverage. Individual covers or padded bags, on the other hand, are tailored to fit each specific drum shell and cymbal separately. These are mandatory for safe transport and storage when the kit is broken down.
How to Measure Individual Drums If you are purchasing individual protective bags or fitted covers, you must measure each drum shell individually. Always check your drum manufacturer’s original specifications first to verify standard sizes, but perform manual measurements to be absolutely sure:
- Diameter: Measure across the top drumhead from the outer edge of one metal hoop to the opposite outer edge. Do not just measure the drumhead fabric; the hoop and tension casings add extra width.
- Depth: Measure the vertical height of the drum shell from the top bearing edge to the bottom bearing edge.
- Hardware Clearance: Add an extra 1 to 2 inches to your measurements to accommodate protruding hardware, such as the snare strainer (throw-off), tom mounting brackets, and floor tom leg clamps. If your individual bag is too snug, these metal parts can puncture the lining or break the zipper.
How to Measure the Full Setup Footprint For a full-kit drape cover, set up your drum kit exactly as you normally play it. Grab a long tape measure and record the following dimensions:
- Total Width: Measure from the outermost edge on the left (usually your hi-hat stand or a left-side crash cymbal) to the outermost edge on the right (often your ride cymbal or second floor tom).
- Total Depth: Measure from the very front of your bass drum hoop to the backmost point of your drum throne or snare stand base.
- Maximum Height: Measure from the floor to the highest point of your setup. This is typically the top of your highest cymbal stand, boom arm, or crash cymbal. Your drape cover should be long enough to reach near the floor without pulling tightly over these high points.
Accounting for Hardware Protrusions Never assume that a cover matching your basic drum shell sizes will drape smoothly over your hardware. Cymbal boom arms, counterweights, double bass drum pedals, and external percussion mounts require extra spatial allowance. If the cover fabric is stretched tautly over sharp metal edges, such as cymbal wing nuts or stand tilters, the friction will quickly wear holes in the material. Always select a cover size that leaves a few inches of slack to allow the fabric to drape naturally.
Choosing the Right Cover ng Drum: Materials and Features
Once you know your environmental needs and exact dimensions, you can evaluate the materials and structural features of the cover ng drum. The right material balances durability, weight, and climate suitability to provide long-term protection.
Common Fabric Types
- Nylon and Polyester: These synthetic fabrics are the most popular choices for indoor drum covers. They are exceptionally lightweight, easy to fold, and highly breathable. They are excellent at blocking dust and pet hair while remaining affordable. However, basic thin nylon offers almost no protection against physical bumps and can degrade if exposed to UV rays near open windows.
- Heavy-Duty Canvas: Canvas is a thick, tightly woven cotton or synthetic fabric known for its extreme durability and resistance to tears. It provides excellent protection against light impacts and scratches. While highly durable, canvas can be heavy to handle and may absorb moisture if exposed to high humidity, requiring regular airing out.
- Vinyl and PVC: These materials are completely waterproof and highly durable, making them the gold standard for outdoor gig protection. They easily shed water during sudden tropical downpours. However, vinyl and PVC are heavy, stiff, and completely non-breathable. They should never be left on a drum kit indefinitely in a humid room, as they will trap condensation underneath.
Interior Linings The outer shell of your cover keeps the elements out, but the interior lining interacts directly with your drums. High-quality covers feature soft, non-abrasive inner linings made of fleece, flannel, or brushed microfiber. These linings prevent micro-scratches on high-gloss lacquer finishes, delicate drum wraps, and polished cymbal surfaces. Avoid covers with rough, unlined plastic interiors, as the constant friction of putting the cover on and taking it off can dull your drum’s finish over time.
Ventilation and Breathability Features Because the Philippine climate is highly humid, air circulation is critical. Look for drum covers designed with integrated mesh vents or breathable fabric panels. These features allow trapped heat and moisture to escape while still preventing dust from settling on your drumheads. If you choose a fully waterproof vinyl cover for outdoor use, ensure you remove it as soon as you return indoors to let the drums dry out naturally.
Closure Mechanisms The way a cover opens and closes affects both its protective capability and its ease of use:
- Heavy-Duty Zippers: Essential for individual drum bags. Look for durable nylon or metal zippers with protective fabric flaps underneath to prevent the zipper teeth from scratching your drum hoops.
- Velcro Flaps: Often used on full-kit drapes to allow quick access to specific parts of the kit without removing the entire cover. Ensure the Velcro is kept clean of lint and pet hair to maintain its grip.
- Drawstrings and Weighted Edges: Excellent for full-kit drape covers. A drawstring base allows you to cinch the bottom of the cover tightly around the feet of your stands, keeping pests out and preventing wind from lifting the cover. Weighted corners or edges help the drape hang straight and stay secure against drafts.
Step-by-Step Selection and Fitting Process
Selecting and installing your cover correctly is just as important as choosing the right material. Follow this systematic workflow to ensure a perfect fit and maximum protection for your musical investment.
Step 1: Inventory and Measure Write down a complete list of your drum kit components, including the sizes of your snare, toms, bass drum, and cymbals. Measure your full setup footprint as detailed in the previous section, noting the maximum height, width, and depth. Keep these measurements handy when comparing products online or in-store.
Step 2: Filter by Environment and Material Evaluate where your drums are stored. If they are in a humid, non-airconditioned room, filter your search to highly breathable polyester covers or those with mesh ventilation. If you travel frequently, prioritize padded individual bags with water-resistant nylon outer shells.
Step 3: The Fitting Test When your new cover arrives, perform a gentle fitting test. For a full-kit drape, begin by placing the cover over the highest point of your kit (usually your crash or ride cymbals) and let the fabric drape downward naturally. Do not pull, yank, or force the cover over sharp hardware edges. For individual bags, place each drum inside slowly, ensuring the shell aligns with the bag’s shape and the zipper glides shut without tension.
Step 4: Secure the Base Once the cover is in place, secure the bottom edge. If your cover features a drawstring, pull it snug to close any gaps near the floor. If it has weighted corners, ensure they are positioned flat on the floor or rug to prevent drafts, dust, or pests from entering from underneath.
Verification Checklist Before leaving your kit covered, verify the following points to ensure safety and compatibility:
- No Tension: The cover should drape loosely over your cymbals and hardware. If the fabric is stretched tight, it can put constant lateral pressure on your cymbal stands, potentially warping them or causing the stand to tip over.
- Smooth Zippers: All zippers on individual bags must close smoothly without forcing. If a zipper is under tension, it will eventually fail or scratch the drum rim.
- Floor Contact: The bottom edge of a full drape should touch or sit extremely close to the floor, ensuring complete coverage.
- No Metal Contact: Ensure no metal zippers or rough seams are pressing directly against your drum wraps or cymbal surfaces.
- Warning: If the cover feels excessively tight or does not fit easily, stop immediately. Do not force it. Forcing an undersized cover can warp your drum hoops, strip tension rods, or damage delicate drum wraps. Return the product and exchange it for a larger size.
Maintain and Store Your Drum Covers Properly
To ensure your drum cover continues to protect your kit effectively, you must maintain the cover itself. Over time, covers accumulate dust, dirt, and moisture, which can transfer back onto your drums if left uncleaned.
Cleaning Instructions Before cleaning your drum cover, always check the manufacturer’s care label and instructions. If the instructions conflict with general cleaning advice, always defer to the manufacturer’s guidelines.
- Vinyl and PVC Covers: Wipe down the exterior with a damp microfiber cloth and mild, soapy water. Avoid harsh chemical solvents, bleach, or abrasive scrubbing pads, as these can strip away the waterproof coating and degrade the material.
- Canvas and Polyester Covers: Hand-wash gently in cold water using a mild detergent. Do not machine wash or tumble dry unless the manufacturer's label explicitly permits it. Machine washing can break down the inner lining and ruin the seams or waterproof backings.
Drying Protocols After cleaning, or if your cover becomes damp due to high humidity or a rainy gig, it must be dried thoroughly. Hang the cover in a well-ventilated, shaded outdoor area or a room with active air circulation. Ensure the cover is 100% dry before folding or placing it back on your drum kit. Storing or using a damp cover is a guaranteed way to breed mildew, mold, and unpleasant odors, which will quickly transfer to your wood drum shells and hardware.
Storage Tips When your drum kit is uncovered and you are playing, store the cover properly to extend its lifespan:
- Avoid Sharp Creases: Roll the cover loosely or fold it gently. Avoid pressing down hard on folds, as sharp creases can weaken waterproof backings, damage internal linings, and cause the material to crack over time.
- Cool, Dry Storage: Store the folded cover in a cool, dry place away from direct sunlight. Prolonged exposure to intense heat and UV rays will cause synthetic fabrics to become brittle and fade.
Frequently Asked Questions (FAQ)
Can I use a regular tarp as a temporary drum cover?
While a standard blue or green hardware tarp can protect your drums from dust or water in an emergency, it is not recommended for long-term use. Tarps lack a soft interior lining, meaning their rough plastic texture can easily scratch high-gloss drum finishes and polished cymbals. They also offer zero breathability, which traps tropical humidity directly against your metal hardware, accelerating rust. If you must use a tarp temporarily, lay a soft cotton sheet over the drums first to act as a protective barrier.
How often should I remove the drum cover to let my kit breathe?
In highly humid environments, you should remove the cover at least once a week. Letting your kit breathe prevents moisture buildup under the fabric. On a dry, sunny day, uncover your drums for a few hours in a well-ventilated or air-conditioned room. This simple routine allows any trapped condensation to evaporate, keeping your shells dry, your hardware rust-free, and your drumheads performing at their best.
Community discussion
Share your experience or ask a question. Comments are reviewed before publication.