
Setting up your first drum kit is an exciting milestone, but choosing the right hardware to support your cymbals can be surprisingly challenging. In the Philippines, where high humidity and diverse playing environments—from tiled living rooms to damp garage practice spaces—are common, selecting a stable and durable cymbal stand is crucial. The right stand does more than just hold your cymbal in place; it protects your expensive bronze investments from falling, prevents keyholing, and ensures your kit remains stable during energetic practice sessions. To make the best choice, you need to balance weight, adjustability, and build quality against your budget, focusing on physical indicators of stability rather than brand names alone.
Key Features to Look for in Beginner Cymbal Stands
When evaluating a cymbal stand, the base design is your first line of defense against tipping. Most stands feature either a traditional tripod base or a flat base. Tripod bases are the industry standard for modern drumming because they offer excellent stability on uneven surfaces. Double-braced tripod legs, which feature two parallel metal strips on each leg rather than one, provide the structural rigidity needed to support heavier crash or ride cymbals. Flat-base stands, on the other hand, rest flush against the floor. While they offer a vintage aesthetic and are significantly lighter to transport, they have a wider footprint at the very bottom and can sometimes interfere with the placement of your bass drum pedal, hi-hat pedal, or double-pedal linkages.
The thickness and material of the tubing directly influence both the weight and the durability of the stand. High-quality beginner stands typically utilize chrome-plated steel tubing, which resists rust in humid tropical climates. Look for stands with multi-tiered telescoping tubes, usually consisting of a thick base section, a medium middle section, and a thinner top section. The joints where these tubes meet should feature robust nylon or plastic inserts inside the metal collars. These inserts prevent metal-on-metal contact when you tighten the joint, which prevents the tubes from scratching, slipping, or warping over time.
Products mentioned in this guide
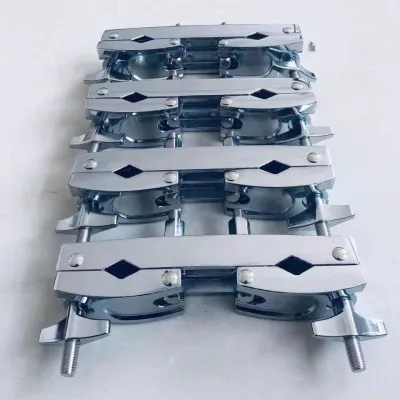
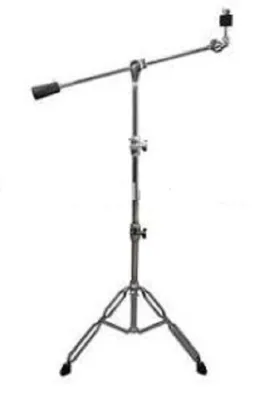
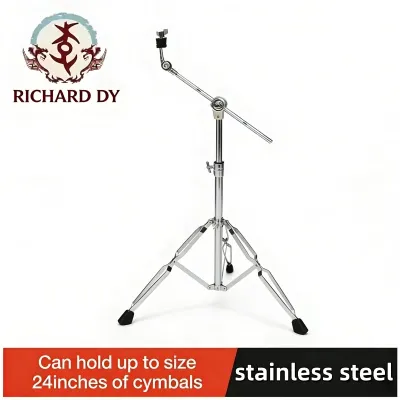
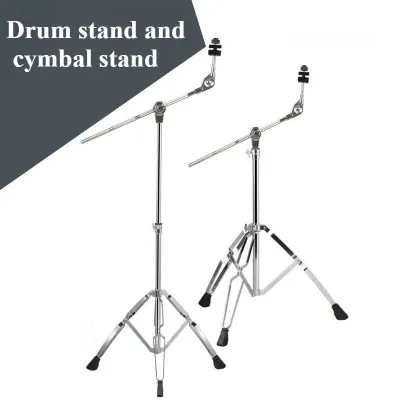
Prices are valid at publication and may change. Please refer to the product page for the latest price.
Another critical component is the tilter mechanism at the top of the stand, which controls the angle of your cymbal. Tilters generally fall into two categories: geared and friction (or toothless). Geared tilters use interlocking metal teeth to lock the angle in place. While highly secure, they limit your adjustments to specific increments. Friction tilters allow for infinite angle adjustments, letting you position your cymbal at the exact angle that suits your playing style. For beginners, either style is acceptable, but you must ensure the locking bolt or wing nut is robust enough to hold the weight of the cymbal without slipping during heavy play.
Straight Stands vs. Boom Stands: Which Do You Need?
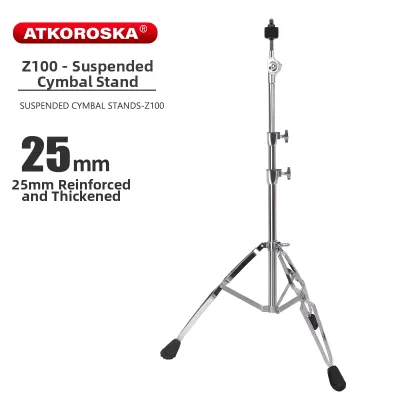
Understanding the functional differences between straight stands and boom stands is essential for planning your drum kit layout. A straight stand consists of vertical telescoping tubes with a tilter directly at the top. Because their center of gravity remains directly over the base, straight stands are exceptionally stable and have a relatively compact footprint. They are ideal for positioning ride cymbals or primary crash cymbals that sit close to your tom-toms, where you do not need to reach over other hardware.

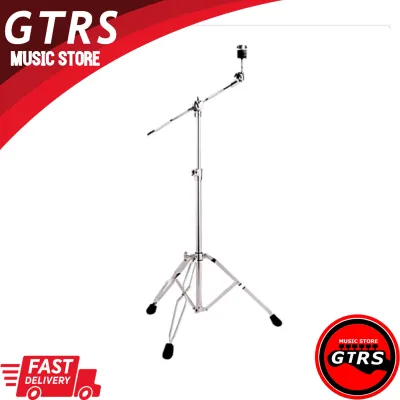
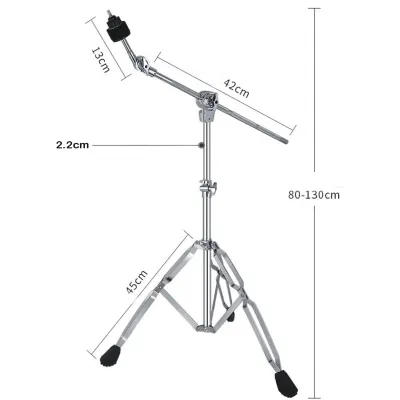
Boom stands feature an additional adjustable arm—the boom—that extends horizontally or at an angle from the top of the vertical tube. This design provides unparalleled flexibility, allowing you to place the heavy base of the stand further away from your kit while positioning the cymbal precisely over your rack toms or auxiliary percussion. Boom stands are particularly useful in tight spaces or complex setups where multiple stand bases would otherwise clutter the floor and collide with your pedal setups. However, because the weight of the cymbal is offset from the center of the stand, boom stands require careful positioning of the tripod legs to prevent tipping.
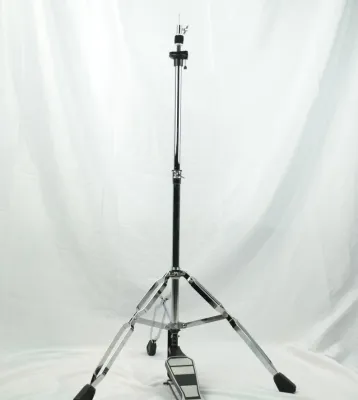
For a beginner setting up a standard three-piece cymbal configuration—typically consisting of a pair of hi-hats, a crash cymbal, and a ride cymbal—a combination of both stand types is often the most practical approach. The hi-hats require a dedicated pedal-activated stand, while the ride cymbal, which is usually heavier and positioned lower, is perfectly suited for a sturdy straight stand. For your crash cymbal, a boom stand offers the necessary reach to position the cymbal comfortably above your rack toms without crowding your snare drum and hi-hat area. This hybrid setup maximizes positioning flexibility while keeping your overall hardware weight and cost manageable.
How to Evaluate Build Quality and Stability
Whether you are inspecting hardware in a local music store or unboxing an order from an online marketplace, performing a physical quality check is vital. Start by testing all the adjustable joints, memory locks, and wing nuts. Thread every bolt completely to ensure there is no resistance, cross-threading, or manufacturing debris in the threads. Tighten the collar joints firmly and apply downward pressure on the top of the stand; if the tubes slide or slip under moderate pressure, the internal clamping mechanism is insufficient.
Next, inspect the rubber feet at the bottom of the tripod legs. The rubber should be thick, pliable, and securely attached to the metal legs. In many Philippine homes, drum kits are set up on tiled, polished concrete, or hardwood floors, which can be incredibly slippery. High-quality, textured rubber feet prevent the stand from “creeping” or walking away from you as you play. Additionally, run your fingers carefully along the edges of the metal tubes and joints to check for sharp manufacturing burrs or uneven chrome plating. Poorly finished metal can cut your hands during setup or accelerate rust formation in humid environments.
Finally, verify the weight distribution of the stand by mounting a cymbal or applying lateral force. Fully extend the stand to your desired playing height and gently push it from different angles. A stable stand should wobble slightly to absorb the impact of a drumstick strike but must quickly return to its center without lifting any of its legs off the ground. If you are using a boom stand, always ensure that the boom arm extends directly over one of the three tripod legs. This alignment uses the leg as a counterweight, drastically reducing the risk of the stand tipping forward under the weight of a heavy crash cymbal.
Building Your First Cymbal Stand Setup on a Budget
When assembling your first drum kit on a budget, prioritizing your purchases is key to avoiding low-quality hardware that will quickly fail. Focus your initial budget on securing a high-quality, stable stand for your ride cymbal and a reliable hi-hat stand, as these are the most frequently played elements of your kit. A cheap, unstable ride stand can ruin your playing experience and risk damaging a heavy, expensive cymbal. Once your primary stands are secured, you can look for more affordable options for secondary crash or splash cymbals.
One cost-effective strategy is to look for pre-packaged hardware packs rather than buying individual stands. Many manufacturers bundle a straight stand, a boom stand, a snare stand, and a hi-hat stand into a single package. These hardware packs are almost always more economical than buying each piece separately, and they ensure that all your hardware matches in terms of design, height range, and tube diameter. However, verify that the pack contains double-braced stands rather than ultra-lightweight, single-braced models if you plan on playing heavier music styles.
If you are purchasing your hardware through online marketplaces in the Philippines, extra caution is required to ensure you receive genuine, durable products. Always check the seller’s rating and read customer reviews specifically looking for feedback on packaging and shipping damage. Hardware is heavy and can easily bend or scratch if not packaged with sufficient bubble wrap and sturdy cardboard. Verify the seller’s return policy before purchasing, ensuring you can easily exchange the stand if you discover manufacturing defects, missing felts, or stripped threads upon unboxing.
Setup and Maintenance Tips for Longevity
Proper setup and routine maintenance are essential for protecting your hardware investment and ensuring your safety while playing. When assembling your stands, avoid the common beginner mistake of over-tightening the wing nuts and collar clamps. Tightening them with excessive force can strip the threads, crack the plastic inserts, or warp the metal tubing. Tighten them just enough so the stand does not slip under normal playing conditions; there is no need to use tools or extreme physical effort.
Always ensure that your cymbal stands are equipped with functional plastic or rubber sleeves and thick felt washers. The sleeve fits over the threaded metal rod at the top of the tilter, preventing the metal of the stand from rubbing directly against the inner hole of your cymbal. Without this protection, the cymbal will develop a wear pattern known as “keyholing,” which permanently damages the cymbal and ruins its sound. Place one felt washer below the cymbal and one above it, securing them loosely with the wing nut to allow the cymbal to swing freely and dissipate the energy of your strikes.
In the tropical climate of the Philippines, humidity can quickly lead to rust on chrome-plated steel hardware. To prevent this, wipe down your stands with a dry microfiber cloth after long practice sessions to remove sweat and finger oils, which are highly corrosive. When transporting or storing your stands, fold the tripod legs carefully and avoid throwing them into a hardware bag without protection. Heavy stands knocking against each other can chip the chrome plating, exposing the raw steel underneath to moisture and accelerating the rusting process.
Frequently Asked Questions (FAQ)
Can I use a boom stand as a straight stand?
Yes, almost all modern boom stands are designed with a hollow upper tube that allows you to retract the boom arm directly into the main vertical shaft. This effectively converts the boom stand into a standard straight stand. When configured this way, the stand’s center of gravity shifts back to the middle, making it exceptionally stable. This versatility makes boom stands an excellent investment for beginners, as they can adapt to changing kit layouts over time.
Do cymbal stands come with cymbal felts and sleeves?
Most brand-new cymbal stands include a basic set of felt washers, a plastic sleeve, and a wing nut. However, entry-level stands or budget-friendly hardware packs sometimes use lower-quality plastic sleeves that wear out quickly. It is always wise to check the product description carefully before purchasing. Keeping a spare pack of universal cymbal felts and sleeves in your stick bag is a highly recommended, low-cost practice to ensure your cymbals are always protected from metal-on-metal contact.
Community discussion
Share your experience or ask a question. Comments are reviewed before publication.