
Choosing the right acoustic guitar capo is not just about finding a clamp to change your key; it is about preserving your instrument’s intonation, protecting the neck, and matching the physical demands of your playing style. The best capo for you depends on how quickly you need to move it during a performance, the specific curvature of your fretboard, and how much control you require over the clamping pressure. By understanding how different mechanical designs interact with your guitar strings, you can avoid common pitfalls like fret buzz, sharp notes, and finish damage.
Understanding the Main Types of Acoustic Guitar Capos
To make an informed decision, you must first understand the mechanical designs available on the market. Each type of capo utilizes a distinct method to apply downward pressure on the strings, which directly impacts its ease of use, tuning stability, and overall footprint on the neck.
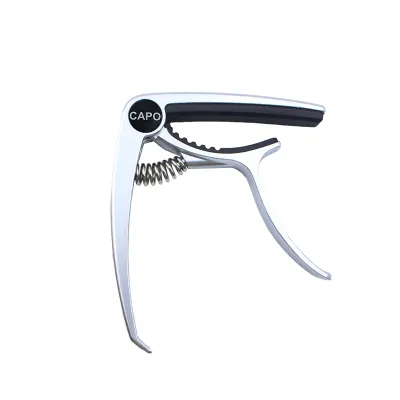
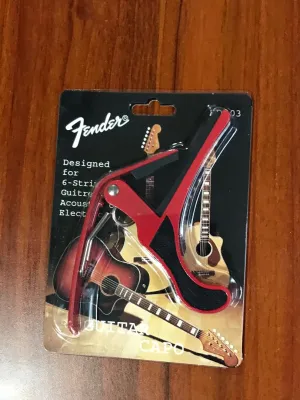
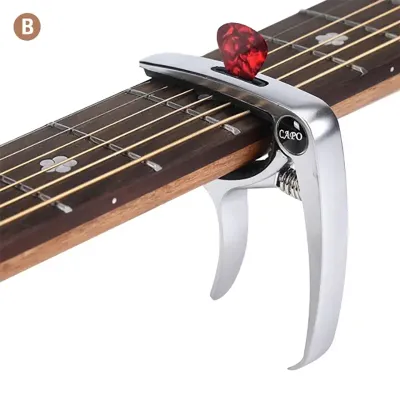
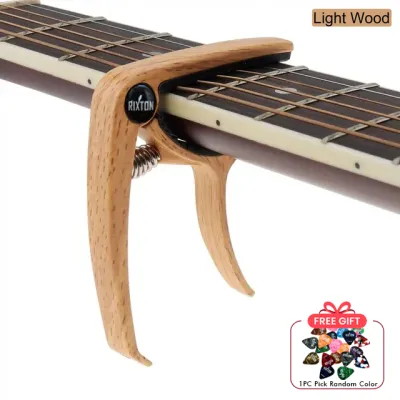
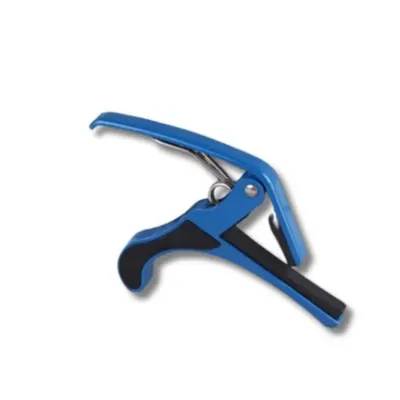
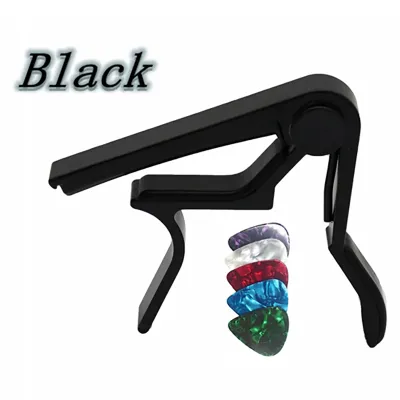
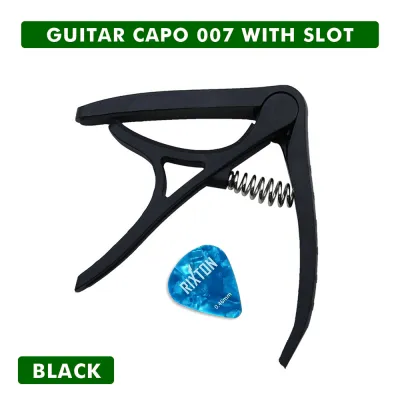
Spring-loaded capos, often referred to as trigger capos, are among the most popular designs for modern acoustic guitarists. These devices use a strong internal spring to clamp the strings against the fretboard.
Products mentioned in this guide
Prices are valid at publication and may change. Please refer to the product page for the latest price.
The primary advantage of a trigger capo is its speed and ease of operation; you can squeeze the lever with one hand, position it on the neck, and release it in a matter of seconds. This makes them incredibly convenient for live performances where you need to transition between songs without long pauses.
However, because the spring tension is fixed, you cannot adjust the clamping force. If the spring is exceptionally stiff, it may apply too much pressure, pulling your strings sharp, especially on guitars with lower action or lighter string gauges.
Screw-operated and adjustable capos prioritize precision over speed. These designs feature a thumbscrew or a dial that allows you to manually fine-tune the exact amount of pressure applied to the strings.
By tightening the screw only until the strings make clean contact with the frets, you minimize the risk of pulling the instrument out of tune. This micro-adjustment capability makes screw capos a favorite for studio recording and precise fingerstyle playing.
The trade-off is that they require two hands to install and adjust, making them slower to reposition during a fast-paced live set.
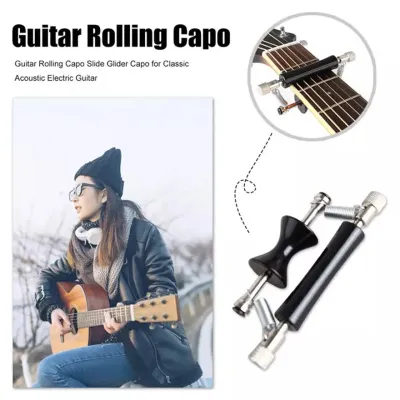
Roller capos feature a unique design with a rolling mechanism that allows you to slide the capo up and down the neck with your fretting hand mid-song. This is highly useful for dynamic arrangements that require key changes within a single piece of music.
Partial capos, on the other hand, are specialized tools designed to cover only a select number of strings rather than all six. This allows you to create open-tuning effects, such as simulating a Drop D or DADGAD tuning, while keeping the guitar in standard tuning.
These are highly creative tools but require a solid understanding of music theory and fretboard layout to use effectively.
Toggle and strap capos represent some of the oldest and most lightweight designs. They use an elastic band, a fabric strap, or a plastic toggle mechanism to wrap around the neck and secure the pressure bar against the strings.
Because they lack heavy metal frames and thick springs, they are incredibly lightweight and exert minimal influence on the balance of your guitar. They also distribute pressure relatively evenly across the fretboard.
However, adjusting the tension on a strap capo can be finicky, and the elastic materials tend to stretch out and degrade over time, especially in warm, humid environments.
Matching Capo Types to Your Playing Style and Genre
Your choice of capo should align with how you play, where you play, and the genres of music you perform. Different musical contexts demand different balances of speed, precision, and physical unobtrusiveness.

If you frequently perform live sets in local venues, open mics, or church services, your primary need is efficiency. You cannot afford to spend thirty seconds between songs adjusting a thumbscrew while your audience waits.
For these high-pressure environments, a spring-loaded trigger capo is often the most practical choice. It allows you to quickly clamp the capo onto the headstock when it is not in use and snap it onto the desired fret instantly.
Heavy strummers also benefit from the robust, consistent grip of a high-quality spring, which keeps the strings firmly seated against the frets even during aggressive rhythmic playing.
For fingerstyle guitarists and musicians working in a recording studio, intonation is paramount. Every minor tuning discrepancy is magnified under a sensitive microphone or during intricate solo passages.
In these scenarios, a screw-adjustable capo is highly recommended. Because you can dial in the absolute minimum pressure required to eliminate fret buzz, your guitar stays perfectly in tune across all six strings.
Furthermore, many high-end adjustable capos feature slim, low-profile designs that do not interfere with your fretting hand when playing complex chords close to the capo bar.
Musicians who play traditional folk, Celtic music, or contemporary acoustic styles often rely on unique sonic textures. If you love the drone of open strings but want to play in different keys, partial capos open up a world of creative possibilities.
For example, a partial capo that clamps only the second, third, and fourth strings at the second fret allows you to play in an “Esus4” tuning while using standard chord shapes.
Combining a standard capo with a partial capo can yield incredibly rich, harp-like voicings that are impossible to achieve with a single standard capo.
If you are a backpacking musician or someone who prefers a clutter-free gig bag, portability and weight are key considerations. Heavy metal capos can add noticeable weight to the headstock of a lightweight travel guitar, causing the neck to dive.
For these situations, a compact screw-style capo made of lightweight aluminum or a high-quality toggle capo is ideal.
These designs slip easily into a pocket and do not alter the physical balance of your instrument, making them perfect companions for beach trips, campfires, or casual jam sessions.
Key Fit and Compatibility Checks Before You Buy
Before purchasing a capo from an online marketplace or a local music store, you must ensure it is physically compatible with your specific acoustic guitar. A mismatched capo can cause permanent wear to your instrument or result in poor sound quality.
Acoustic guitar fretboards are rarely completely flat; they typically feature a slight curve known as the fretboard radius. Steel-string acoustic guitars generally have a radiused fretboard, with curvature measurements ranging from 12 to 16 inches.
When buying a capo, you must match its inner rubber pad’s curvature to your guitar’s radius. If you use a flat capo on a curved fretboard, it will press too hard on the outer strings while failing to fully depress the middle strings, resulting in severe fret buzz.
The physical shape of your guitar’s neck—whether it is a slim C-shape, a chunky V-shape, or a wide vintage profile—affects how a capo sits. Some capos have limited opening clearance, making them difficult to clamp onto thicker necks, especially as you move past the fifth fret where the neck naturally widens.
Before committing to a purchase, check the maximum opening width of the capo and compare it to the thickness of your guitar’s neck at its widest playable point.
The gauge of your strings and the height of your action (the distance between the strings and the fretboard) dictate how much clamping force is required. Heavy-gauge strings and high action require significantly more pressure to fret cleanly than light-gauge strings with low action.
If your guitar has high action—which is common in tropical climates where humidity can cause the wood to swell and the neck to bow—a weak spring-loaded capo may not provide enough force, leading to buzzing.
Conversely, using an ultra-strong spring capo on a guitar with low action and light strings will bend the strings too far down, causing the notes to sound sharp.
How to Test and Adjust Your Capo for Clean Intonation
Even the most expensive capo will perform poorly if it is installed incorrectly. Developing a proper technique for placing and adjusting your capo will save you from constant tuning adjustments during your practice sessions.
Many guitarists make the mistake of clamping the capo directly in the middle of the fret space. This is incorrect and often causes the strings to stretch, pulling them out of tune.
Instead, place the capo as close to the fret wire as possible without actually resting on top of it. Ideally, the rubber pad should sit just a millimeter or two behind the fret wire.
This positioning requires the least amount of downward pressure to produce a clean, buzz-free tone, preserving both your tuning and the life of your frets.
If you are using an adjustable screw capo, start by loosening the tension completely. Place the capo on the desired fret, then slowly tighten the screw while plucking the strings.
Stop tightening the moment every string rings out clearly without buzzing. This “sweet spot” ensures that you are not applying excess force that would bend the strings out of pitch.
For spring-loaded capos, try to align the clamp squarely to ensure the spring’s force is distributed evenly across the entire width of the neck.
If you experience persistent buzzing even after adjusting the capo’s position, inspect the rubber pad for signs of wear. Over time, strings can cut deep grooves into the rubber, reducing its ability to apply even pressure.
If the pad is in good condition, the issue may lie with your guitar’s setup. Uneven frets, a worn nut, or improper neck relief can all cause buzzing when a capo is applied.
In humid environments like the Philippines, wood expansion can alter your guitar’s neck relief over time, so a professional setup by a local luthier may be necessary to restore optimal playability.
Frequently Asked Questions (FAQ)
Do I need a different capo for classical and steel-string acoustic guitars?
Yes, you generally need different capos for classical and steel-string acoustic guitars due to their structural differences. Classical guitars feature wide, completely flat fretboards and use low-tension nylon strings.
Steel-string acoustic guitars have narrower, curved fretboards and high-tension steel strings. Using a steel-string capo on a classical guitar will apply uneven pressure, causing the middle strings to buzz, and the high tension of the spring could damage the delicate nylon strings or the wider neck.
Why does my guitar sound out of tune when I put the capo on?
Your guitar sounds out of tune because the capo is applying too much pressure or is positioned incorrectly, pulling the strings sharp. When a capo clamps down with excessive force, it stretches the strings down into the space between the frets, raising their pitch.
To fix this, place the capo closer to the fret wire rather than in the middle of the fret, and use an adjustable capo to dial in only the minimum pressure required to make the strings ring clearly.
Can I use an electric guitar capo on my acoustic guitar?
While you can physically clamp some electric guitar capos onto an acoustic guitar, it is not recommended for regular use. Electric guitars typically have much rounder fretboard radiuses and use much lighter string gauges than acoustic guitars.
An electric capo may not have a flat enough profile to cover an acoustic fretboard evenly, and its spring tension may be too weak to cleanly depress thicker acoustic steel strings, resulting in persistent fret buzz.
Community discussion
Share your experience or ask a question. Comments are reviewed before publication.