
Selecting a 12-inch drum pad requires matching the pad’s physical design to your specific practice environment, budget, and musical goals. A 12-inch diameter is highly favored by music educators because it replicates the standard size of an acoustic snare drum, allowing you to develop correct muscle memory and stick positioning from day one. To make the right choice, you must first decide whether you need a passive acoustic practice pad for silent rudiment training or an active electronic trigger pad to expand a digital drum kit. From there, evaluating surface materials like mesh, rubber, or silicone, and verifying hardware compatibility will ensure your investment supports your learning journey.
Define Your Practice Goals and Pad Purpose
Before browsing online marketplaces or visiting a local music store, you must clarify how the drum pad will fit into your daily routine. Acoustic mute pads are entirely passive tools designed to dampen the sound of your drumsticks while providing a realistic rebound. These pads require no power sources, cables, or external speakers, making them highly portable and ideal for warming up before a performance or practicing rudiments on a desk.
In contrast, electronic trigger pads are active instruments equipped with internal sensors that convert your physical strikes into digital signals. These pads must be connected to an electronic drum module, a synthesizer, or a computer interface to produce sound. If your goal is to expand an existing electronic drum kit with an extra snare or tom, or if you want to trigger digital samples during live performances, an electronic trigger pad is the correct choice.
Products mentioned in this guide
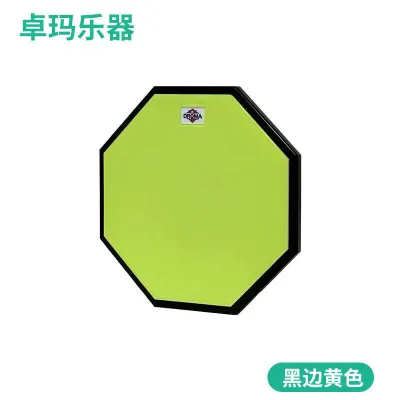
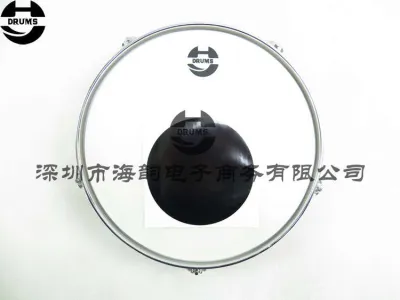
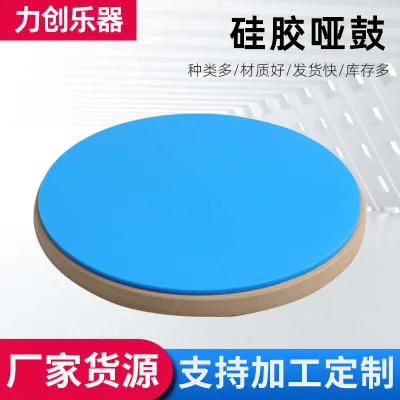
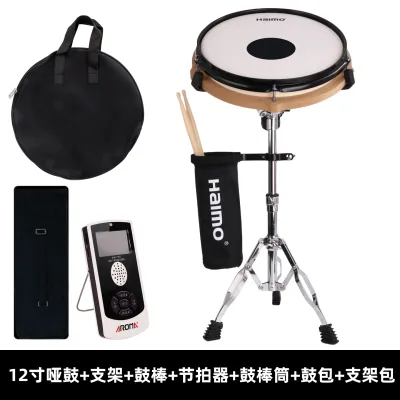
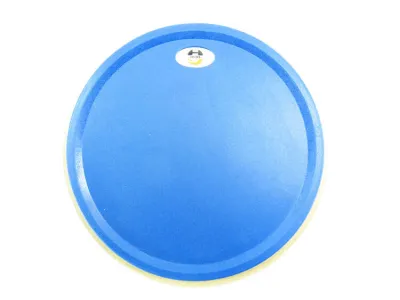
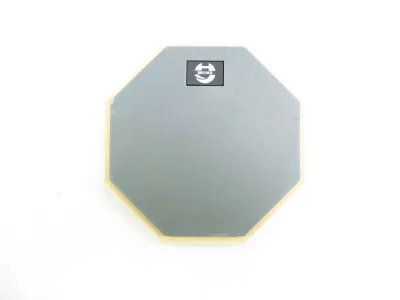
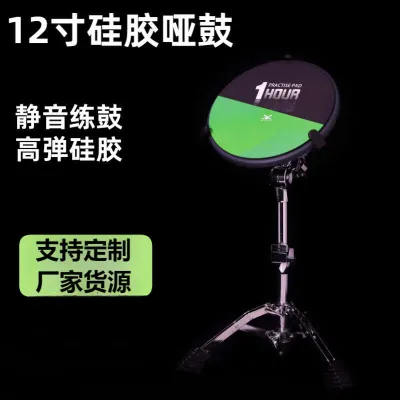
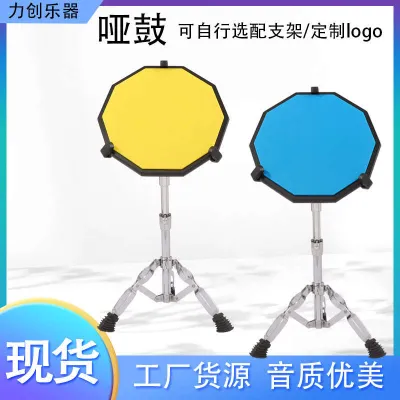
Prices are valid at publication and may change. Please refer to the product page for the latest price.
Your physical living space and local climate should also influence your decision. In high-density residential areas where homes are built close together and open windows are common to catch the tropical breeze, acoustic noise can easily travel to neighboring households. A passive pad with a quiet surface is essential in these environments to maintain peace with your neighbors. Conversely, if you have a dedicated indoor space with air conditioning, you can comfortably set up a larger electronic pad on a heavy-duty stand without worrying about external noise transmission.
Compare Surface Materials for Realistic Feel and Noise Control
The material on the striking surface of your 12-inch drum pad directly affects both the physical feel of your practice sessions and the amount of noise generated. Rubber is the most traditional and widely available material for practice pads. It offers a highly consistent rebound that helps beginners build wrist strength and stick control. However, rubber surfaces tend to produce a distinct, high-pitched “clack” sound upon impact, which can be surprisingly loud in a quiet room. Additionally, in warm and humid tropical climates, cheaper rubber compounds can degrade over time, becoming sticky or brittle if exposed to direct sunlight or sweat.

Mesh heads represent a major technological leap in quiet practice. Constructed from woven nylon fibers, mesh surfaces can be tensioned using a standard drum key, allowing you to customize the rebound to match the exact feel of a tight snare drum or a looser tom. Mesh is incredibly quiet, absorbing the impact of the stick and producing only a soft whisper. However, mesh heads require nylon-tipped drumsticks, as splintered wooden tips can easily snag and tear the delicate woven fibers. They also tend to have a slightly springier rebound than real acoustic drumheads, which can sometimes mask poor stick technique if you rely too much on the artificial bounce.
Silicone surfaces offer a premium middle ground between rubber and mesh. Often referred to as cellular silicone or textured foam, this material provides a highly realistic, acoustic-like sink and rebound without the excessive springiness of mesh. It is significantly quieter than standard rubber and highly resistant to temperature and humidity fluctuations. While silicone pads are exceptionally comfortable to play on and gentle on the wrists, they are generally more expensive and less common in standalone 12-inch sizes.
When evaluating noise, you must also consider vibration transfer through the floor. Even if a pad’s surface is quiet, the physical force of your downward strikes travels through the drum stand and into the floorboards. In multi-story buildings or homes with wooden floors, this low-frequency vibration can sound like a heavy thud to anyone living downstairs. Opting for a mesh pad or placing a thick rubber utility mat under your snare stand can drastically reduce this structural noise.
Verify Trigger Compatibility and Zone Configurations
If you decide on an electronic trigger pad, you must ensure it can communicate properly with your existing drum module or audio interface. Electronic pads are categorized by their zone configurations, which determine how many distinct sounds the pad can trigger simultaneously. A single-zone pad features a single sensor under the main head, meaning it will play the same drum sound regardless of where or how hard you strike the surface.
Dual-zone pads feature two independent sensors: one under the main head and another along the outer rim. This configuration allows you to play realistic rimshots, rim clicks, or even assign an entirely different sound, such as a cowbell or tambourine, to the edge of the pad. To utilize a dual-zone pad, your drum module must have a compatible dual-zone input port. Connecting a dual-zone pad to a single-zone input will limit the pad to head-only triggering, rendering the rim sensor useless.
Impedance matching and sensitivity ranges are also critical technical specifications to verify. Different manufacturers design their sensors to operate within specific voltage and resistance ranges. While many modern drum modules feature adjustable trigger settings that allow you to calibrate third-party pads, some proprietary systems are highly sensitive and may not trigger accurately when paired with a different brand. Always consult your drum module’s official compatibility list or user manual before purchasing an electronic pad.
The physical connection between the pad and the module requires the correct cable type. Dual-zone pads require a TRS (Tip-Ring-Sleeve) cable, which features two insulating rings on the metal jack, to transmit both the head and rim signals separately. If you use a standard TS (Tip-Sleeve) mono cable, which has only one insulating ring, the module will only receive a single signal, restricting your advanced dual-zone pad to basic single-zone performance.
Inspect Build Quality, Rim Design, and Mounting Hardware
A 12-inch drum pad is a significant physical investment, and its structural build quality determines how well it will withstand years of heavy practice. Look for pads constructed with a solid wood or heavy-duty composite base. A sturdy base provides the necessary weight to keep the pad stable on a flat surface and prevents it from sliding around during intense practice sessions.
The design of the rim is particularly important for both acoustic and electronic pads. For acoustic practice pads, a raised rim made of hard plastic or dense rubber allows you to practice correct rimshot angles and stick-shoulder placement. For electronic pads, the rim must be physically isolated from the main head sensor. Poorly designed electronic pads often suffer from “crosstalk,” a frustrating issue where the vibration from a head strike accidentally triggers the rim sensor, or vice versa. High-quality pads use internal dampening materials to isolate these zones.
Mounting compatibility is another crucial factor. Because of their realistic 12-inch size, these pads are designed to fit perfectly into standard acoustic snare drum stands. This is the most stable mounting method, allowing you to adjust the height and angle precisely to match your playing posture. Some pads also feature an 8mm threaded insert on the underside, allowing them to be mounted directly onto lightweight cymbal stands or tabletop tripods. Ensure your existing hardware is robust enough to support the weight of a 12-inch pad, which is considerably heavier than smaller 6-inch or 8-inch travel pads.
Evaluate Smart Features and Included Accessories
Modern drum pads often come equipped with smart features designed to make independent practice more engaging and productive. Some standalone electronic practice pads feature built-in metronomes, digital stroke counters, and coaching programs that grade your timing accuracy. These features are incredibly valuable for beginners who need structured feedback but do not yet own a full electronic drum kit.
Bluetooth connectivity is another highly useful smart feature. It allows you to stream backing tracks or instructional drum videos wirelessly from your smartphone directly to the pad’s headphone output, letting you play along in real-time. While these features add convenience, they also require battery power or an external adapter, so consider whether you prefer a simple, plug-and-play setup or a high-tech practice station.
When budgeting for your purchase, keep in mind that prices vary widely based on features and materials. In the local market, a basic, high-quality double-sided rubber practice pad typically ranges from ₱1,200 to ₱2,500. A premium mesh-head practice pad or a basic electronic trigger pad generally costs between ₱4,000 and ₱8,000. Advanced dual-zone electronic trigger pads with multi-sensor arrays designed for professional kits can exceed ₱12,000. Be sure to check what accessories are included in the package; some bundles include connection cables, a pair of drumsticks, or even a folding stand, which can save you from making separate, costly purchases.
Your Step-by-Step Purchasing Checklist
To ensure you select the perfect 12-inch drum pad without any compatibility issues or buyer’s remorse, follow this structured decision-making process:
- Define Your Primary Use Case: Decide if you need a passive pad for quiet, standalone rudiment practice or an active electronic pad to connect to a drum module.
- Establish Your Budget: Set a clear spending limit in ₱, factoring in the cost of necessary accessories like a snare stand, drumsticks, or connection cables.
- Select Your Striking Surface: Choose mesh if your priority is near-silent practice and adjustable tension, rubber for maximum durability and portability, or silicone for a premium, realistic feel.
- Verify Electronic Compatibility: If buying an electronic pad, check your drum module's manual to confirm it supports dual-zone triggering and matches the pad's impedance requirements.
- Confirm Cable and Mounting Requirements: Ensure you have a TRS cable for dual-zone functionality and a sturdy snare stand or compatible 8mm threaded mount to support the pad's weight.
- Read Product Labels and Warranties: Always review the physical product specification labels and official warranty terms on the online marketplace or retail site rather than relying solely on promotional images.
Frequently Asked Questions (FAQ)
Can I use an acoustic 12-inch mute pad with an electronic drum module?
No, you cannot use a standard acoustic mute pad with an electronic drum module. Acoustic practice pads are passive tools made of wood, rubber, or foam, and they do not contain the electronic sensors (piezoelectric transducers) required to convert physical strikes into digital signals. To trigger sounds from an electronic drum module, you must purchase a dedicated electronic trigger pad that is specifically designed with internal sensors and output jacks. Always verify the product’s categorization and specifications before making a purchase.
Is a mesh head always better than a rubber surface for beginners?
Not necessarily. While mesh heads are significantly quieter and allow you to adjust the surface tension to match a real drum, they are also more expensive and require nylon-tipped sticks to prevent damage. Rubber surfaces are highly durable, require no maintenance, and provide a very consistent rebound that is excellent for building fundamental hand strength. The best choice depends on your budget, how quiet your practice space needs to be, and whether you prefer the adjustable feel of mesh over the plug-and-play simplicity of rubber.
Do I need a specific cable for a dual-zone 12-inch drum pad?
Yes, to utilize both zones of a dual-zone drum pad, you must use a TRS (Tip-Ring-Sleeve) stereo cable. A TRS cable has two black insulating rings on the metal jack, which allows it to transmit separate signals for the head and the rim to your drum module. If you use a standard TS (Tip-Sleeve) mono cable, which has only one black ring, the module will only receive a single signal, limiting your pad to single-zone functionality. Always check that your drum module’s input port also supports dual-zone TRS connections.
Community discussion
Share your experience or ask a question. Comments are reviewed before publication.