
Choosing your first electronic drum pad in the Philippines requires balancing playability, built-in learning features, and local environmental factors. For beginners, an electronic drum pad offers a compact, quiet, and highly versatile alternative to a traditional acoustic drum kit. This is especially valuable for those living in high-density residential areas, condominiums, or shared family homes where the volume of acoustic drums is impractical. By focusing on key specifications, physical design, and local purchasing strategies, you can find a reliable instrument that supports your learning journey for years to come.
To make an informed decision, you must evaluate how well the pad translates your physical strikes into digital sound, the quality of its internal sound library, and its physical durability under tropical conditions. Additionally, understanding the local retail landscape and planning for essential accessories will ensure a smooth setup process. This guide outlines the essential factors to consider when selecting your first electronic drum pad, helping you navigate the market with confidence.
Key Features to Look for in a Beginner Electronic Drum Pad
When evaluating different electronic drum pads, the first technical aspect to assess is pad sensitivity and velocity response. Velocity response refers to the pad’s ability to detect how hard or soft you strike the surface, translating that physical force into a corresponding volume and tonal change. A high-quality pad should accurately register delicate ghost notes as well as powerful accents, allowing you to develop proper dynamic control. Before purchasing, check the product specifications for adjustable sensitivity settings, which let you customize the pad’s response to match your natural playing strength.
Products mentioned in this guide
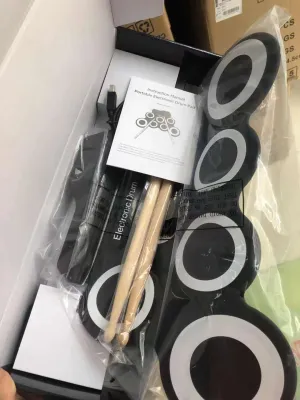
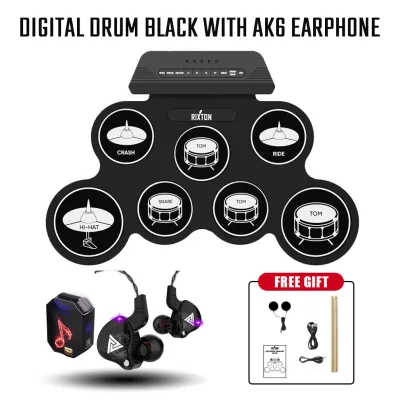
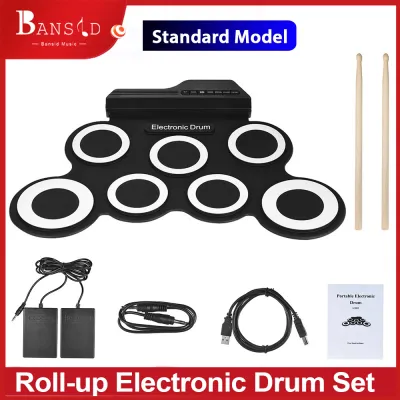
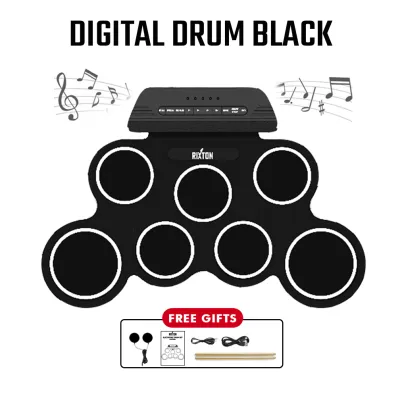
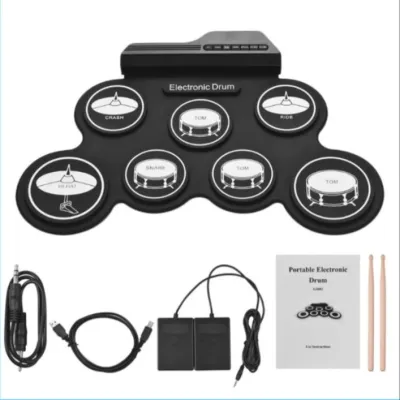
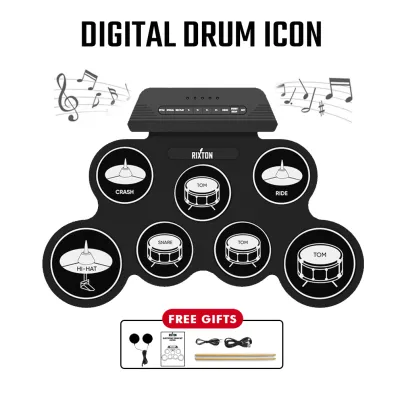
Prices are valid at publication and may change. Please refer to the product page for the latest price.
Another critical technical factor is crosstalk prevention. Crosstalk occurs when the physical vibration from striking one pad travels through the frame and accidentally triggers an adjacent pad. This can be incredibly frustrating for beginners trying to learn clean patterns. Look for drum pads that feature physical isolation gaskets between the pads or advanced digital crosstalk suppression settings within the internal module. You can test this in a store by striking a single pad firmly and observing whether any neighboring pads register accidental triggers on the display screen.
The variety, quality, and editability of the built-in drum kits and individual samples directly impact your practice experience. A good beginner drum pad should offer a diverse selection of pre-loaded kits, ranging from realistic acoustic drum sets to electronic beats and world percussion. Beyond the quantity of sounds, verify if the module supports multi-layered samples, where a harder strike triggers a completely different sample of a drum hit hard, rather than simply playing a soft sample at a higher volume. Additionally, check if the module allows you to edit individual parameters such as pitch, decay, and reverb to customize your sound.
Essential practice tools built directly into the drum pad’s software can significantly accelerate your learning progress. A built-in metronome, or click track, is absolutely non-negotiable for developing a steady sense of rhythm. Many beginner-friendly models also include dedicated coaching functions, which analyze your timing accuracy against the metronome and provide real-time visual feedback. Play-along tracks with mutable drum parts are also highly beneficial, as they allow you to practice playing within a musical context and learn how to lock in with a bassline.
Finally, robust connectivity options ensure that your drum pad can integrate with other devices as your skills progress. A dedicated headphone output is essential for silent practice, while standard auxiliary inputs (Aux In) allow you to connect a smartphone or media player to play along with your favorite songs. For digital integration, look for a USB-MIDI port, which allows you to connect the drum pad to a computer or tablet. This feature turns your drum pad into a MIDI controller, enabling you to trigger high-quality virtual instruments in recording software or use interactive drum learning applications.
Evaluating Playability and Physical Design
The physical material of the pad surface plays a major role in stick rebound, playing feel, and the amount of acoustic noise generated during practice. Rubber pads are the most common option in entry-level models; they are highly durable and provide a very consistent rebound, but they can produce a sharp, audible “clack” sound that may still be disruptive to others in the same household. Mesh heads offer a much quieter performance and allow you to adjust the tension using a standard drum key, closely mimicking the feel of an acoustic drum. Silicone pads provide a softer, more natural rebound with minimal acoustic noise, making them an excellent middle ground if your budget allows.

Pad size, layout, and spacing are critical ergonomic factors that affect your playing accuracy. Multi-pad units typically feature between four and nine pads arranged in a compact grid or a semi-circular layout. For beginners, it is important to choose a layout that offers clear physical separation and raised rims between the pads. If the pads are too small or packed too closely together, you may frequently strike the wrong pad or hit the plastic chassis during fast practice routines. A spacious layout helps build accurate muscle memory that easily transfers to a full-sized drum kit later on.
The overall footprint, weight, and mounting options of the drum pad must match your specific practice environment. If you have limited space, a compact tabletop design that can sit on a desk or a sturdy table is highly convenient. However, for proper playing posture, mounting the pad on a dedicated stand is highly recommended. Check the underside of the drum pad to see if it features a standard mounting plate pattern, which allows you to attach it to double-braced snare stands, cymbal stands, or specialized drum pad mounts. Heavier units require more robust, double-braced hardware to prevent the stand from wobbling or tipping over during energetic playing sessions.
Build quality is another essential consideration, especially given the high humidity levels in the Philippines, which can affect electronic components over time. Look for a chassis made from high-impact ABS plastic or reinforced metal that can withstand accidental stick strikes. Inspect the control panel to ensure that the buttons and knobs are either recessed or made of durable, rubberized materials that will not crack easily. Additionally, check that the input and output jacks on the rear panel are securely mounted to the internal frame, as loose jacks can lead to intermittent signal loss and costly repairs.
Navigating Local Availability and Purchasing in the Philippines
When shopping for an electronic drum pad in the Philippines, prioritizing authorized musical instrument retailers over unverified sellers on general online marketplaces is crucial. Authorized dealers guarantee that you are purchasing a genuine product rather than a counterfeit or a low-quality clone. Furthermore, buying from an official local distributor ensures that the included power adapter is fully compatible with the standard 220V electrical outlets used in the Philippines, eliminating the need for external step-down transformers and reducing the risk of electrical damage to your instrument.
A reliable local warranty and access to technical support are invaluable when purchasing electronic musical instruments. Before finalizing your purchase, verify the specific warranty terms offered by the retailer, which should ideally cover parts and labor for at least six months to a year. Inquire whether the dealer has a physical service center or a dedicated technical support team located within major metropolitan areas like Metro Manila, Cebu, or Davao. Having local repair options ensures that if a pad sensor or input jack requires maintenance, you can have it serviced quickly without paying for expensive international shipping.
Understanding the typical price tiers in Philippine Pesos (₱) will help you set a realistic budget and identify suspicious listings. Entry-level tabletop drum pads with basic features and limited pad configurations generally range from ₱3,000 to ₱7,000. Mid-range multi-pads that offer advanced coaching features, sample-import capabilities, and superior pad sensitivity typically cost between ₱10,000 and ₱25,000. Be highly skeptical of online listings offering premium, professional-grade drum pads at massive discounts, such as ₱2,000 or ₱3,000, as these are common indicators of fraudulent schemes, counterfeit goods, or refurbished units sold without any warranty support.
To protect your investment, learn to identify common red flags when browsing online marketplaces or second-hand listings. Avoid sellers who use generic stock photos instead of actual, high-resolution images of the physical unit they are selling. Be cautious of listings that lack detailed specifications or those where the seller refuses to provide a formal sales invoice or official receipt. Additionally, always check the seller’s return policy and customer feedback ratings, paying close attention to any reviews mentioning shipping damage, missing power supplies, or unresponsive customer service.
Planning Your Accessories and Practice Setup
To begin playing your electronic drum pad immediately, you must plan for several essential accessories that are rarely included with the main unit. First and foremost, you will need a suitable pair of drumsticks; standard 5A or 7A wood sticks are excellent for beginners. However, nylon-tipped drumsticks are highly recommended for electronic pads because they do not splinter over time, preventing sharp wood fragments from tearing or puncturing delicate rubber or mesh pad surfaces. You will also need a high-quality pair of closed-back, over-ear headphones to isolate the drum sounds and block out the physical tapping noise of your sticks.
While headphones are perfect for quiet, private practice, you may eventually want to play aloud for family or friends, which requires external amplification. It is important to note that standard guitar amplifiers are not designed for electronic percussion; they lack the frequency response needed to handle the deep low-end of a bass drum and the crisp high-end of cymbals, which can result in distorted sound or even speaker damage. Instead, look for a dedicated drum monitor, a keyboard amplifier, or a flat-response portable PA system that can accurately reproduce the wide dynamic range of your drum pad.
Proper positioning of your drum pad is essential for developing correct playing posture and preventing physical strain or injury. While placing the pad on a flat desk is a temporary solution, investing in a dedicated stand allows you to adjust the height and angle of the unit to match your sitting position. A sturdy, double-braced snare stand or a specialized drum pad stand with a mounting plate will provide the necessary stability to keep the unit from shifting or bouncing while you play. Ensure that your stand is placed on a flat, level surface to maintain balance.
Even though electronic drum pads are significantly quieter than acoustic drum kits, the physical impact of your sticks and foot pedals can still generate low-frequency vibrations that travel through floors and walls. This physical noise can easily disturb family members or neighbors, especially in multi-story homes, townhouses, or apartments in the Philippines. To mitigate this issue, place a thick, non-slip rubber utility mat or a dense drum rug underneath your stand and pedals. This simple addition absorbs the kinetic energy of your strikes, keeping your practice sessions truly silent and respectful of those around you.
Frequently Asked Questions (FAQ)
Can an electronic drum pad effectively replace an acoustic kit for beginners?
An electronic drum pad is an excellent, space-saving tool for learning rhythm, stick control, and basic coordination, but it cannot fully replicate the physical experience of playing an acoustic drum kit. The rebound of rubber or mesh pads differs significantly from real drumheads, and the compact layout of a multi-pad does not train your muscle memory for the wide arm movements required to reach a full acoustic setup. To bridge this gap, beginners should focus on practicing proper wrist technique, using a metronome to build timing, and occasionally practicing on a physical acoustic kit at a local rehearsal studio to adapt to the scale and acoustic dynamics of a full drum set.
Do I need a special amplifier for my electronic drum pad?
Yes, if you choose to play without headphones, you will need an amplifier specifically designed to handle the wide frequency range and sharp transients of electronic percussion. Standard guitar amplifiers are voiced primarily for mid-range frequencies and can easily distort or suffer permanent speaker damage when subjected to the deep low-end frequencies of a kick drum trigger. A dedicated drum monitor, a keyboard amplifier, or a flat-response PA system is required to accurately reproduce the full sonic range of your drum pad. When selecting an amplifier or headphones, always check the impedance and output specifications in your drum pad’s manual to ensure optimal compatibility and sound quality.
How do I use my drum pad with music software or mobile apps?
Most modern electronic drum pads feature a USB-MIDI port, allowing you to connect them directly to a computer, tablet, or smartphone to expand your sound library or use learning software. To connect to a computer, you will typically need a standard USB-A to USB-B cable, while mobile devices will require an appropriate adapter, such as an On-The-Go (OTG) adapter for Android or a camera connection kit for iOS devices. Once connected, you can open a digital audio workstation (DAW) or a drum learning app and map the physical pads to trigger virtual instrument sounds, enabling you to record your performances, practice with interactive lessons, or access an endless variety of custom drum kits.
Community discussion
Share your experience or ask a question. Comments are reviewed before publication.