
A guitar capo is an essential tool for players of all skill levels, allowing you to instantly change the pitch of your open strings without altering your familiar chord fingerings. Choosing the right capo requires understanding how different mechanical designs interact with your specific instrument’s neck profile, fretboard radius, and string tension. By matching the capo’s design to your playing environment—whether you are practicing in a humid room, performing live on a warm stage, or recording in a studio—you can maintain perfect intonation and protect your guitar’s neck from unnecessary wear.
Understanding the Main Types of Guitar Capos
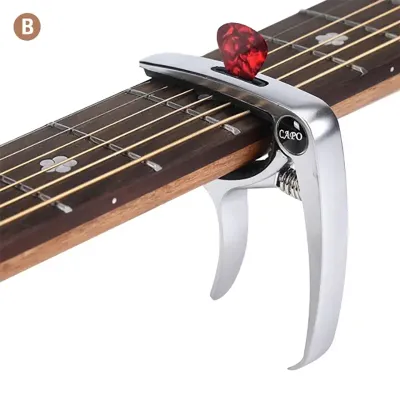
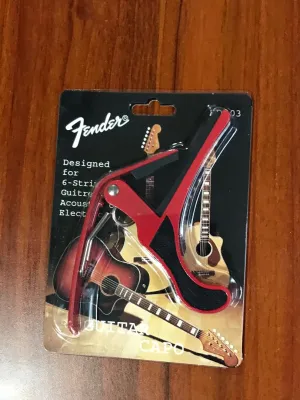
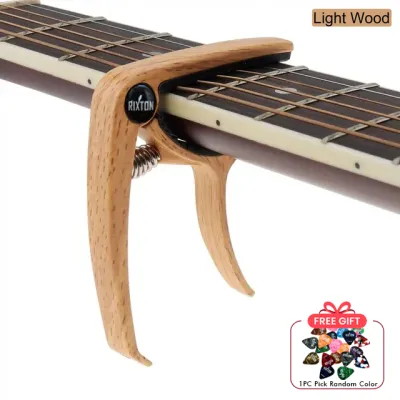
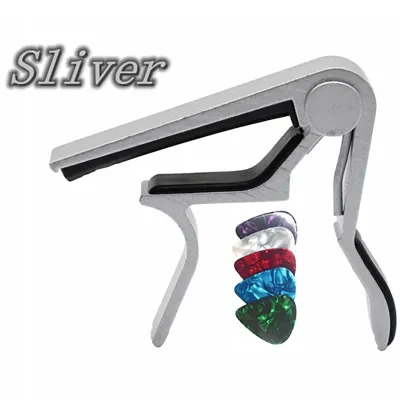
Spring-loaded and trigger capos are highly popular for their speed and ease of use. They utilize a strong internal spring to clamp down on the strings, allowing you to squeeze the trigger with one hand, position it, and release it in seconds. This makes them excellent for live performances where quick transitions between songs are essential. However, because the spring tension is fixed, they can sometimes apply too much pressure on lighter gauge strings, pulling them slightly sharp.
Screw and adjustable capos use a thumbscrew or dial to manually adjust the clamping force. This allows you to apply the exact amount of pressure needed to clear up string buzz without pulling the strings out of tune. They generally have a lower profile on the neck, meaning they stay out of the way of your fretting hand. They are highly favored for fingerstyle playing and studio recording where precise intonation is critical, though they require two hands and more time to adjust.
Products mentioned in this guide
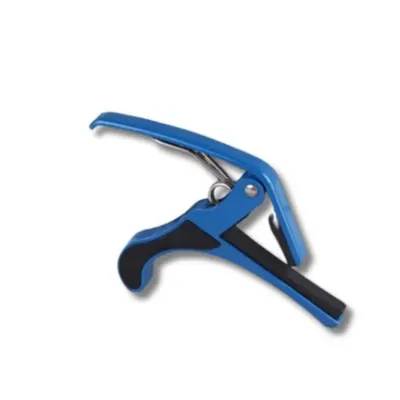
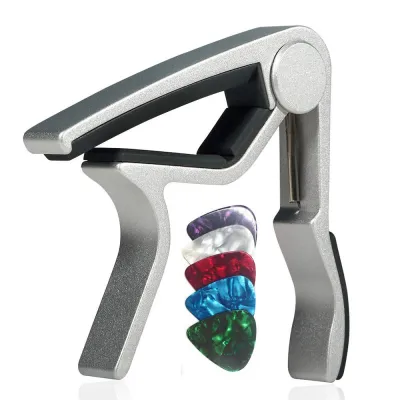
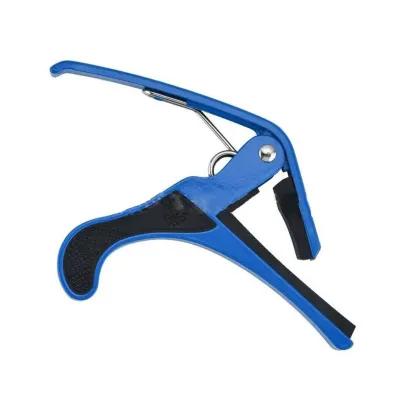

Prices are valid at publication and may change. Please refer to the product page for the latest price.
Toggle and yoke capos offer distinct mechanical advantages. Toggle capos use a simple strap or lever system with pre-set notches to adjust tension, making them lightweight and highly portable. Yoke capos, often called wrap-around or cradle capos, feature a frame that completely encircles the guitar neck. They store behind the nut when not in use and apply perfectly even pressure across the fretboard because the tensioning screw is centered directly behind the neck.
Partial capos are designed to clamp only a specific subset of strings rather than covering all of them. This allows you to explore alternate tunings, such as open G or DADGAD simulations, while keeping the rest of the guitar in standard tuning. They are excellent creative tools for songwriters and fingerstyle players looking to expand their sonic palette without physically retuning their instrument.
Key Features to Evaluate Before Buying
The padding material and thickness of a capo directly affect your instrument’s tone and safety. High-quality capos use dense silicone or vulcanized rubber padding that mimics the soft but firm texture of a human finger. This presses the strings down cleanly against the fret wire without muting the tone or causing string buzz. Thin or cheap plastic padding can wear down quickly, exposing the metal frame of the capo to your guitar’s finish and causing permanent scratches.

Tension mechanism and adjustability are critical for preventing string bending and intonation issues. A capo’s primary job is to hold the strings down with just enough force to let them ring clearly. If the tension is too weak, you will hear a distracting buzz; if it is too strong, the strings will stretch downward toward the fretboard, pulling the notes sharp. Look for mechanisms that allow you to fine-tune the tension, especially if you switch between guitars with different string gauges or action heights.
Build material and overall weight impact both the durability of the capo and the balance of your guitar. Capos are typically made from aluminum, zinc alloy, brass, or lightweight plastics. Heavy brass capos add mass to the neck, which some players feel enhances sustain, but they can also make the guitar feel neck-heavy. Lightweight aluminum or composite capos are easier to handle and won’t disrupt the balance of your instrument. In humid environments, choosing corrosion-resistant materials like anodized aluminum helps prevent rust over years of use.
Radius and width compatibility must match your guitar’s fretboard curve. Fretboards are rarely completely flat; most have a slight curve or radius. A capo must match this curve to work effectively. If you use a flat classical guitar capo on a curved steel-string acoustic, the middle strings will buzz because the capo isn’t pressing them down hard enough. Conversely, a curved capo on a flat classical fretboard will pinch the outer strings too tightly, pulling them out of tune.
Matching the Capo to Your Guitar and Playing Style
Acoustic, electric, and classical guitars have vastly different physical profiles. Acoustic guitars have high string tension and curved fretboards, requiring a robust capo with a matching radius. Electric guitars have much lighter string tension and highly curved fretboards, making them highly sensitive to over-clamping. Classical guitars feature wide, completely flat fretboards and nylon strings, requiring a specialized wide, flat capo that won’t damage the delicate nylon.
For strumming and live performance contexts, speed and convenience are the top priorities. You need to transition between songs seamlessly without keeping your audience waiting. A spring-loaded trigger capo is the standard choice here, as it can be clamped onto the headstock when not in use and moved to any fret with a single squeeze of your hand.
In fingerstyle and studio recording contexts, every minor tuning imperfection is magnified. Here, a screw-adjustable or yoke-style capo is superior. These designs allow you to dial in the absolute minimum pressure required to fret the strings, preserving your guitar’s natural intonation and sustain. Their low-profile design also ensures your fretting hand has maximum clearance for complex chord shapes.
Ukuleles and smaller scale instruments require specialized sizing. Standard guitar capos are usually too large, heavy, and high-tensioned for ukuleles, mandolins, or banjos. Using a heavy guitar capo on a ukulele can warp the thin neck or damage the delicate frets. Instead, look for dedicated ukulele capos, which are smaller, lighter, and calibrated with lower spring tension to match the short scale length and nylon strings of these instruments. While basic utility capos can be found for under ₱300, investing in a dedicated, lightweight model between ₱500 and ₱1,500 can save your frets from premature wear.
How to Apply and Adjust Your Capo for Perfect Intonation
To get the cleanest sound, place the capo directly behind the fret wire, not in the middle of the fret space. Positioning it about two to three millimeters behind the fret wire ensures the strings are pressed firmly against the metal fret with minimal downward stretching. Avoid placing the capo directly on top of the fret wire, as this can mute the strings and accelerate wear on both the capo padding and the fret itself.
Once the capo is in place, perform a quick tension check by plucking each string individually to listen for clarity. If you hear a buzzing sound, the tension is too low or the capo is misaligned. If you have an adjustable capo, slowly tighten the screw until the buzz disappears. Stop tightening immediately once all strings ring clearly; any extra pressure beyond this point will only pull your instrument out of tune and put unnecessary stress on your guitar’s neck.
Even with perfect placement, clamping a capo can slightly alter your guitar’s tuning. Always check your tuning with an electronic tuner after applying the capo. If certain strings are sharp, you may need to gently tug on them to distribute the tension evenly across the nut, or slightly loosen and re-clamp the capo.
If you experience persistent muted strings, check if your capo’s rubber padding has developed deep grooves or cracks, which indicates it needs replacement. If the capo is slipping or failing to hold down the strings, the internal spring may have weakened over time. For players in tropical climates, sweat and humidity can cause the metal hinge pins of trigger capos to stiffen; a tiny drop of machine oil on the joint can restore smooth operation.
Frequently Asked Questions (FAQ)
Can I use the same capo for both acoustic and electric guitars?
While you can physically clamp some acoustic capos onto an electric guitar, it is not always ideal. Acoustic guitars have higher string tension and thicker necks, so acoustic capos are built with stronger springs. Applying this high tension to the lighter strings and softer frets of an electric guitar can easily pull the notes sharp and cause premature fret wear. If you plan to use one capo for both, choose an adjustable-tension model that allows you to back off the pressure when switching to your electric guitar.
Why does my guitar sound out of tune when I put the capo on?
This issue is almost always caused by excessive clamping tension or improper placement. When a capo presses down too hard, it stretches the strings down into the space between the frets, raising their pitch. This effect is amplified if you place the capo too far back from the fret wire or if you are using light-gauge strings. To fix this, place the capo closer to the fret wire and use an adjustable-tension capo to apply only the minimum pressure needed for a clean tone.
How do I clean and maintain my guitar capo?
To keep your capo functioning smoothly, wipe down the rubber or silicone padding with a dry microfiber cloth after each use to remove finger oils and sweat. Avoid using harsh chemical solvents, which can degrade the rubber. Periodically check the metal hinges and springs for signs of rust or wear, especially in humid climates. Store your capo in your guitar case or accessory bag rather than leaving it clamped to the headstock indefinitely, as constant tension can prematurely weaken the spring.
Community discussion
Share your experience or ask a question. Comments are reviewed before publication.