
Quick Answer: The 3-Step Compatibility Check
Finding the right sustain pedal for your keyboard does not have to be a guessing game. To ensure a pedal will work seamlessly with your instrument, you must verify three critical compatibility factors before making a purchase. First, check the physical connector type to ensure the plug fits your keyboard’s input port. Second, identify the electrical polarity requirement of your keyboard to prevent reversed sustain behavior. Finally, determine if your keyboard requires brand-specific protocols for advanced features like half-pedaling.
By systematically checking these three elements, you can confidently select a pedal that functions perfectly. Whether you are using a basic portable keyboard or a high-end digital piano, this guide will walk you through the exact steps to verify compatibility and safely test your equipment.
Step 1: Identify the Physical Connector Type
The most immediate compatibility factor is the physical connection between the pedal and the keyboard. Most standard sustain pedals use a traditional analog jack, but the size and configuration of this plug can vary significantly depending on the instrument’s design.
Products mentioned in this guide


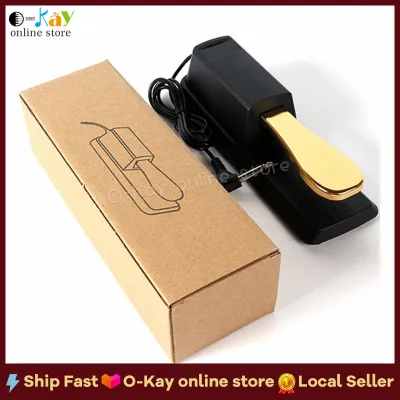
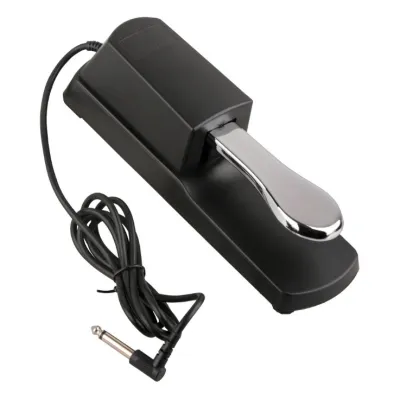
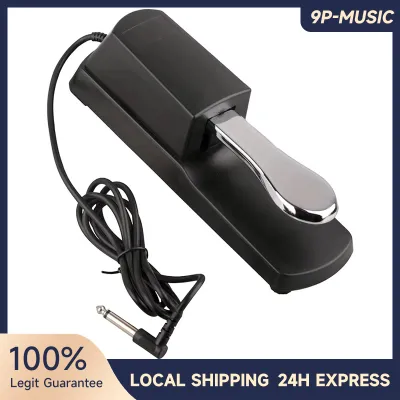
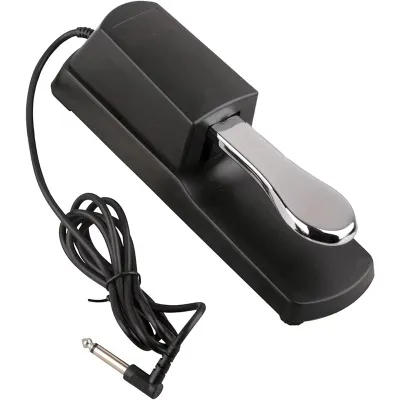
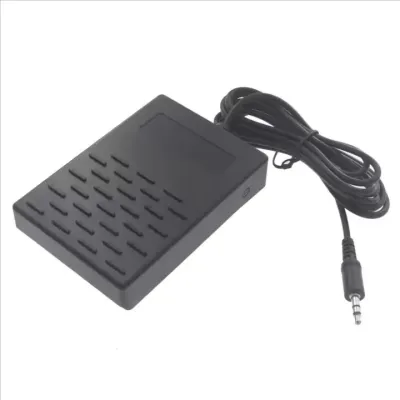
Prices are valid at publication and may change. Please refer to the product page for the latest price.

Standard 1/4-Inch Jacks
The vast majority of electronic keyboards, digital pianos, and MIDI controllers utilize a standard 1/4-inch (6.35mm) jack for sustain input. This plug looks identical to a classic guitar cable plug. However, these connectors come in two distinct configurations:
- TS (Tip-Sleeve) Connectors: Also known as mono plugs, these have a single black ring near the tip. They are used for basic on/off sustain switching.
- TRS (Tip-Ring-Sleeve) Connectors: Also known as stereo plugs, these feature two black rings. They are typically required for advanced pedals that transmit continuous data, such as those supporting half-pedaling.
Proprietary and Multi-Pin Connectors
Some manufacturers design specialized digital pianos—particularly furniture-style models with integrated wooden stands—with proprietary multi-pin connectors. These multi-pin ports often combine the sustain, soft, and sostenuto pedals into a single cable bundle. If your keyboard features a proprietary multi-pin port instead of a standard 1/4-inch jack, you will generally need to purchase the specific pedal board accessory designed by the original manufacturer for that exact model series.
Inspecting Your Keyboard
To confirm what your instrument requires, inspect the rear panel of your keyboard. Look for ports labeled Sustain, Damper, or Pedal. If the port is a standard round hole roughly the width of a pencil, it requires a 1/4-inch plug. Always cross-reference this physical inspection with the technical specifications in your keyboard’s user manual to confirm whether a TS or TRS plug is expected.
Step 2: Determine the Polarity Requirement
Even if a pedal plugs perfectly into your keyboard, it may not function correctly if the electrical polarity is mismatched. Polarity refers to the electrical state of the pedal’s internal switch when it is at rest versus when it is pressed down.
Normally Open vs. Normally Closed
Sustain pedals operate as simple electrical switches. Keyboards are designed to expect one of two switch behaviors:
- Normally Open (NO): The circuit is open at rest. Pressing the pedal closes the circuit, sending a signal to sustain the notes. This standard is commonly used by brands like Korg, Casio, and Fatar.
- Normally Closed (NC): The circuit is closed at rest. Pressing the pedal opens the circuit, signaling the keyboard to sustain. This standard is typically used by Yamaha, Roland, and Kawai.
If you connect a Normally Open pedal to a keyboard that expects a Normally Closed signal, the sustain behavior will be reversed. Your notes will sustain indefinitely when your foot is off the pedal, and the sustain will cut off only when you press down.
Checking for Internal Adjustments
Many modern keyboards feature built-in solutions to handle polarity differences. Some instruments automatically detect the pedal’s polarity when powered on, while others include a software setting in the system menu to manually toggle the input polarity. Additionally, some keyboards have a physical slide switch on the back panel next to the pedal jack to change the expected polarity.
Selecting a Universal Pedal
If your keyboard lacks internal polarity settings, the safest option is to choose a universal sustain pedal. These pedals feature a physical polarity toggle switch on the bottom or side of the chassis. This switch allows you to manually change the pedal’s internal wiring from Normally Open to Normally Closed, ensuring compatibility with virtually any keyboard brand on the market.
Step 3: Verify Brand-Specific and Advanced Features
While a basic on/off sustain pedal is highly interchangeable across brands when polarity is matched, advanced expressive features require closer scrutiny. If you want your digital piano to mimic the nuanced acoustic response of a grand piano, standard universal pedals may not suffice.
Half-Pedaling and Continuous Control
Acoustic piano dampers do not just turn on and off; they can lift partially off the strings to allow a controlled amount of resonance. High-end digital pianos replicate this through a feature called half-pedaling or continuous damping.
- Continuous Controller (CC) Data: Instead of a simple on/off switch, half-damper pedals use a potentiometer to send continuous data values.
- TRS Requirement: This continuous data transmission requires a TRS (stereo) connection to carry the variable voltage signal.
Brand Compatibility and Manual Verification
Because different manufacturers use unique resistance ranges and proprietary wiring configurations for their continuous sensors, universal half-damper pedals are rare. A continuous pedal designed for one brand may register erratic values or fail to work entirely on another brand’s keyboard.
To avoid compatibility issues with advanced features, always consult your keyboard’s user manual. Look under the Accessories or Specifications section to find the exact approved pedal model numbers recommended by the manufacturer. If you wish to use a third-party pedal for half-pedaling, verify that the manufacturer explicitly certifies compatibility with your specific keyboard model.
How to Safely Test the Pedal with Your Keyboard
Once you have selected a pedal, performing a safe physical test ensures that the hardware and software are communicating correctly without causing erratic behavior.
The Golden Rule of Connection
Always turn off your keyboard before plugging in or unplugging a sustain pedal. Many modern keyboards run an automatic calibration routine during the startup sequence. If you plug the pedal in while the keyboard is already turned on, the instrument may misinterpret the pedal’s default state, leading to reversed polarity or a complete failure to recognize the input.
Step-by-Step Testing Sequence
- Power Off: Ensure the keyboard's power switch is in the off position.
- Connect: Firmly insert the pedal's 1/4-inch plug into the port labeled Sustain or Damper. Ensure the plug is fully seated in the jack.
- Position: Place the pedal on a flat surface. In tropical climates or homes with tiled floors, ensure the pedal's rubber feet are clean to prevent slipping.
- Power On: Turn on the keyboard without touching the pedal. Let the startup screen or lights load completely.
- Test Basic Sustain: Play a chord, hold the keys down, press the pedal, and then release the keys. The sound should continue to ring out.
- Test Release: Release the pedal. The sound should damp immediately.
- Test Gradation: If your hardware supports half-pedaling, press the pedal down slowly while playing a note to observe if the resonance increases gradually rather than abruptly switching on.
If the keyboard behaves erratically, displays an error message, or fails to sustain, immediately turn off the instrument and disconnect the pedal to inspect the connections.
Troubleshooting Common Connection Issues
If your sustain pedal does not work as expected after connection, most issues can be resolved with a few simple diagnostic checks.
Correcting Reversed Sustain
If your notes sustain when your foot is off the pedal and stop when you press down, you are experiencing a polarity mismatch.
- If your pedal has a physical polarity switch on the bottom, turn off the keyboard, flip the switch, and turn the keyboard back on.
- If your pedal lacks a switch, access your keyboard's system settings menu to look for a "Pedal Polarity" or "Damper Polarity" option and toggle it.
- Ensure you are not holding the pedal down while turning on the keyboard, as this can trick the auto-detection system into calibrating the polarity backward.
Intermittent or Unresponsive Connections
If the sustain cuts in and out, or if the keyboard ignores the pedal entirely, check the physical setup:
- Port Verification: Double-check that the cable is plugged into the Sustain or Damper jack, not the Expression, Aux, or Volume jack.
- Dust and Humidity: In humid environments, dust and oxidation can build up inside the keyboard's jack or on the pedal's metal plug. Unplug the connector and firmly reinsert it a few times to clear minor oxidation, or use a dry contact cleaner if necessary.
- Cable Strain: Avoid wrapping the pedal cable tightly around the chassis during storage, as this can break the internal copper wiring near the strain relief boot, leading to intermittent signals.
If these steps do not resolve the issue, check the manufacturer’s website to see if your keyboard requires a firmware update to improve accessory compatibility.
Frequently Asked Questions (FAQ)
Can I use an expression pedal as a sustain pedal?
No, you cannot typically use an expression pedal as a sustain pedal due to fundamental differences in how they transmit data. A sustain pedal acts as a simple binary switch, sending an on or off signal to control note dampening. In contrast, an expression pedal uses a potentiometer to sweep through a continuous range of values (usually from 0 to 127) to control parameters like volume, modulation, or filter cutoff. Plugging an expression pedal into a dedicated sustain jack will usually result in erratic behavior, partial sustain, or no response at all from your keyboard.
Do I need a special pedal for half-pedaling?
Yes, half-pedaling requires a specialized pedal capable of sending continuous control data rather than a simple on/off switch. These pedals typically feature a TRS (stereo) connector and an internal potentiometer or optical sensor. Furthermore, your keyboard’s internal sound engine must be designed to support half-damper messages. If you connect a standard on/off sustain pedal to a keyboard that supports half-pedaling, it will only function in a basic binary fashion. Always check your keyboard’s manual to confirm compatibility before purchasing a continuous damper pedal.
Community discussion
Share your experience or ask a question. Comments are reviewed before publication.