
Protecting an acoustic drum kit in the Philippines requires more than a simple cloth sheet to block dust. The combination of intense tropical downpours, seasonal monsoons, and ambient relative humidity that frequently exceeds 80 percent creates a hostile environment for musical instruments. To safeguard your investment, a high-quality waterproof drum cover must act as a dynamic shield—blocking external liquid water while managing the internal microclimate to prevent trapped moisture. Choosing the right cover involves evaluating material specifications, seam construction, and ventilation features to ensure your drums remain dry, stable, and free from mold.
How High Humidity and Rain Affect Your Drum Kit
A drum kit is a complex assembly of organic wood, synthetic plastics, and precision metal hardware, all of which react poorly to prolonged moisture exposure. When humid air settles over an unprotected kit, wooden shells absorb water vapor from the atmosphere. This absorption causes the wood fibers to swell, which can lead to warping, ply separation, and structural damage to the bearing edges. Once a shell loses its perfect roundness, tuning becomes incredibly difficult, and the overall resonance of the drum is permanently compromised.
Metal components are equally vulnerable to the tropical climate. Chrome-plated hoops, tension rods, lugs, and snare throw-offs can quickly develop pitting and rust when exposed to damp air or direct water splashes. This oxidation does not just ruin the aesthetic appeal of your kit; it can seize tension rods, making fine tuning impossible and eventually requiring expensive hardware replacements.
Products mentioned in this guide
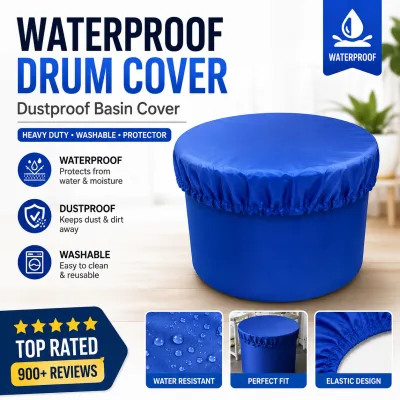
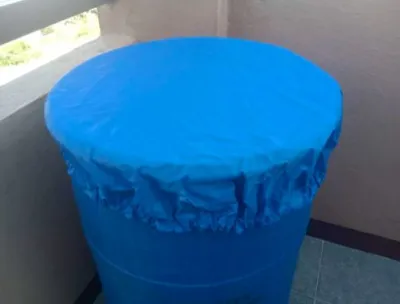
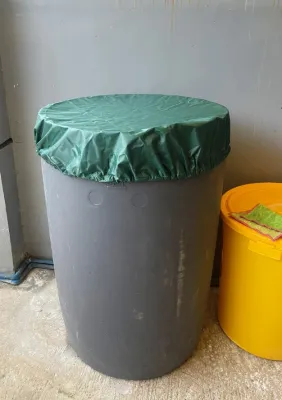
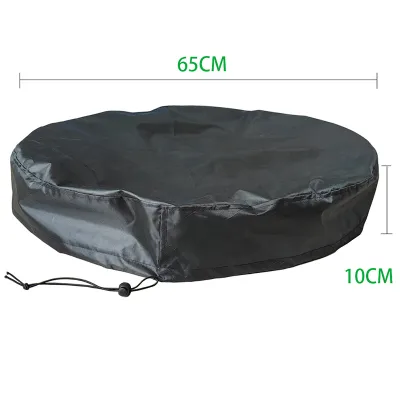
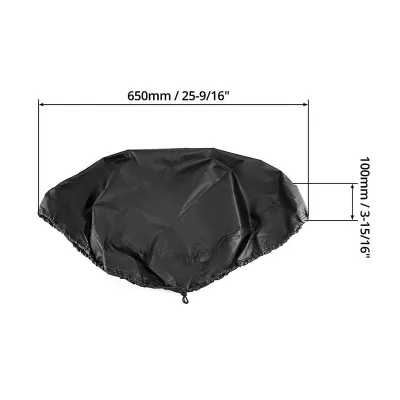
Prices are valid at publication and may change. Please refer to the product page for the latest price.
Furthermore, high ambient humidity directly impacts drumheads and tuning stability. Even modern synthetic drumheads experience subtle tension changes when exposed to extreme moisture shifts, while the air column inside the drum shell becomes heavy and damp. This dampness dampens the natural vibration of the drum, resulting in a flat, muddy sound with a noticeable loss of projection and sustain. A basic dust cover offers zero protection against these airborne moisture threats, acting merely as a cosmetic screen rather than a functional barrier.
Essential Features to Check When Buying a Waterproof Drum Cover
When shopping on an online marketplace or at a local music store, you must look past generic marketing claims and verify the actual material specifications on the product tags. Look for heavy-duty fabrics such as coated polyester, high-density nylon, or reinforced PVC. Coated polyester, particularly with a denier rating of 600D or higher, offers an excellent balance of tear resistance and water impermeability. Check the product specifications for terms like polyurethane (PU) coating or durable water repellent (DWR) finishes, which indicate that the fabric has been treated to shed water actively.

The fabric itself is only as waterproof as its weakest point, which is almost always the stitching. Standard sewn seams contain thousands of tiny needle punctures that allow water to seep through during heavy rain or high-humidity spells. To prevent this, prioritize drum covers that feature heat-sealed or taped seams. Taped seams have a waterproof tape applied over the stitched lines on the inside of the cover, sealing the needle holes and ensuring that water cannot penetrate the joints.
While blocking external water is crucial, a completely airtight cover can actually damage your drums in a tropical climate. High ambient temperatures combined with trapped moisture create a greenhouse effect inside the cover, accelerating the growth of mold and mildew on wooden shells and drumheads. To combat this, look for covers equipped with integrated ventilation panels or breathable mesh vents. These vents should be strategically positioned and shielded by overhanging fabric flaps to allow air circulation while keeping falling water out.
Always cross-reference manufacturer claims with the physical product labels or detailed online specifications. Avoid covers that simply list “waterproof” without specifying the material composition, coating type, or seam construction. A genuine waterproof drum cover will explicitly state its fabric density, coating material, and weatherproofing features, allowing you to make an informed decision based on verifiable technical details rather than vague promotional language.
Sizing and Fit: Blocking Ground Moisture and Wind
Achieving a proper fit is essential for a drum cover to perform effectively in windy, wet conditions. Before purchasing, set up your drum kit in its standard configuration and measure the total footprint. Use a tape measure to record the maximum width, depth, and height of the entire setup, including extended cymbal stands, the throne, and the bass drum spurs. If you plan to leave the kit fully assembled, your cover must comfortably drape over the highest cymbal stand without being stretched taut.
You will need to choose between a single-piece full-kit cover and individual waterproof drum bags. A single-piece cover is highly convenient for quick daily protection in a dedicated practice space, as it drapes over the entire setup in seconds. However, if you frequently transport your kit or store it in areas prone to severe drafts, individual padded waterproof bags offer superior protection. Bags isolate each drum completely, eliminating the gaps where wind-driven rain or rising dampness could enter.
Ground moisture is a major threat in tropical regions, especially on ground-floor concrete slabs or tiled floors. A good full-kit cover should feature secure bottom closures, such as heavy-duty drawstrings, elasticized hems, or adjustable Velcro straps. These closures allow you to cinch the bottom of the cover tightly around the base of your stands and bass drum, creating a barrier against rising dampness, dust, and crawling pests.
When fitting the cover, ensure there is adequate clearance around sharp hardware edges, such as cymbal tilters, memory locks, and tom mounts. Stretching a waterproof cover too tightly over these sharp points can puncture the fabric or wear down the internal waterproof coating over time. A slightly loose fit that drapes naturally is far better than a tight, strained fit that risks tearing during a sudden gust of wind.
Maintaining Your Drum Cover to Prevent Mold and Coating Damage
Owning a high-quality waterproof cover is only half the battle; proper maintenance is required to keep it functioning and prevent it from harboring mold. Never place a waterproof cover over a drum kit that is already damp. If you have just finished an intense practice session, your sweat and the ambient humidity will be trapped inside the sealed environment. Wipe down the drumheads, hoops, and shells with a dry microfiber cloth, and let the kit air out under a fan before applying the cover.
Cleaning the cover itself requires a gentle touch to preserve its protective coatings. Avoid throwing the cover into a washing machine or using harsh household detergents, bleach, or solvents, as these chemicals will strip away the polyurethane or DWR coatings. Instead, lay the cover flat on a clean surface and wipe it down with a soft sponge, lukewarm water, and a small amount of mild, pH-neutral soap. Rinse it thoroughly with clean water and allow it to air dry completely in a shaded, well-ventilated area before reuse.
Establish a routine inspection schedule to check the condition of both your drums and the cover. At least once a week, remove the cover entirely and inspect the interior fabric for any signs of mildew, peeling coatings, or lifting seam tape. If you spot any white or black mold spots, clean them immediately with a specialized fabric cleaner or a mild vinegar-and-water solution to prevent the spores from spreading to your wooden drum shells.
When your drum kit is in active use, do not simply crumple the cover into a corner. Folding the cover carelessly can create sharp creases that weaken the waterproof membrane over time, leading to localized leaks. Fold the cover loosely and store it in a cool, dry gear bag or on a shelf away from direct sunlight, which can degrade the synthetic fibers and cause the waterproof backing to become brittle.
Complementary Moisture Control for Your Practice Space
Even the best waterproof cover cannot completely isolate your drums from extreme tropical humidity if the surrounding room is damp. To provide comprehensive protection, consider using active environmental controls in your practice space. Running a compressor-based room dehumidifier or keeping an air conditioning unit on dry mode can significantly lower the ambient relative humidity, keeping it within the ideal 45 to 55 percent range for musical instruments.
For targeted protection under the cover, place reusable moisture-absorbing canisters or large silica gel packs around the base of your drum stands. These absorbers draw excess moisture out of the microclimate created beneath the cover. Monitor these packs regularly; in highly humid environments, silica gel can saturate quickly and must be reactivated in an oven or replaced according to the manufacturer’s instructions to remain effective.
The physical placement of your drum kit within the room also plays a major role in moisture prevention. Avoid positioning your drums directly against exterior walls, which can transfer outdoor dampness and temperature fluctuations directly to the instrument. Keep the kit away from open windows, exterior doors, and the direct cold airflow of an air conditioner, as rapid temperature drops can cause localized condensation to form on metal hoops and wooden shells.
If you notice persistent signs of climate-related damage—such as severely warped hoops, separating shell plies, or deep rust pitting that impedes tuning—stop making DIY adjustments. Consult a professional drum technician or luthier. Attempting to force warped wood back into shape or using aggressive rust removers without professional guidance can cause permanent damage to delicate bearing edges and vintage finishes.
Frequently Asked Questions (FAQ)
Can I use a regular plastic tarp instead of a dedicated drum cover?
Using a standard blue or silver plastic utility tarp is highly discouraged for long-term drum protection in humid climates. While tarps are completely waterproof, they are entirely non-breathable and trap ambient heat and moisture underneath. This creates a greenhouse effect that accelerates mold growth on wooden shells and causes rapid oxidation of metal hardware. Additionally, utility tarps lack the tailored fit and secure bottom closures needed to block rising ground dampness and pests effectively.
How often should I remove the cover to let the drums breathe?
You should remove the cover to let your drums breathe at least once or twice a week, ideally during dry, sunny periods when you can run a fan or air conditioner in the room. Allowing fresh, dry air to circulate around the kit helps evaporate any micro-condensation that may have accumulated. Use these airing sessions to inspect the tension rods, hoops, and inner shells for early signs of moisture damage, ensuring any issues are caught before they require costly repairs.
Community discussion
Share your experience or ask a question. Comments are reviewed before publication.