
Selecting the right guitar jack cable depends entirely on where and how you play. While a simple, flexible cable works perfectly for bedroom practice, a live stage demands rugged shielding and heavy-duty strain relief to survive physical abuse and electrical interference. Meanwhile, studio recording requires ultra-low capacitance to preserve every detail of your high-end frequencies. Understanding how cable construction, length, and connector shapes interact with your gear ensures your guitar signal remains strong, clear, and free of unwanted noise.
Guitar Cable Basics: How Specs Affect Your Tone
A guitar cable is more than just a wire; it is an extension of your instrument’s electronics. The signal traveling from your pickups is high-impedance and highly vulnerable to external interference and signal degradation. Understanding the basic specifications of an instrument cable helps you preserve your tone before the signal even reaches your amplifier or audio interface.
The physical connectors at each end of the cable come in two primary shapes: straight and right-angled. A straight connector is standard and works well with recessed jacks, such as those found on Stratocaster-style guitars. An angled connector sits flush against the guitar body, making it ideal for side-mounted jacks or Gibson-style top jacks where a straight plug would stick out and risk getting bent.
Products mentioned in this guide
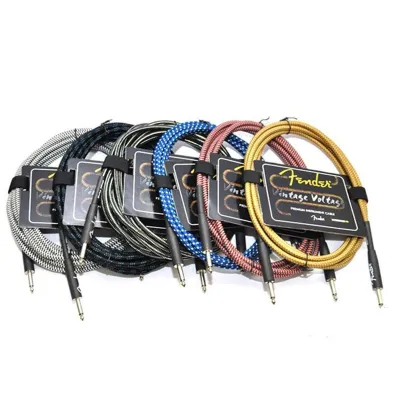
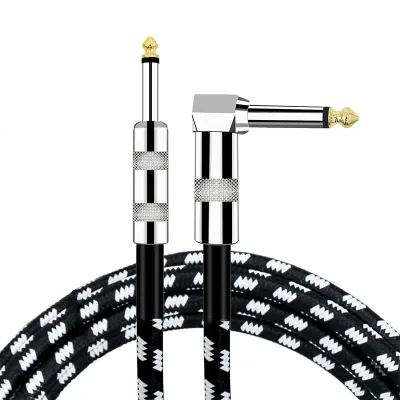
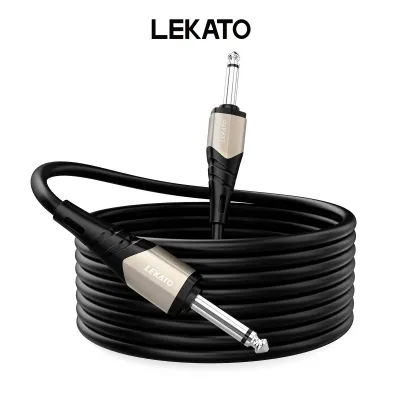
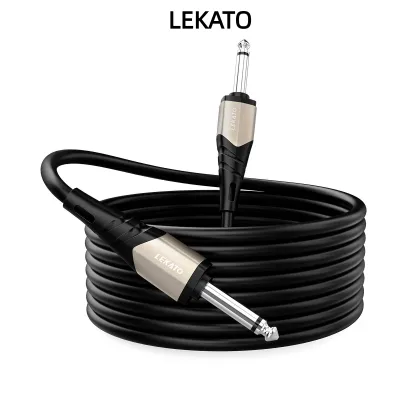
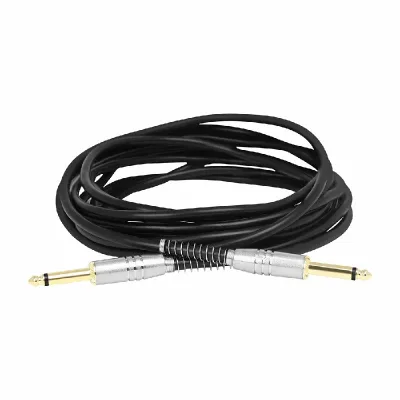
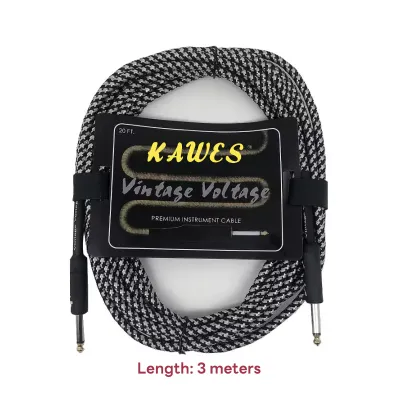
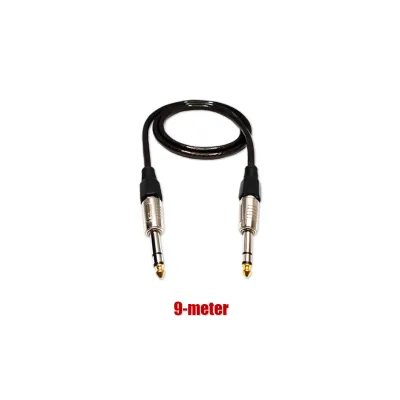
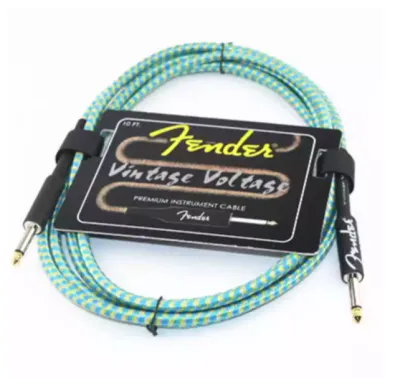
Prices are valid at publication and may change. Please refer to the product page for the latest price.
Inside the cable, shielding is your primary defense against unwanted noise. High-quality cables use braided copper, spiral copper, or conductive polymer shielding to wrap around the central hot wire. This shield blocks electromagnetic interference (EMI) and radio frequency interference (RFI) generated by household appliances, fluorescent lights, and wireless devices.
Capacitance is another critical specification that directly impacts your high-frequency tone. Because a guitar cable consists of two conductors separated by insulation, it naturally acts as a capacitor. High capacitance rolls off the treble frequencies of your signal, resulting in a muddy, dull sound. The longer the cable, the higher the total capacitance, which is why choosing the correct length is vital for maintaining clarity.
Choosing a Cable for Home Practice
For home practice, convenience, safety, and physical space are your primary concerns. You do not need an excessively long cable when sitting next to a small practice amplifier or desktop audio interface. A cable that is too long easily tangles, creates tripping hazards in tight rooms, and collects dust on the floor.

An ideal length for home practice ranges from 3 to 10 feet (approximately 1 to 3 meters). This length provides enough slack to move comfortably in your chair without creating a messy coil of wire on the floor. Keeping the cable short also ensures that your signal remains crisp and clear, even with budget-friendly cables.
Your guitar’s jack placement should dictate the connector shape you choose for home use. If you practice sitting down on a sofa or bed, a straight jack on a side-mounted guitar can press against the cushions, putting immense leverage on the internal jack plate. In this scenario, using a right-angled connector protects both the cable plug and your guitar’s wood from structural damage.
Home cables must also be durable enough to handle daily domestic hazards. They are frequently stepped on, rolled over by office chairs, or chewed by curious pets. Look for cables with flexible outer jackets, such as braided cloth or thick PVC, which resist kinking and lay flat on the floor without retaining memory loops.
Selecting a Cable for Live Gigging
The live stage is a hostile environment for audio signals and physical gear. When gigging, your cable must withstand constant movement, accidental tugs, and a barrage of electrical noise from stage lights and power mains. Reliability is the absolute priority, as a single cable failure can instantly silence your performance.
Stage setups require longer cables to allow for natural movement and clean routing. You typically need one cable running from your guitar to your pedalboard, and another running from the pedalboard to your amplifier. Lengths of 15 to 20 feet (about 4.5 to 6 meters) are standard for stage use, giving you room to move without pulling your gear over.
Stage environments are saturated with electromagnetic noise from lighting rigs, neon signs, and heavy-duty power amplifiers. To combat this, gigging cables require heavy-duty braided shielding with high coverage percentages. This dense shielding prevents hums and buzzes from entering your signal chain and ruining the front-of-house mix.
Physical strain relief is crucial for surviving the rigors of live performances. Look for cables with heavy-duty metal connector housings and heat-shrink tubing over the solder joints. Connectors with chuck-type strain relief clamp down tightly on the cable jacket, ensuring that any sudden tugs pull on the outer jacket rather than the delicate internal solder connections.
Picking a Cable for Studio Recording
In a studio environment, every nuance of your playing is captured under a sonic microscope. Studio recording demands absolute signal transparency, minimal noise, and the preservation of your instrument’s natural frequency response. Here, the subtle differences in cable construction become highly audible.
Low-capacitance designs are the gold standard for studio tracking. By minimizing the capacitance per foot, these cables preserve the delicate high-end sparkle and transient details of your guitar. This ensures that the recorded track captures the full bite of your pickups and the natural resonance of your instrument’s wood.
To maintain the lowest possible noise floor, keep your studio cable runs as short as practical. If you are tracking right next to your audio interface or amplifier, a 10-foot cable is far superior to a 20-foot cable. Shorter runs minimize both capacitance and the opportunity for the cable to act as an antenna for ambient studio noise.
Connector contact stability is another critical factor when recording. Gold-plated connectors resist oxidation over time, ensuring a highly conductive, stable connection with your guitar and recording gear. Additionally, high-quality outer jackets prevent microphonic noise, which occurs when physical movement of the cable translates into audible thuds or crackles in your recording.
Cross-Scenario Compatibility: Can One Cable Do It All?
Many players wonder if a single, high-quality cable can handle practice, gigging, and recording duties. It is entirely possible to find a versatile middle-ground cable that performs respectably across all three scenarios. A 10-foot to 15-foot cable with moderate capacitance and a durable PVC jacket serves as an excellent all-rounder.
However, relying on a single cable introduces compromises that can affect your performance. Using a long, heavy-duty stage cable for home practice can be cumbersome and clutter your living space. Conversely, using a delicate, ultra-low-capacitance studio cable on a sweaty stage risks physical damage to an expensive piece of gear.
When planning your budget, consider how you allocate your funds in Philippine Pesos (₱). A basic, reliable practice cable might cost around ₱500 to ₱1,000, while a rugged stage cable or a premium studio cable can range from ₱1,500 to ₱4,000 or more. If you have a limited budget, investing in one high-quality 15-foot cable with robust strain relief is often wiser than buying multiple cheap cables that fail quickly.
If your budget allows, a two-cable strategy is highly effective. Dedicate a rugged, moderately priced 15-foot cable for rehearsals and gigs, and keep a shorter, premium 10-foot low-capacitance cable safely in your home studio. This approach ensures you always have a backup while maximizing the lifespan of your specialized gear.
Maintaining and Troubleshooting Your Cables
Proper maintenance can extend the life of your guitar cables by years, saving you money and preventing mid-performance failures. The most common cause of cable failure is improper coiling, which twists the internal copper conductors and eventually snaps them. Always use the over-under coiling method, which follows the natural lay of the wire and prevents kinks.
Perform routine physical checks on your cables to catch potential issues before they cause a total signal loss. Periodically unscrew the connector barrels to inspect the solder joints inside. If you notice loose wires, frayed shielding, or dull solder joints, they should be repaired with a soldering iron or replaced.
Keep the metal plugs clean and free of oxidation, which can cause crackling noises and signal dropouts. You can clean the contacts using a small amount of electronic contact cleaner on a microfiber cloth. In tropical climates with high humidity, keeping your gear clean and dry is especially important to prevent corrosion.
When troubleshooting noise in your signal chain, use a logical process of elimination to isolate the culprit. If you hear a hum or crackle, plug your guitar directly into your amplifier with a single cable, bypassing your pedalboard entirely. If the noise disappears, the issue lies in your patch cables, pedals, or power supply rather than your main instrument cable.
Frequently Asked Questions (FAQ)
Does a more expensive guitar cable improve tone?
A more expensive guitar cable does not actively improve or add anything to your tone; rather, it excels at preserving the original signal. Higher-priced cables typically feature lower capacitance, which prevents the loss of high-end frequencies, and superior shielding to block external noise. They also use higher-grade materials and construction methods that ensure long-term durability and reliable connections.
What is the maximum length for a passive guitar cable before signal loss?
For guitars with passive pickups, high-frequency signal loss typically becomes noticeable at lengths exceeding 15 to 20 feet (about 4.5 to 6 meters). Beyond this length, the cumulative capacitance of the cable acts as a low-pass filter, rolling off your treble frequencies. If you must run longer cables on stage, using an active buffer pedal or a wireless system can help preserve your signal integrity.
Should I use angled or straight jack connectors?
Your choice should depend on your guitar’s jack placement and how you play. Angled connectors are ideal for side-mounted jacks, semi-hollow bodies, and pedalboards because they sit flush and reduce the risk of physical damage if bumped. Straight connectors are necessary for recessed jacks, such as those on Stratocasters, where an angled plug cannot insert deeply enough to make a secure connection.
Community discussion
Share your experience or ask a question. Comments are reviewed before publication.