
Setting up your first drum kit is an exciting milestone, but finding the perfect layout can quickly feel like solving a complex spatial puzzle. Standard starter drum kits often come with basic, straight hardware that limits where you can place your cymbals. As you expand your setup with crashes, splashes, or effects cymbals, you will quickly run out of floor space if you rely solely on vertical stands.
A cymbal boom arm offers the flexibility to position your cymbals exactly where your hands naturally fall, without crowding your feet with bulky tripod bases. Choosing the right one requires understanding your current setup, checking hardware compatibility, and knowing how to spot durable construction that can withstand regular practice. By focusing on physical specifications and setup techniques, you can build a stable, comfortable drum kit that grows with your skills.
Straight Stand vs. Boom Arm: What Your First Kit Needs
When organizing your first drum kit, you must decide between a standard straight stand and an adjustable boom arm. A straight stand features a simple, vertical design that projects directly upward from its tripod base. While straight stands are highly stable and straightforward to set up, they require a clear vertical path from the floor to the cymbal. This rigid design can make it difficult to position cymbals close to your drum shells without the stand’s legs colliding with your pedals or other hardware.
Products mentioned in this guide
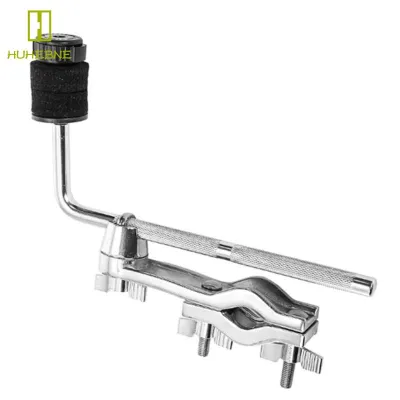
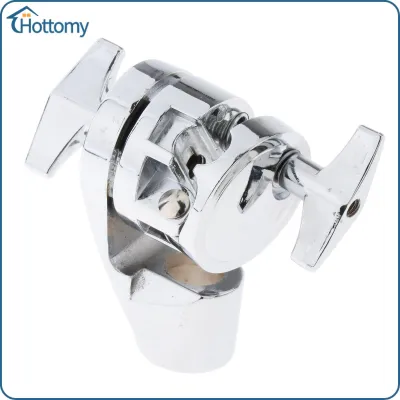
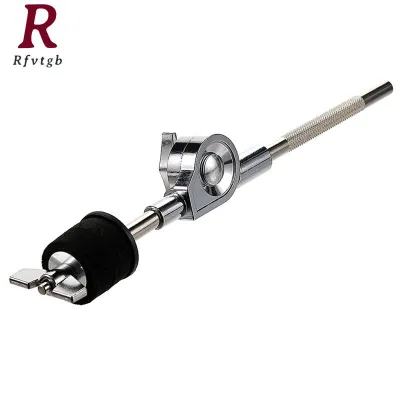
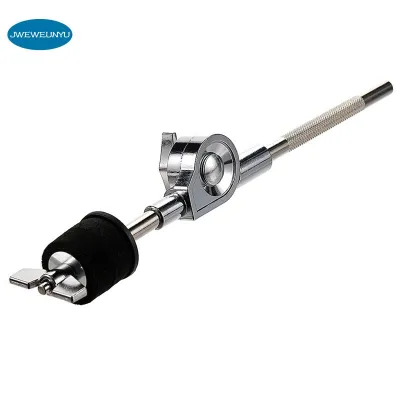
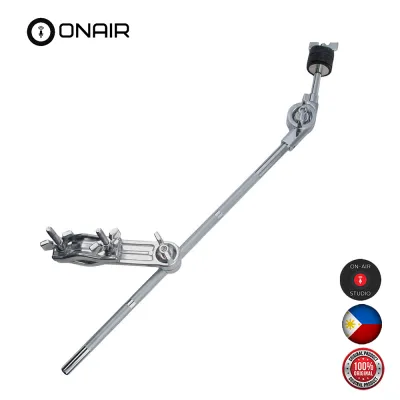
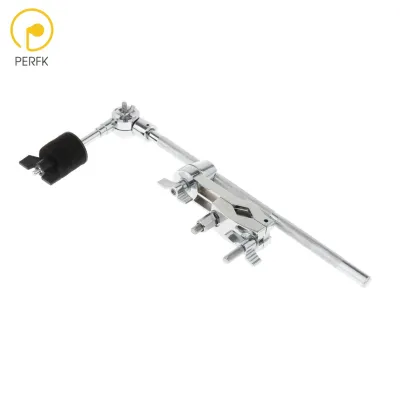
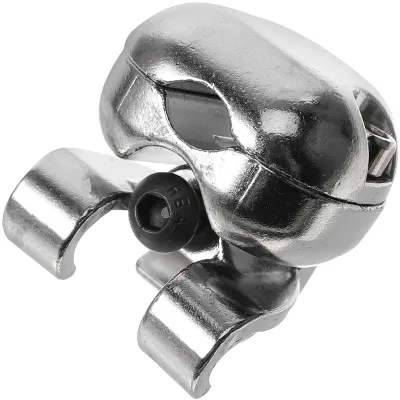
Prices are valid at publication and may change. Please refer to the product page for the latest price.
In compact practice spaces, such as a bedroom or a shared living area, floor real estate is at a premium. If you try to position a ride cymbal over your bass drum or high toms using a straight stand, the tripod legs will inevitably crowd your bass drum pedal, snare stand, or hi-hat controller. This crowding forces you to place your cymbals further away than is comfortable, which can disrupt your playing posture and hinder your physical development.
A cymbal boom arm solves this spatial conflict by introducing a pivoting extension rod. This design allows you to place the heavy tripod base far to the side—perhaps behind your floor tom or off to the edge of your drum rug—and extend the arm over your drums to suspend the cymbal precisely where you need it. This reach is essential for creating an ergonomic layout where every drum and cymbal is within natural striking distance.
For most beginner drum kits, a combination of both stand types is highly effective. You can use a straight stand for your primary crash cymbal, which typically sits in an open space to the left of your rack toms. However, for your ride cymbal or secondary crash, a boom arm is almost always necessary to navigate the crowded space around your bass drum and floor tom without sacrificing stability.
Core Specifications to Match with Your Hardware
Before purchasing a cymbal boom arm, you must verify its physical compatibility with your existing drum hardware. Drum manufacturers do not use a single universal standard for tubing sizes, meaning that a boom arm from one brand may not fit into the stand base or multi-clamp of another. Measuring your current gear beforehand will prevent compatibility issues and ensure a secure fit.

Tube diameter is the most critical specification to check. Most drum hardware utilizes standardized metric or imperial tubing sizes for down-tubes and mounting rods. Common diameters for boom arm down-tubes include 12.7mm (approximately 1/2 inch), 19mm (3/4 inch), and 22mm (7/8 inch). If you plan to insert the boom arm directly into the base of an existing straight stand to convert it, use a caliper or a precise ruler to measure the inner diameter of the receiving tube.
If you want to attach the boom arm to an existing stand without replacing the base, you will need a multi-clamp. A multi-clamp grips the vertical tube of your main stand on one side and holds the boom arm on the other. When choosing a clamp, ensure its jaw capacity matches both the diameter of your main stand’s upper tube and the diameter of the new boom arm. A mismatched clamp will either fail to close securely or slip under the weight of your cymbal.
Weight capacity is another crucial factor that depends on the size and thickness of your cymbals. A thin 14-inch crash cymbal exerts very little leverage and can be supported by almost any entry-level boom arm. However, a heavy 20-inch or 22-inch ride cymbal requires a much thicker, more robust boom arm. Heavy cymbals place significant rotational force on the joints, which can cause thin tubes to bend or slip during energetic play.
Finally, pay close attention to the joint mechanisms that control the angle of the cymbal:
- Gear-driven tilters: These joints feature interlocking metal teeth that lock into place at specific angles. They are highly secure and virtually slip-proof, making them excellent for heavy cymbals. However, they limit your adjustment angles to the spacing of the teeth.
- Friction joints (toothless tilters): These use smooth metal or composite plates pressed together. They offer infinite angle adjustment, allowing you to fine-tune the cymbal's position down to the millimeter. The trade-off is that they require more clamping force to stay secure and can slip over time if the plates wear down.
Evaluating Build Quality on a Beginner Budget
Finding durable drum hardware on a beginner budget requires looking past brand names and focusing on physical construction. In tropical climates with high relative humidity, low-quality metal hardware can rust rapidly, leading to seized threads, stripped screws, and structural failure. Investing in well-made entry-level hardware will save you money in the long run by avoiding frequent replacements.
Start by examining the quality of the chrome plating and metal finishes. A high-quality boom arm should have a smooth, mirror-like chrome finish without any pitting, bubbling, or rough patches. This plating acts as a protective barrier against moisture and sweat. If the metal feels rough or shows signs of thin plating, it is highly susceptible to rust, especially in humid environments.
Next, test the tightening mechanisms, such as the wingnuts, T-bolts, and collar clamps. These components should feel heavy in your hand and have clean, deep threads that turn smoothly without binding. Avoid hardware that relies heavily on thin plastic wingnuts or adjustment knobs, as these can easily crack under the pressure of repeated tightening. Look for zinc-alloy or solid steel wingnuts that provide a comfortable grip and secure leverage.
If you are purchasing a full boom stand rather than just an arm attachment, evaluate the stability of the tripod base. Tripod legs generally come in two configurations:
- Single-braced legs: These feature a single strip of metal forming each leg. They are lightweight, highly portable, and usually more affordable. They are perfectly adequate for light crash cymbals, splashes, or effects cymbals.
- Double-braced legs: These have two parallel metal strips per leg, offering significantly more rigidity and resistance to twisting. While they are heavier to carry, they provide the necessary stability for heavy ride cymbals or deep-reaching boom setups.
Be wary of ultra-lightweight stands that feel top-heavy even before you mount a cymbal. If the metal tubing feels thin like a soda can, or if the joints wobble even when fully tightened, the stand is likely to tip or fail during practice. A sturdy entry-level boom stand or arm attachment typically costs between ₱1,500 and ₱3,500, offering a great balance of durability and affordability for beginner drummers.
Positioning and Stability Adjustments for Safe Play
Once you have selected your cymbal boom arm, proper setup and adjustment are essential to keep your drum kit stable and protect your equipment from damage. Incorrectly positioned hardware can lead to tipping stands, damaged cymbal bells, or stripped joints during heavy practice sessions.
The most critical rule of boom arm stability is aligning the center of gravity. When you extend a heavy cymbal away from the vertical center of the stand, the stand becomes highly directional. To prevent the stand from tipping forward, always position the boom arm so that it extends directly over one of the three tripod legs. This utilizes the leg’s footprint to counteract the forward leverage of the cymbal.
If you are using a long boom arm to support a heavy ride cymbal, consider using a counterweight. A counterweight is a heavy metal cylinder attached to the opposite end of the boom rod. It balances the weight of the cymbal, reducing the stress on the central tilter joint and making the stand much more stable. If your boom arm does not have a built-in counterweight, avoid extending the arm to its maximum length; instead, keep the extension moderate and bring the stand base closer to the drum kit.
Memory locks are invaluable tools for maintaining a consistent setup and preventing hardware slippage. These small metal collars clamp onto the tubing of your stand or boom arm. Once you find your ideal height and extension, slide the memory lock against the joint and tighten it. During future setups, the lock ensures the hardware slides back into the exact same position, while also acting as a physical backup to prevent the tube from sliding down if the main clamp loosens.
Finally, always protect your cymbals by using proper mounting accessories on the boom arm’s top stem. Ensure the stem is equipped with a plastic or rubber sleeve and thick felt washers. The sleeve prevents the metal of the stand from rubbing against the center hole of your cymbal—a common cause of “keyholing” and cracking. The felt washers cushion the cymbal, allowing it to vibrate freely and absorb the impact of your drumsticks without transferring excessive shock back into the boom arm joints.
Frequently Asked Questions (FAQ)
Can I mount a tom drum on a cymbal boom arm?
Mounting a tom drum on a standard cymbal boom arm is generally not recommended. Tom drums are significantly heavier than cymbals and exert different rotational forces when struck. Standard entry-level cymbal boom arms, especially those with thin 12.7mm rods, are not designed to support the weight of a 10-inch or 12-inch tom drum. Attempting to do so can bend the boom rod, strip the tilter joints, or cause the entire stand to tip over. For mounting toms, always use dedicated tom holders, heavy-duty multi-clamps, or specialized tom stands designed to handle the weight and vibration of drum strikes.
Do I need a counterweight for heavy ride cymbals?
A counterweight is highly beneficial but not strictly mandatory if you set up your stand correctly. If you are mounting a heavy 20-inch or 22-inch ride cymbal and need to extend the boom arm more than halfway, a counterweight helps balance the load and prevents the stand from tipping. However, if you keep the boom arm relatively short and position the arm directly over one of the double-braced tripod legs, the stand’s natural center of gravity will keep it stable. For beginners on a budget, choosing a sturdy, double-braced stand and keeping the boom extension moderate is often a more cost-effective solution than buying an expensive counterweighted arm.
Community discussion
Share your experience or ask a question. Comments are reviewed before publication.