
Upgrading your guitar’s electronics with a dedicated telecaster wiring kit is one of the most cost-effective ways to eliminate signal loss, crackling, and muddy tone. In the Philippines, where high tropical humidity and salty coastal air can accelerate the oxidation of cheap factory components, investing in a high-quality wiring harness is essential for maintaining a reliable instrument. The right kit not only restores the crisp, biting “twang” your guitar was designed to deliver but also ensures your controls sweep smoothly without sudden drops in volume or tone.
Whether you are reviving an entry-level instrument or fine-tuning a high-end custom build, changing the internal electronics completely redefines how your pickups interact with your amplifier. The best kit for your guitar depends on whether you seek standard modern reliability, interactive vintage dynamics, or expanded tonal options like 4-way series switching. Understanding the individual components and how they fit your physical guitar is the first step toward a successful electronics upgrade.
Key Factors for Choosing a Telecaster Wiring Kit
Selecting the right wiring kit requires looking beyond the brand name and examining the physical and electrical specifications of each component. Because guitar electronics operate on low-voltage analog signals, even minor variations in component tolerances, material quality, and physical design can noticeably affect your overall tone and playing experience.
Products mentioned in this guide
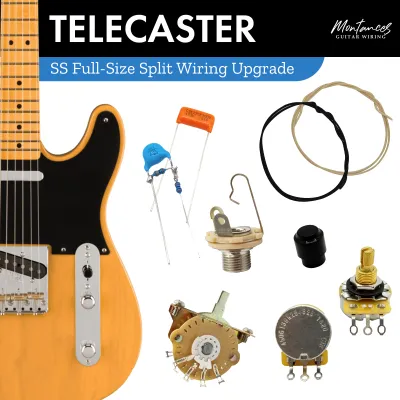
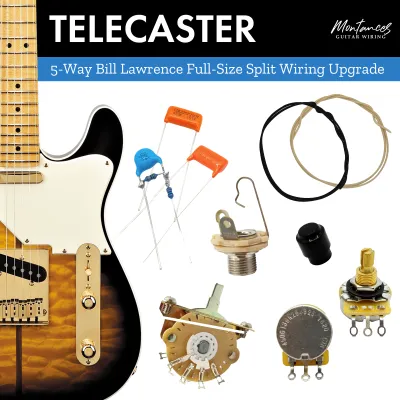
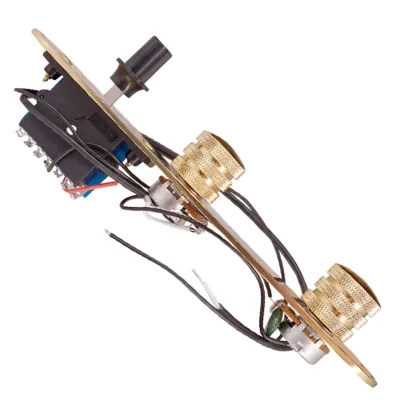
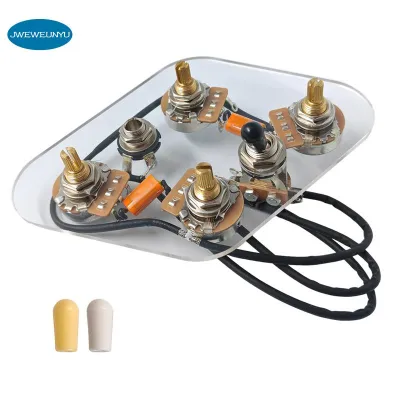
![[LAWY]1 Set of Guitar Wiring Harness-Prewired with 3-500k Pots](https://img.lazcdn.com/g/p/223a6a2cf5dbf8134fba5f15d56db0af.jpg_400x400q80.jpg_.webp)
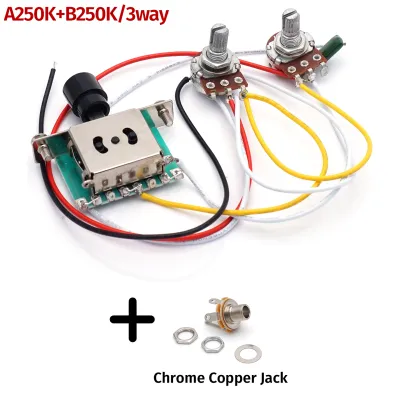
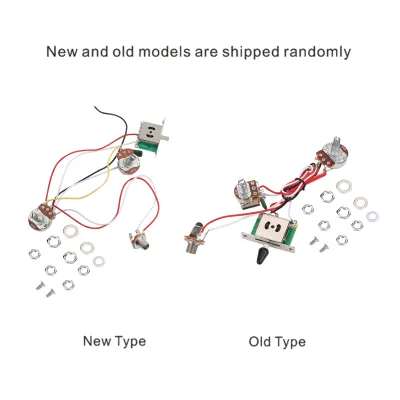
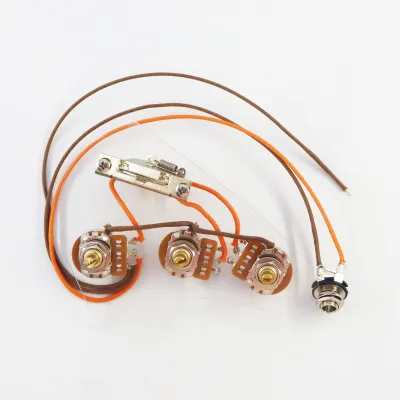
Prices are valid at publication and may change. Please refer to the product page for the latest price.
Potentiometer Quality and Specifications
Potentiometers (commonly called pots) act as the primary gatekeepers of your volume and tone. When choosing a kit, pay close attention to the resistance value, taper type, and shaft construction:
- Resistance Values: Standard Telecasters equipped with single-coil pickups almost universally use 250k-ohm potentiometers. This value bleeds a small, controlled amount of high-end frequencies to ground, warming up the naturally bright and biting tone of single-coils. If your Telecaster is modified with humbuckers or high-output P90 pickups, a 500k-ohm pot is preferred, as it preserves more high-frequency detail and prevents the humbuckers from sounding muddy.
- Taper Types: Human hearing perceives changes in loudness logarithmically rather than linearly. Because of this, audio taper (logarithmic) potentiometers are highly recommended for volume controls, as they provide a smooth, even reduction in volume across the entire rotation of the knob. Linear taper pots, while sometimes used for tone controls, can make the volume feel like an "on-off" switch, with most of the change clustered at one end of the dial.
- Shaft Design: Potentiometers come in split-shaft and solid-shaft designs. Split-shaft pots feature knurled tips with splines that accept press-on plastic or metal knobs. Solid-shaft pots have smooth, un-split tips designed specifically for metal dome knobs secured with a small side set-screw. Matching the shaft design to your preferred knobs is crucial to prevent physical installation issues.
Switch and Jack Durability
Because the pickup selector switch and output jack are the only moving parts subjected to constant physical wear, their durability directly determines the reliability of your guitar on stage and in the studio:
- Blade Switches: Standard import guitars often feature enclosed box-style switches with internal plastic components that degrade quickly under heavy use and tropical moisture. Premium kits utilize open-frame spring-action blade switches (such as CRL or Oak Grigsby). These designs offer robust physical detents and self-cleaning contact wipes, ensuring a positive click and a noise-free connection every time you switch pickups.
- Output Jacks: The output jack is the most common point of failure on any electric guitar. Upgrading from a thin, enclosed metric jack to a heavy-duty open-frame jack (like the industry-standard Switchcraft #11) is highly recommended. These jacks use thick, spring-tempered copper alloy contacts that maintain firm physical pressure on your instrument cable's plug, preventing intermittent dropouts and static crackle.
Capacitor and Wire Types
Capacitors work in tandem with your tone potentiometer to filter out high frequencies. The material and value of the capacitor shape the character of your rolled-back tone:
- Capacitor Values and Materials: A 0.047-microfarad (µF) capacitor is the classic vintage choice, offering a darker, warmer roll-off that can push your tone into smooth jazz territory. Modern players often prefer a 0.022µF capacitor, which preserves more midrange punch and rolls off only the highest, harshest frequencies. While standard ceramic disc capacitors are functional, upgrading to polyester film (such as Sprague Orange Drops) or paper-in-oil (PIO) designs provides tighter tolerances and highly stable performance across temperature shifts.
- Wire Selection: Premium wiring kits feature 22 AWG vintage-style cloth-covered push-back wire. This wire simplifies installation because you do not need wire strippers; you simply push the braided cotton outer sleeve back to expose the pre-tinned stranded copper core. The cloth insulation resists melting when exposed to the high heat of a soldering iron, unlike cheap PVC-jacketed wire which can shrivel and expose bare copper.
Completeness and Documentation
A high-quality wiring kit should be a complete, self-contained package. It must include all necessary mounting hardware, such as matching lock washers, dress washers, and mounting nuts. Crucially, the kit must feature a clear, high-resolution wiring diagram that accurately reflects the specific configuration. Some premium kits also provide pre-cut heat shrink tubing to insulate the output jack terminals and ground connections, preventing short circuits inside the control cavity.
Top Telecaster Wiring Configurations to Match Your Tone
There is no single “best” wiring configuration for every player. The ideal setup depends on your musical style, your pickups, and how you interact with your guitar’s controls. Modern kits are generally divided into four distinct configurations, each offering unique tonal and functional characteristics.

Standard Modern Wiring Kits
The standard modern configuration is the benchmark for reliability, offering a clean, predictable signal path and consistent control. This setup is ideal for gigging musicians in the Philippines who need dependable performance across various venues and amplifiers without complex switching schemes.
- The Switching Logic: This layout utilizes a standard 3-way blade switch: Position 1 selects the bridge pickup alone, Position 2 combines both pickups in parallel (the classic hollow, scooped Tele middle position), and Position 3 selects the neck pickup alone.
- Treble Bleed Integration: Most modern kits incorporate a treble bleed circuit (a small resistor and capacitor wired in parallel or series across the volume pot's input and output lugs). This circuit preserves high-end clarity when you roll down the volume, preventing your tone from turning muddy and dark at lower volumes. It ensures your signal remains crisp and articulate, even when cleaning up an overdriven amplifier.
'50s Vintage Wiring Kits
For players seeking organic, highly dynamic control, ’50s vintage wiring kits offer an interactive relationship between the volume and tone controls. This configuration is highly favored by blues, classic rock, and traditional country players who use their guitar controls to shape their gain stage.
- The Interactive Sweep: In a '50s vintage layout, the tone control is connected to the output lug of the volume pot rather than the input lug. This simple physical change alters the electrical behavior of the circuit. As you roll down the volume, the guitar naturally retains its high-end brightness without needing a dedicated treble bleed circuit.
- Tonal Trade-offs: While this setup preserves brightness, rolling down the volume slightly increases the interactive sweep of the tone control, and rolling down the tone can slightly affect the overall volume. This highly interactive behavior allows for subtle, expressive tonal shading that modern circuits cannot replicate.
4-Way Switching and Push-Pull Kits
If you want to expand your Telecaster’s sonic palette without making permanent physical modifications to the guitar body, a 4-way switching kit or a push-pull potentiometer kit is the perfect solution.
- The 4-Way Advantage: A 4-way switch adds a fourth position where the bridge and neck pickups are wired in series. Unlike the standard parallel middle position, which is bright and scooped, the series position combines the output of both pickups to create a thicker, louder, humbucker-like tone with increased midrange punch. This is perfect for driving a tube amp into natural overdrive or fattening up a solo.
- Technical Requirement: To implement 4-way wiring safely, your neck pickup's metal cover must be electrically isolated from the pickup's negative coil wire and run to ground via a dedicated third wire. If this is not done, touching the metal cover in the series position will cause a loud, distracting hum.
- Push-Pull Alternatives: Alternatively, kits utilizing push-pull or push-push potentiometers can trigger series/parallel switching, phase reversal, or a complete tone-pot bypass (sending the raw pickup signal directly to the jack for maximum volume and bite) without requiring you to drill new holes in your classic control plate.
Premium Audiophile Kits
Premium audiophile kits represent the pinnacle of component selection, designed for meticulous tone chasers and professional recording environments where absolute signal integrity is paramount.
- Component Precision: These kits feature ultra-tight tolerance components, such as CTS premium potentiometers matched to within +/- 5% or 1% tolerance, boutique copper-foil or paper-in-oil capacitors, and silver-plated oxygen-free copper wire.
- The Diminishing Returns Factor: While a standard upgrade kit offers a massive, night-and-day improvement over cheap factory electronics, moving from a standard high-quality kit to an ultra-premium audiophile kit yields subtle, incremental refinements in harmonic clarity and sweep smoothness. These kits are best suited for high-end custom boutique builds, studio recording, or professional musicians who require absolute perfection in their signal path.
Where to Buy and How to Verify Compatibility in the Philippines
Sourcing high-quality guitar parts in the Philippines requires a mix of local knowledge and careful online shopping. Because the market features a wide array of both genuine boutique components and cheap counterfeit parts, verifying compatibility and seller authenticity is essential before making a purchase.
Sourcing Channels in the Local Market
You can acquire quality Telecaster wiring kits through several reliable channels:
- Specialized Local Luthiers: Specialized guitar luthiers and custom shops in Metro Manila, Cebu, and Davao often stock pre-wired harnesses or loose premium components. Purchasing from a local luthier ensures you get expert advice and, in many cases, professional installation services.
- Established Music Retailers: Major physical music store chains in the Philippines carry standard replacement parts, though their inventory of specialized pre-wired kits may be limited.
- Online Marketplaces and Specialty Stores: Trusted online marketplaces and specialized guitar parts webstores host reputable sellers offering pre-assembled kits. When buying online, always verify the seller's ratings, read customer reviews specifically mentioning component authenticity, and look for detailed close-up photos of the solder joints and component markings (such as the CTS or Oak Grigsby stamps) to avoid counterfeit parts.
Physical Compatibility Checklist
Before clicking “buy,” you must verify that the physical dimensions of the kit match your specific guitar model. This is especially important because import guitars and US-spec guitars use different measurement standards:
- Potentiometer Shaft Diameter: Most import guitars (made in Asia, such as Squier, Epiphone, or various entry-level brands) use metric components. Metric potentiometers typically have an 8mm bushing diameter. US-made imperial potentiometers (like CTS) have a larger 3/8-inch (approx. 9.5mm) bushing diameter. If you install a US-spec kit into an import control plate, you will need to carefully enlarge the holes using a stepped drill bit or a hand reamer.
- Control Plate Hole Spacing: Verify the spacing between the potentiometer holes on your control plate. While standard Telecaster plates are highly standardized, some import copies may feature non-standard spacing that can strain pre-wired harnesses.
- Control Cavity Depth: Thin-bodied Telecaster copies or entry-level models may have shallower control cavities. Standard full-sized CTS pots and deep 4-way switches require a cavity depth of at least 1.5 inches (approx. 38mm). Measure your guitar's cavity depth to ensure the new components will fit without hitting the wood or pinching wires.
Avoiding Substandard Parts
Avoid ultra-cheap, unbranded wiring kits sold on general online marketplaces for a few hundred pesos. These kits frequently use low-grade zinc alloy soldering lugs that break easily under heat, fragile plastic-bodied switches that fail after a few dozen throws, and potentiometers with highly uneven taper curves. Investing in a reputable kit with branded components (such as CTS, Bourns, Oak Grigsby, and Switchcraft) saves hours of troubleshooting and ensures your guitar remains reliable on stage.
Shipping and Customs Considerations
When ordering premium kits from international specialty shops, choose shipping methods that offer reliable tracking. Be prepared for standard customs processing times in the Philippines. For orders exceeding the de minimis threshold of ₱10,000, keep in mind that import duties and taxes will apply, so keeping your purchase below this limit when possible can simplify delivery and avoid unexpected fees.
Installation Safety and When to Seek Professional Help
Installing a wiring kit is a rewarding DIY project, but it requires patience, the right tools, and basic safety precautions. Working with a high-heat soldering iron around your guitar’s finished wood and delicate pickups carries inherent risks if not approached carefully.
Soldering Safety and Best Practices
To achieve clean, reliable solder joints without damaging your new components, follow these essential practices:
- Use the Correct Wattage: Use a temperature-controlled soldering station rated between 40W and 60W. Low-wattage irons (under 30W) struggle to heat the large metal casing of a potentiometer quickly, forcing you to hold the iron against the casing for too long. This prolonged heat transfer can easily melt the internal resistive track or plastic elements inside the pot, ruining it before you even string up the guitar.
- Maintain Proper Ventilation: Work in a well-ventilated area. Use a small solder fume extractor or a fan to blow away lead-free solder fumes.
- Protect the Guitar Finish: Always place a thick towel or protective cardboard over your guitar's body while soldering near the control cavity to prevent accidental solder splatters or iron burns on the finish.
Reversibility and Preservation
Before desoldering your existing electronics, take high-resolution photos of the original wiring from multiple angles for reference. If your current harness is functional, try to desolder only the pickup leads and the ground wire running to the bridge, leaving the rest of the factory harness completely intact. Store the original assembly in a labeled plastic bag. This preserves the original state of the instrument, allowing you to easily restore it to factory specifications if you decide to sell the guitar in the future.
When to Stop and Consult a Pro
If you encounter physical fitment issues—such as the control cavity being too narrow for full-sized pots, or the routing being too shallow for a 4-way switch—do not attempt to force the components or crudely chisel the wood yourself. Forcing a tight fit can pinch wires, causing intermittent ground shorts. If you lack the proper woodworking tools (like a router with a template) or do not feel confident handling a high-heat soldering iron around your guitar’s finish, take the instrument and your new wiring kit to a qualified local guitar technician. A professional installation ensures clean solder joints, perfect physical fitment, and optimal noise shielding.
Frequently Asked Questions (FAQ)
Do I need to change my knobs when installing a new wiring kit?
Yes, you may need to change your knobs depending on the shaft design of your new potentiometers. If your original guitar used metric mini-pots with press-on plastic knobs, and your new kit features US-spec solid-shaft CTS pots, your old knobs will not fit. You will need to purchase new dome knobs with set-screws designed for 1/4-inch solid shafts. Conversely, if your new kit uses split-shaft pots, ensure you match the spline count (24-spline for US/imperial, 18-spline for metric) to prevent stripping the splines or cracking the knobs during installation.
Can I use a Stratocaster wiring kit for a Telecaster?
No, you cannot use a Stratocaster wiring kit for a Telecaster. A Stratocaster kit is designed for a three-pickup configuration with one volume and two tone controls, utilizing a 5-way selector switch and a completely different physical layout. A Telecaster typically uses two pickups, one volume, one tone, a 3-way or 4-way blade switch, and a narrow metal control plate. The physical spacing of the pots on a pre-wired Stratocaster harness is too wide to fit onto a Telecaster control plate, and the electrical values and switching logic are completely different. Always purchase a dedicated Telecaster wiring kit to ensure a proper physical fit and correct tonal response.
Community discussion
Share your experience or ask a question. Comments are reviewed before publication.