
Finding a reliable guitar amp in the Philippines within a strict ₱5,000 budget is entirely achievable if you know what specifications to prioritize. For beginners, the goal is to secure an amplifier that delivers clean, undistorted tones at low volumes, offers basic tone-shaping controls, and remains durable under tropical weather conditions. While you will not be purchasing a stage-ready performance rig at this price point, a well-chosen entry-level model provides the perfect foundation for home practice and skill development.
By focusing on essential hardware features and avoiding unnecessary digital add-ons, you can maximize the value of your investment. Understanding the technical limits and physical characteristics of budget amplifiers ensures you avoid common buying mistakes. This guide breaks down what to expect from a sub-₱5,000 budget, which features are indispensable, and how to safely navigate local and online retail channels.
Setting Expectations: What a ₱5,000 Budget Gets You
At the ₱5,000 price point, the Philippine market primarily offers solid-state amplifiers. Unlike vacuum tube amplifiers, which are heavy, fragile, and expensive to maintain, solid-state designs use transistors to amplify the guitar signal. This technology is highly reliable, lightweight, and capable of producing consistent tones at both whisper-quiet and moderately loud volumes, making it ideal for absolute beginners.
Products mentioned in this guide
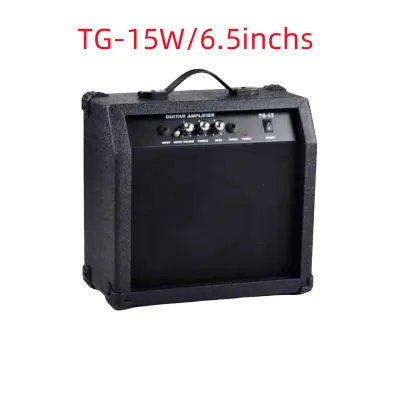
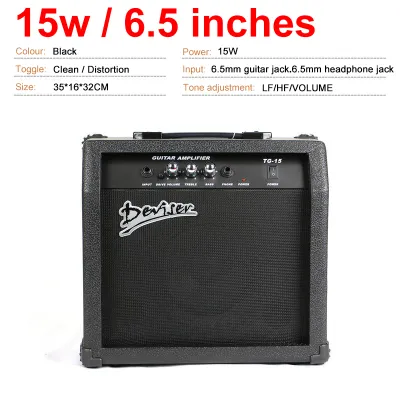
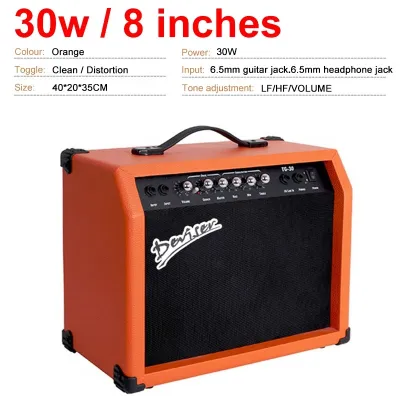
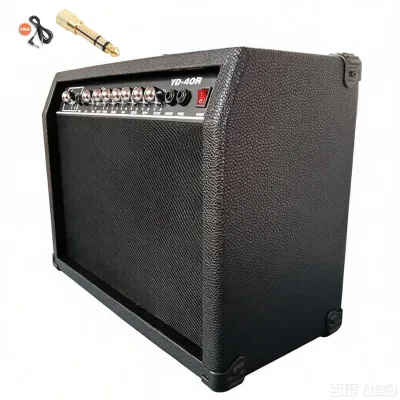
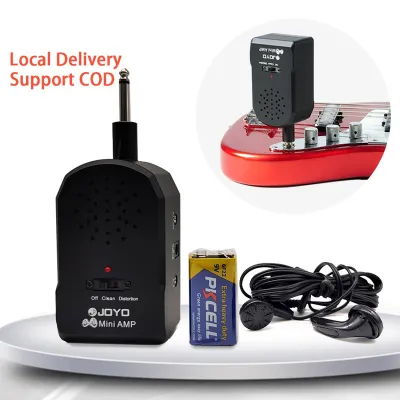
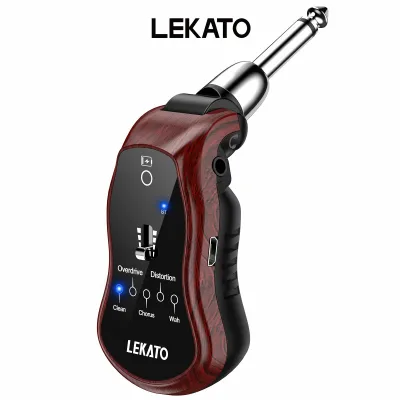
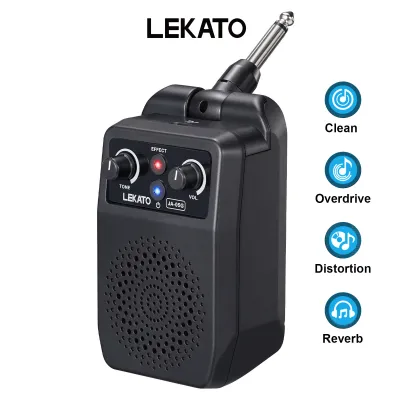
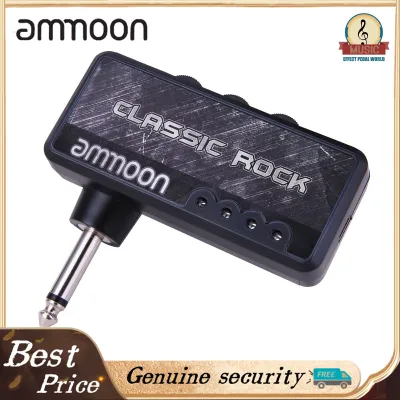
Prices are valid at publication and may change. Please refer to the product page for the latest price.
Most amplifiers in this budget tier feature a power output ranging from 10 watts to 20 watts RMS (Root Mean Square). This wattage is paired with a speaker size of 6 inches to 8 inches. While these numbers might seem small compared to professional stage gear, they are perfectly optimized for bedroom practice, small apartments, or student dormitory rooms.
The cabinet construction of budget amplifiers typically utilizes Medium-Density Fiberboard (MDF) or engineered plastics wrapped in a textured vinyl protective layer known as Tolex. MDF is an excellent, cost-effective material for acoustic resonance, but it is susceptible to moisture absorption. In the humid tropical climate of the Philippines, prolonged exposure to damp air can cause raw, unprotected MDF to swell or warp over time. To prevent this, it is wise to store your amplifier in a well-ventilated area away from open windows during the monsoon season.
Prioritizing Features: Must-Haves vs. Nice-to-Have Compromises
When shopping for a budget guitar amp, it is easy to get distracted by flashy features that promise hundreds of digital effects or wireless connectivity. However, at this price level, manufacturers must make compromises to keep costs down. Choosing an amplifier that focuses its manufacturing budget on high-quality core analog components rather than mediocre digital processing will result in a much better learning experience.

Dedicated Clean and Overdrive Channels
A beginner needs to learn how to control both clean and distorted tones. Look for an amplifier that features either a physical channel switch or a dedicated “Gain” control knob. The clean channel should remain clear and articulate even when the volume is turned up slightly. The overdrive channel should provide a satisfying crunch or sustain for practicing rock and metal riffs without sounding like harsh, muddy static.
A Basic 3-Band Equalizer (EQ)
Tone shaping is a fundamental skill for any guitarist. Many ultra-budget amplifiers attempt to cut corners by offering a single “Tone” knob that simply rolls off high frequencies. Instead, prioritize amplifiers that feature a full 3-band EQ consisting of dedicated Bass, Middle, and Treble controls. This allows you to adjust the warmth, presence, and brightness of your guitar to match different playing styles and room acoustics.
A Dedicated Headphone Jack
For many players in urban Philippine households, quiet practice is a necessity rather than a preference. A dedicated headphone output allows you to practice late at night or during quiet hours without disturbing family members or neighbors. Ensure the headphone jack automatically mutes the main speaker when a plug is inserted.
Features to Skip: Digital Effects and Bluetooth
It is highly recommended to skip amplifiers that heavily market built-in digital effects like delay, chorus, or complex reverbs at this price point. Cheap digital signal processing (DSP) chips often introduce unwanted digital hiss and sound synthetic. Similarly, built-in Bluetooth streaming is a luxury that inflates the retail price. You can easily play backing tracks through a simple auxiliary cable, saving your budget for better speaker quality. Mastering a raw, clean tone first also prevents you from hiding playing mistakes behind a wall of digital effects.
Crucial Specifications to Verify Before Checkout
Evaluating technical specifications on product listings requires a critical eye, as budget gear is frequently marketed with exaggerated performance claims. Understanding how to read spec sheets will protect you from purchasing underpowered or incompatible equipment.
Power Ratings: RMS vs. Peak Wattage
Always look for the RMS (Root Mean Square) wattage rating, which denotes the continuous, clean power output an amplifier can safely sustain. Many low-end brands prominently advertise “Peak Power,” “Max Power,” or “PMPO” (Peak Music Power Output) ratings of 40W, 80W, or even 100W on cheap units. These figures represent transient bursts of energy that the amplifier can only handle for a fraction of a second before distorting or failing. A true 10W to 15W RMS amplifier from a reputable brand will sound significantly cleaner and fuller than a generic “80W Peak” model.
Connectivity and Cable Compatibility
Verify that the primary instrument input is a standard 1/4-inch (6.35mm) TS jack, which is compatible with standard guitar cables. Additionally, check the size of the headphone and auxiliary inputs. Many modern practice amps use 3.5mm (1/8-inch) jacks for these connections, which are convenient for standard consumer headphones and mobile devices. If the headphone output is 1/4-inch, you will need to purchase a cheap step-up adapter to use standard commercial earbuds.
Power Supply and Local Voltage Compatibility
The standard electrical grid in the Philippines operates at 220V AC at 60Hz. Some budget amplifiers sold online are parallel imports designed for the Japanese market (100V) or the North American market (110V/120V). Plugging a 110V amplifier directly into a Philippine 220V wall outlet will immediately destroy the internal transformer and potentially present a fire hazard. Always double-check the product listing or the physical label on the back of the amplifier to ensure it natively supports 220V-240V input. If you purchase a micro-amp that runs on batteries, check if it accepts a standard 9V DC center-negative power adapter so you do not spend a fortune on replacement batteries.
Navigating the Market: Where to Buy and Avoiding Budget Traps
The Philippine retail landscape offers several avenues for purchasing musical instruments, each with distinct advantages and potential risks. Making an informed choice about where to buy can save you from counterfeit products and poor after-sales service.
Physical Music Retailers vs. Online Marketplaces
Purchasing from a physical music store in major urban hubs like Metro Manila, Cebu, or Davao offers the invaluable benefit of hands-on testing. You can bring your own guitar, plug it in, and verify that the knobs turn smoothly without producing static crackle. Furthermore, physical stores provide immediate, face-to-face warranty support if a component fails. Conversely, online marketplaces often offer lower prices, promotional vouchers, and door-to-door delivery. However, online purchases carry the inherent risk of shipping damage, as amplifiers contain heavy transformers and delicate speaker cones that can be jarred loose during transit.
Spotting Counterfeits and OEM Traps
The budget guitar market is flooded with unbranded “OEM” (Original Equipment Manufacturer) amplifiers that feature generic designs with different brand stickers slapped on the front. These units often suffer from high noise floors, thin cabinet construction, and poor soldering. Additionally, be wary of suspiciously low prices on popular entry-level brands. If an amplifier from a well-known global brand is listed online at half its standard retail price, it is highly likely a counterfeit. Counterfeit amplifiers often lack proper electrical safety shielding and ground connections, posing an electrical shock risk.
Verification Steps Before Buying Online
If you decide to purchase from an online marketplace, always check the seller’s credentials. Look for “Mall” or “Authorized Dealer” badges that indicate a direct relationship with the manufacturer or official distributor. Read through recent customer reviews, paying close attention to comments regarding packaging quality and product durability. Finally, confirm the seller’s return policy. A reputable seller should offer at least a 7-day hassle-free return window for defective items, alongside a standard local warranty of six months to one year.
Factoring in Hidden Costs and Essential Accessories
When planning your ₱5,000 budget, it is critical to remember that the amplifier itself is only one part of the equation. Beginners often make the mistake of spending their entire budget on the amp, only to realize they cannot connect it to their guitar.
Essential Cables and Accessories
Most budget amplifiers do not come packaged with an instrument cable. A standard 3-meter (10-foot) shielded guitar cable is required to connect your instrument to the amp. Budgeting an extra ₱300 to ₱800 for a decent, shielded cable is highly recommended. Avoid ultra-cheap, unshielded cables, as they act like antennas and will introduce loud hums and radio interference into your signal. You will also need to budget for basic accessories like guitar picks, a strap, and a digital tuner if you do not already own them.
Power Supply Inclusions
Always read the product description carefully to confirm if the power adapter is included in the box. Some ultra-portable mini-amplifiers are sold as standalone units, expecting the buyer to supply their own 9V DC power adapter or batteries. Purchasing a compatible power adapter separately can add an unexpected ₱500 to ₱1,000 to your total cost.
Shipping and Handling Fees
Amps are heavy, dense items, typically weighing between 3 and 6 kilograms. If you are ordering online and live outside major metropolitan areas—such as in provincial parts of Luzon, Visayas, or Mindanao—shipping fees can be substantial. These fees, combined with optional shipping insurance for fragile electronics, can easily push your total checkout price past the ₱5,000 mark. Always calculate the final checkout total, including all shipping and handling fees, before committing to a purchase.
Frequently Asked Questions (FAQ)
Can I use a budget electric guitar amp for an acoustic-electric guitar?
Yes, you can physically plug an acoustic-electric guitar into a budget electric guitar amp, and it will produce sound. However, the tonal results will not be ideal. Electric guitar amplifiers are specifically voiced to color the sound, boosting mid-range frequencies while rolling off the high and low extremes. This voicing makes an acoustic guitar sound boxy, nasal, and highly prone to unpleasant feedback. For basic home practice, it is acceptable, but you should keep your expectations modest. If you plan to play acoustic guitar primarily, look for a dedicated acoustic amplifier with a flat frequency response in the future.
Is a 10-watt to 15-watt amp loud enough for playing with a drummer?
No, a 10-watt to 15-watt solid-state practice amp is not loud enough to play alongside an acoustic drum kit. Acoustic drums are naturally very loud, often peaking between 90 and 110 decibels. A small practice amp with a 6-inch or 8-inch speaker will be completely drowned out in a band setting. Attempting to crank a small solid-state amp to maximum volume to compete with a drummer will result in harsh, unpleasant clipping and can permanently damage the speaker coil. These budget amps are strictly designed for solo bedroom practice or very quiet acoustic jam sessions. If your goal is to join a live band, you will eventually need to upgrade to a solid-state amp of at least 40 to 50 watts, or a 15-watt vacuum tube amplifier.
Community discussion
Share your experience or ask a question. Comments are reviewed before publication.