
Selecting the right DI box for instrument setups is a critical decision for any musician, live sound engineer, or home studio producer. The primary role of a Direct Injection (DI) box is to convert an unbalanced, high-impedance instrument signal into a balanced, low-impedance microphone-level signal. This conversion allows you to run long cables directly to a mixing console or audio interface without introducing unwanted noise, hum, or signal degradation.
The choice between an active and passive DI box is not a matter of which technology is universally superior, but rather which one matches the electrical characteristics of your specific instrument. If your instrument has a weak, passive output, an active DI box provides the necessary electronic boost and high input impedance to preserve your tone. Conversely, if your instrument outputs a hot, active signal, a passive DI box utilizes a magnetic transformer to handle the high voltage safely while offering excellent isolation from electrical noise.
Core Differences Between Active and Passive DI Boxes
To understand which unit fits your setup, it is essential to look at how these two types of DI boxes handle power, signal conversion, and impedance matching. Active DI boxes contain electronic circuitry, such as operational amplifiers or field-effect transistors, which require an external power source to function. This power typically comes from 48V phantom power supplied by a mixing console via an XLR cable, or from an internal battery. The active circuitry acts as a buffer, providing extremely high input impedance that prevents the DI box from loading down your instrument’s pickups, thereby maintaining a bright and dynamic sound.
Products mentioned in this guide
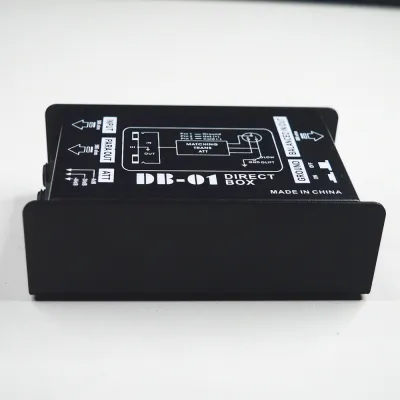
![[okoogee]【Most Popular】 Single Channel Passive DI-Box Direct Injection Audio Box Balanced & Unbalance Signal Converter with XLR TRS Interfaces for Electric Guitar Bass Live Performance](https://img.lazcdn.com/g/p/09a2cf7912cf8de9887b029194f15232.jpg_400x400q80.jpg_.webp)
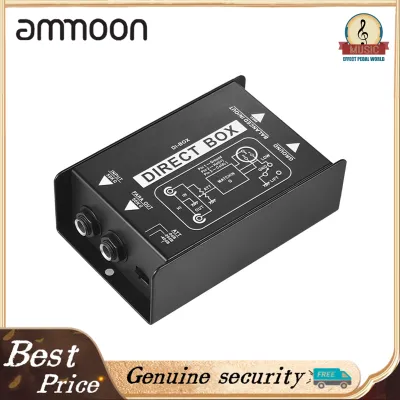
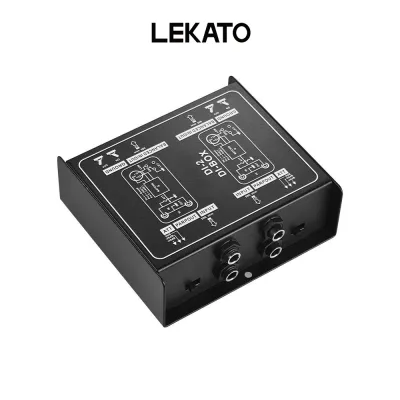
![[ammoon]Single Channel Passive DI-Box Direct Injection Audio Box Balanced & Unbalance Signal Converter with XLR TRS Interfaces for Electric Guitar Bass Live Performance](https://img.lazcdn.com/g/p/c5c058bfdbbe61b0c45137e8fc623146.jpg_400x400q80.jpg_.webp)
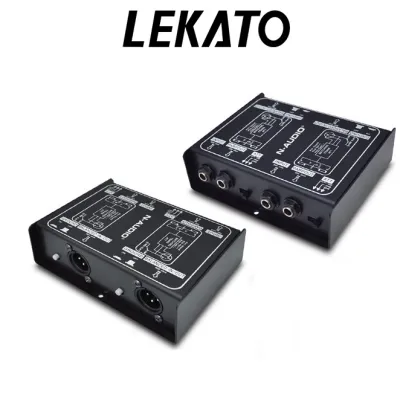
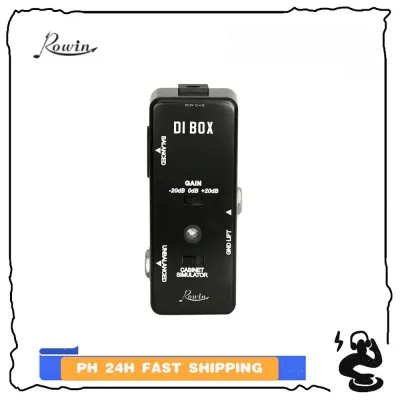
Prices are valid at publication and may change. Please refer to the product page for the latest price.
Passive DI boxes, on the other hand, operate entirely without external power. They rely on an internal audio transformer to perform the signal conversion and impedance matching. The transformer uses electromagnetic induction to transfer the audio signal from the input winding to the output winding. Because there is no physical electrical connection between the input and output sides, passive DI boxes provide inherent galvanic isolation. This isolation is highly effective at breaking ground loops, which are a common source of annoying hum and buzz in live sound environments.
Impedance matching is the core technical duty of both devices, but they approach it differently. An active DI box typically offers a very high input impedance (often 1 megaohm or higher), which is ideal for preserving the delicate high-frequency details of passive instruments. A passive DI box has an input impedance that is directly dependent on the load connected to its output and the turns ratio of its transformer. While passive units generally have lower input impedance than active ones, they are exceptionally robust and can handle extremely hot signals without clipping or distorting, making them highly reliable tools for high-output gear.
When to Choose an Active DI Box
An active DI box is the preferred choice when your instrument relies on passive pickups that do not have an onboard, battery-powered preamplifier. Instruments like vintage electric basses, passive acoustic guitar pickups (such as piezo transducers), and older keyboards output a relatively weak, high-impedance signal. When you plug these instruments directly into a passive DI box, the lower input impedance can cause a phenomenon known as loading. This loading dampens the signal, resulting in a noticeable loss of high-frequency clarity, a muddy midrange, and a drop in overall volume. An active DI box prevents this by presenting a massive impedance barrier, ensuring your instrument’s natural tone remains intact.

Another scenario where active DI boxes shine is when you need to run long cables across a large stage or studio space. Unbalanced cables, such as standard 1/4-inch instrument patches, are highly susceptible to high-frequency attenuation and electromagnetic interference over distances exceeding a few meters. By placing an active DI box close to your instrument, the active buffering circuit immediately stabilizes the signal and converts it to a balanced format. This allows the signal to travel through dozens of meters of XLR cabling to the main mixing board without any perceptible loss of treble or dynamics.
Before committing to an active DI box, you must verify that your audio system can supply the necessary power. Most modern mixing consoles and audio interfaces feature a 48V phantom power switch, which sends electricity down the XLR cable to power the active circuitry. If you frequently perform in venues with older analog mixers, community halls, or portable busking setups where phantom power is unavailable or unstable, you will need to check if the active DI box can run on an internal 9V battery or an external power adapter. Ensuring a reliable power source is crucial, as an active DI box will not pass any audio if its power supply is cut off.
When to Choose a Passive DI Box
A passive DI box is highly recommended if your instrument features active electronics, such as a battery-powered preamp, or outputs a line-level signal. Modern active basses, electronic drum kits, synthesizers, and digital guitar modelers output robust, low-impedance signals that do not require the impedance buffering of an active DI. In fact, feeding these high-output signals into an active DI box can easily overload its internal electronic circuitry, leading to harsh, unpleasant digital-style clipping. A passive DI box handles these hot signals with ease, converting them smoothly without the risk of electronic distortion.
One of the unique characteristics of passive DI boxes is how they respond to exceptionally loud signals. When a transformer is pushed near its physical limits by a hot signal, it undergoes a subtle compression effect known as transformer saturation. This saturation rounds off sharp transients and adds a pleasing, warm harmonic coloration to the sound, which many musicians and audio engineers prefer for instruments like keyboards and bass guitars. Additionally, most passive DI boxes feature built-in attenuation switches, commonly called pads, which allow you to reduce the incoming signal level by -15dB or -30dB to prevent overloading the microphone preamps on your mixing console.
In live sound environments, especially during outdoor performances where high humidity and sudden temperature shifts can affect electrical gear, passive DI boxes offer unmatched reliability. Because they require no batteries or phantom power, there are fewer points of failure during a performance. The physical isolation provided by the transformer is also a lifesaver when dealing with complex stage setups where the instrument amplifier and the main PA system are plugged into different electrical outlets. This separation instantly eliminates ground loop hum, ensuring a clean, quiet signal even in challenging venue conditions.
Essential Specifications to Verify Before Purchase
When shopping for a DI box for instrument setups, you should carefully review the physical features and specifications to ensure seamless integration with your existing gear. First, look for essential switchable features on the chassis. A ground lift switch is non-negotiable; it disconnects pin 1 of the XLR output to break ground loops and eliminate hum. An attenuation pad switch is equally important, especially on passive units, as it allows you to safely connect high-output devices like laptop audio interfaces or active keyboards without distorting the signal. Some advanced models also include a polarity reverse switch, which can help resolve phase cancellation issues when combining a DI signal with a mic’d amplifier signal.
Routing options are another critical factor to verify. Most high-quality DI boxes feature a parallel thru or link 1/4-inch jack alongside the main input. This jack allows you to split your instrument’s signal, sending one clean copy directly to your on-stage amplifier for personal monitoring, while the balanced XLR output sends the signal to the front-of-house mixing console. If you plan to connect stereo instruments like keyboards or electronic drum modules, look for stereo DI boxes that house two independent channels in a single enclosure, saving valuable stage space and reducing cable clutter.
Finally, pay close attention to the build quality and connection types. Live performance environments demand rugged construction, so look for DI boxes housed in heavy-duty steel or aluminum enclosures with recessed switches that cannot be easily damaged or accidentally toggled mid-show. Ensure the XLR and 1/4-inch jacks are chassis-mounted and feel secure. If you are gigging in humid or coastal environments, choosing a unit with gold-plated connectors can help prevent corrosion over time, ensuring reliable electrical contact for years to come.
Decision Framework: Matching the DI Box to Your Setup
To simplify your decision, you can use a straightforward, condition-based framework to match the right DI box to your specific musical equipment and performance scenarios.
Choose an active DI box if:
- Your instrument uses passive pickups, such as a standard acoustic-electric guitar, a vintage passive bass, or a passive electric piano.
- You need to run long cables (over 6 meters) from your instrument to the mixing console or stage snake.
- You want to maximize high-frequency clarity, transient response, and overall signal brightness.
Choose a passive DI box if:
- Your instrument has active electronics, such as an active bass, an acoustic guitar with an onboard battery-powered preamp, or a modern synthesizer.
- You are connecting line-level devices like electronic drum brains, DJ mixers, laptops, or digital guitar processors.
- You need a highly durable, plug-and-play solution that requires no external power and excels at eliminating ground loop hum in unpredictable venue environments.
Before making your final purchase, always verify your power options. If you choose an active model, confirm that your mixing console or audio interface can supply stable 48V phantom power, or check if the DI box has an easily accessible battery compartment. If you opt for a passive model, ensure it features a robust transformer and a switchable pad to handle the maximum output level of your loudest instruments without unwanted distortion.
Frequently Asked Questions (FAQ)
Can I use a passive DI box for an acoustic guitar with a passive pickup?
Yes, you can physically connect them, but it is generally not recommended if you want to preserve your instrument’s natural tone. Passive acoustic pickups, especially piezo types, have an extremely high output impedance and a very weak signal. When paired with a passive DI box, the resulting impedance mismatch causes a severe loading effect. This degrades the signal, leading to a significant loss of high-frequency sparkle, a thin bass response, and a quiet, noisy output. For a passive acoustic pickup, using an active DI box or a dedicated acoustic preamplifier is highly recommended to maintain a full, balanced sound.
Does an active DI box always require a battery if phantom power is unavailable?
Not necessarily, but it depends entirely on the specific model’s design. While many active DI boxes feature an internal 9V battery compartment as a backup power source when 48V phantom power is missing, some modern units can also be powered via an external DC power supply or a USB connection. If you plan to use an active DI box without phantom power, you must check the manufacturer’s manual to verify its power requirements, expected battery life, and whether it features an automatic shutoff mechanism to prevent draining the battery when the input cable is unplugged.
How do I know if my mixer provides the 48V phantom power needed for an active DI box?
To verify if your mixer can supply phantom power, inspect the physical control panel of the console. Look for a button or switch labeled 48V, P48, or Phantom. On compact mixers, this switch is often located in the master section and applies power globally to all XLR inputs. On larger or digital consoles, phantom power can usually be enabled individually for each channel strip. If you cannot find a physical switch, consult your mixer’s user manual to confirm its specifications, as some entry-level mixers or consumer-grade audio interfaces may only provide lower voltages (like 12V or 24V) which might not be sufficient to power all active DI boxes.
Community discussion
Share your experience or ask a question. Comments are reviewed before publication.